


Table of Contents Show
Exfoliation is one of the skincare procedures that you try once and never want to stop, the fact that with some simple repeated steps you can get rid of dead skin cells and dirt causing your skin to look dry and dull is something you’d enjoy getting used to.
Beauty For The Modern Woman
Exfoliation can be done using chemical products, body scrubs, loofahs, or exfoliating gloves. Here, we are more interested in the simple yet effective way that exfoliating gloves give your skin a healthier look and a natural glow with consistent use.
If your body looks and feels great after using exfoliating gloves you would naturally wonder if your face will react the same way or differently, we hope you’re in a hurry to find out because we’ve got the answers.
Can You Use Exfoliating Gloves On Your Face?
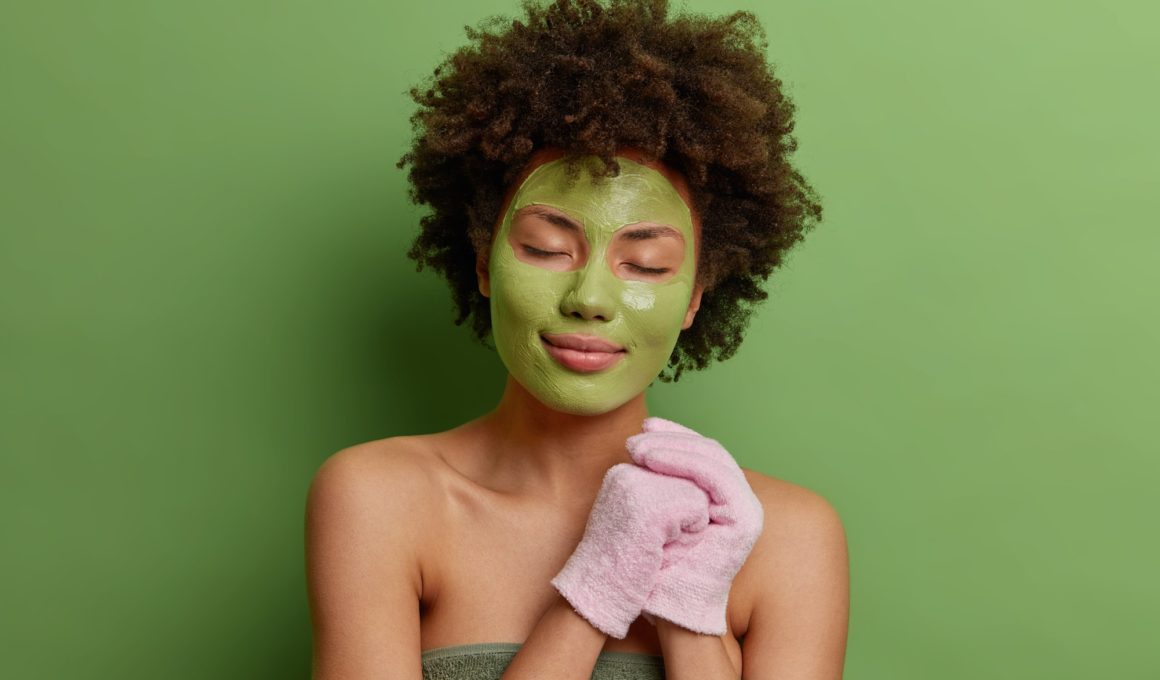
Exfoliating is just as important for the face as other parts of the body. But what matters as much as the first meal of the day is what you use to exfoliate your soon and face. The face is a more sensitive and fragile part of the body and reacts differently to several things in comparison with the other parts of the body.
While the other parts of your body will feel and appear healthier after exfoliating with your exfoliating gloves, your face will begin to react negatively to it. Being more sensitive than other parts of the body, using exfoliating gloves on your face will cause itching, redness, rashes, and discomfort.
This does not mean that you can not exfoliate your face, it only means that you would have to rely on milder and more appropriate ways other than exfoliating gloves when you need to exfoliate your face.
Some people might say you should use exfoliating gloves on your face but very gently, we would advise that you completely ignore this except you do not have sensitive skin and you enjoy taking risks just to have a personal experience.
How to make a DIY facial exfoliating sugar scrub
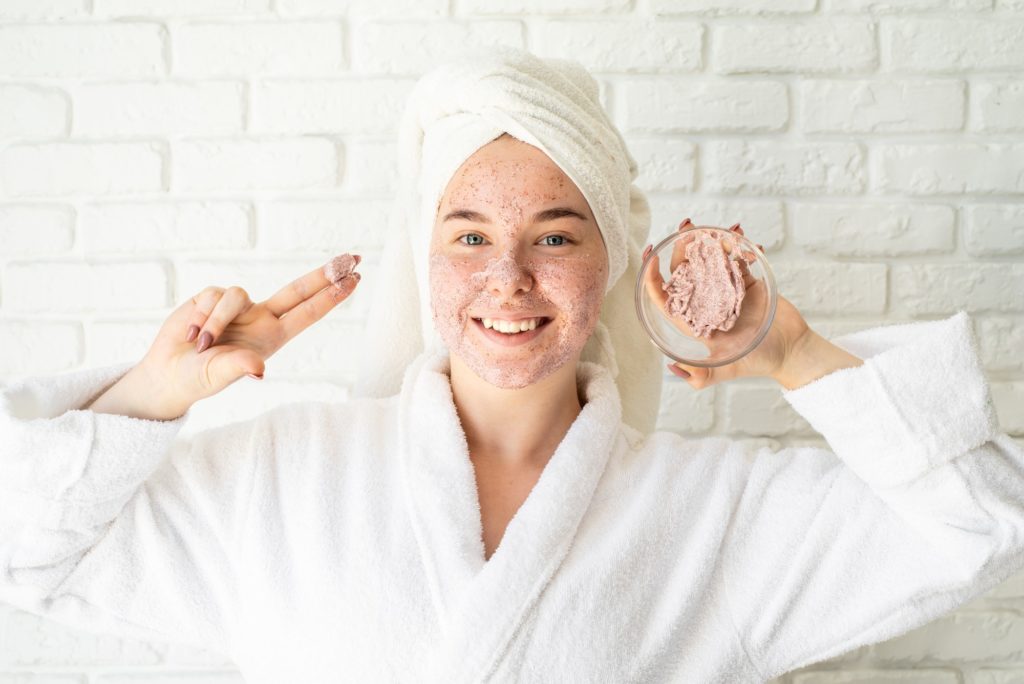
Since exfoliating gloves are not completely suitable for use on the face, facial scrubs can serve as an alternative means of exfoliating the face.
We have decided to give you a simple step-by-step guide on how to make your sugar scrub from the comfort of your home, you can get this done in less than 15 minutes.
Step 1: Get a container in a size of your choice
First of all, you would need to be sure of where you wish to store your facial scrub as well as what quantity you want it in.
Find a container that suits the amount you will be making, for this recipe, we will be making our scrub using two and a half cups of sugar, you will need to have a container big enough to contain this except you will be reducing the portions of ingredients used to allow you make a smaller batch of your facial scrub.
You should also make sure your container has a tight lid for proper storage.
Step 2: Pour your coconut oil into the container you have chosen
Choosing a container was the tricky part, the rest of the recipe is simple and dare I say- fun to do.
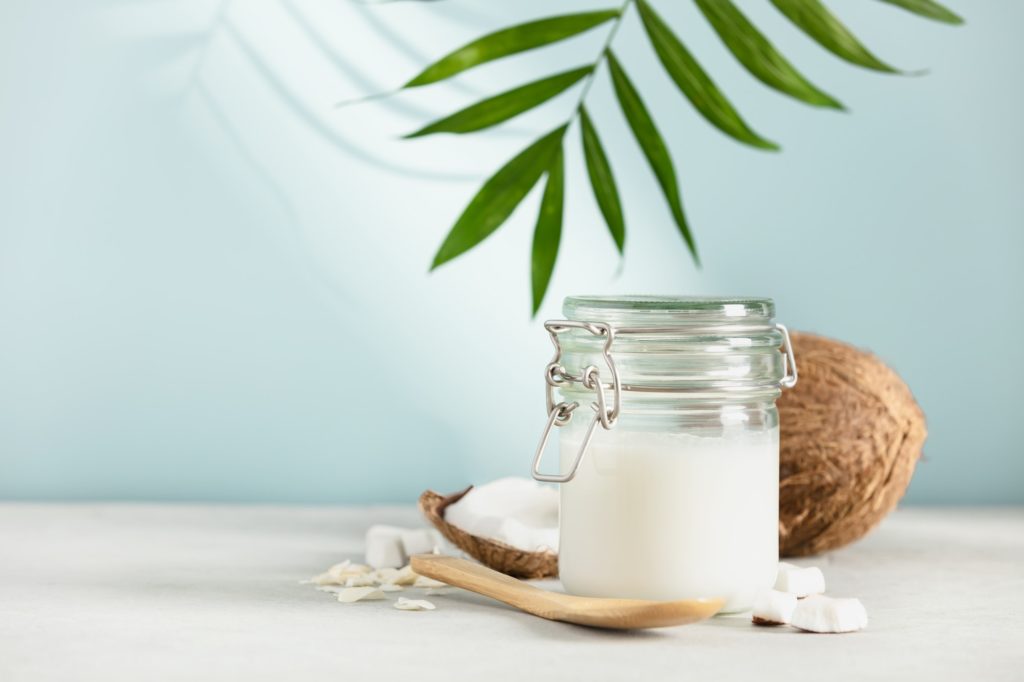
Next, measure three full tablespoons of cold-pressed coconut oil and pour it into the well-cleaned and dried container that was chosen earlier.
Cold-pressed coconut oil is preferred for this process because, in this form, coconut oil is of high quality, and all the nutrients it offers are present and active. Cold-pressed coconut oil is also an amazing ingredient for softening the skin and preventing dry and dull skin.
Step 3: Pour some honey into the mix
The next ingredient for our homemade facial exfoliating scrub is some honey. Just like you did for the coconut oil, measure two tablespoons of honey and pour into the container.
Honey has commendable antibacterial properties that make it good for the body and face, it leaves the skin feeling moist and is great for acne-prone skin.
Honey leaves your skin feeling smoother and also adds a healthy and natural glow to it as well, it easily fits into our facial scrub because of these benefits.
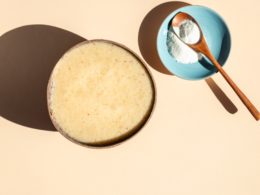
Step 4: Now, add your sugar to the facial scrub
Pour in your sugar to the mix and pause to watch how satisfying it is- okay, carry on. Sugar is the main exfoliating ingredient in the mix, it does the actual job of exfoliating while the other ingredients are allowed to penetrate the skin and lock in moisture, and introduce new revitalizing nutrients to the skin pores/cells.
Sugar makes contact with your skin when it is massaged in and gets rid of dead skin cells, dirt, and excess oil that was present.
There are a number of sugar types but it is advised that you use white sugar in your facial scrub mixture, white sugar is more gentle on the skin and since this is meant for exfoliating the face, it is the most suitable option for this scrub.
Step 5: Stir all the ingredients and the scrub is ready for use
Finally, to complete the entire process of making your homemade facial exfoliating scrub, you will need to mix all the ingredients that are now in the container together.
Mix carefully to avoid spilling any of the contents of the container, do not worry about the mixture not feeling and looking smooth, scrubs are supposed to look somewhat rough, it is the rough elements that exfoliate your skin so smoothening it out will turn your scrub to a moisturizer and defeat the purpose for which it has been made which is to exfoliate the face.
After mixing all the ingredients, the facial scrub is ready for use, make sure to store it in a cool and dry place and seal the container properly.
Summary
Your skin will thank you when you use a sugar scrub on your face instead of a pair of rough exfoliating gloves.
The face is more sensitive than other parts of the body so opting for other means of exfoliating the face other than using exfoliating gloves is necessary.
Here, we have not only provided you with an alternative, but we have also included a simple guide for making a DIY facial exfoliating sugar scrub while briefly highlighting the importance of the ingredients used as well.