


Table of Contents Show
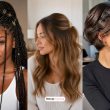
Here’s the thing about having thick curly hair—people think it’s all volume and envy, but if you live with it, you know the truth. Thick curls are heavy, they take forever to dry, and they have a way of turning even the simplest style into a workout for your arms. I’ve spent years learning which styles actually work with thick hair instead of fighting against it.
Beauty For The Modern Woman
The right cut and style can reduce weight, enhance your natural texture, and cut your styling time in half.
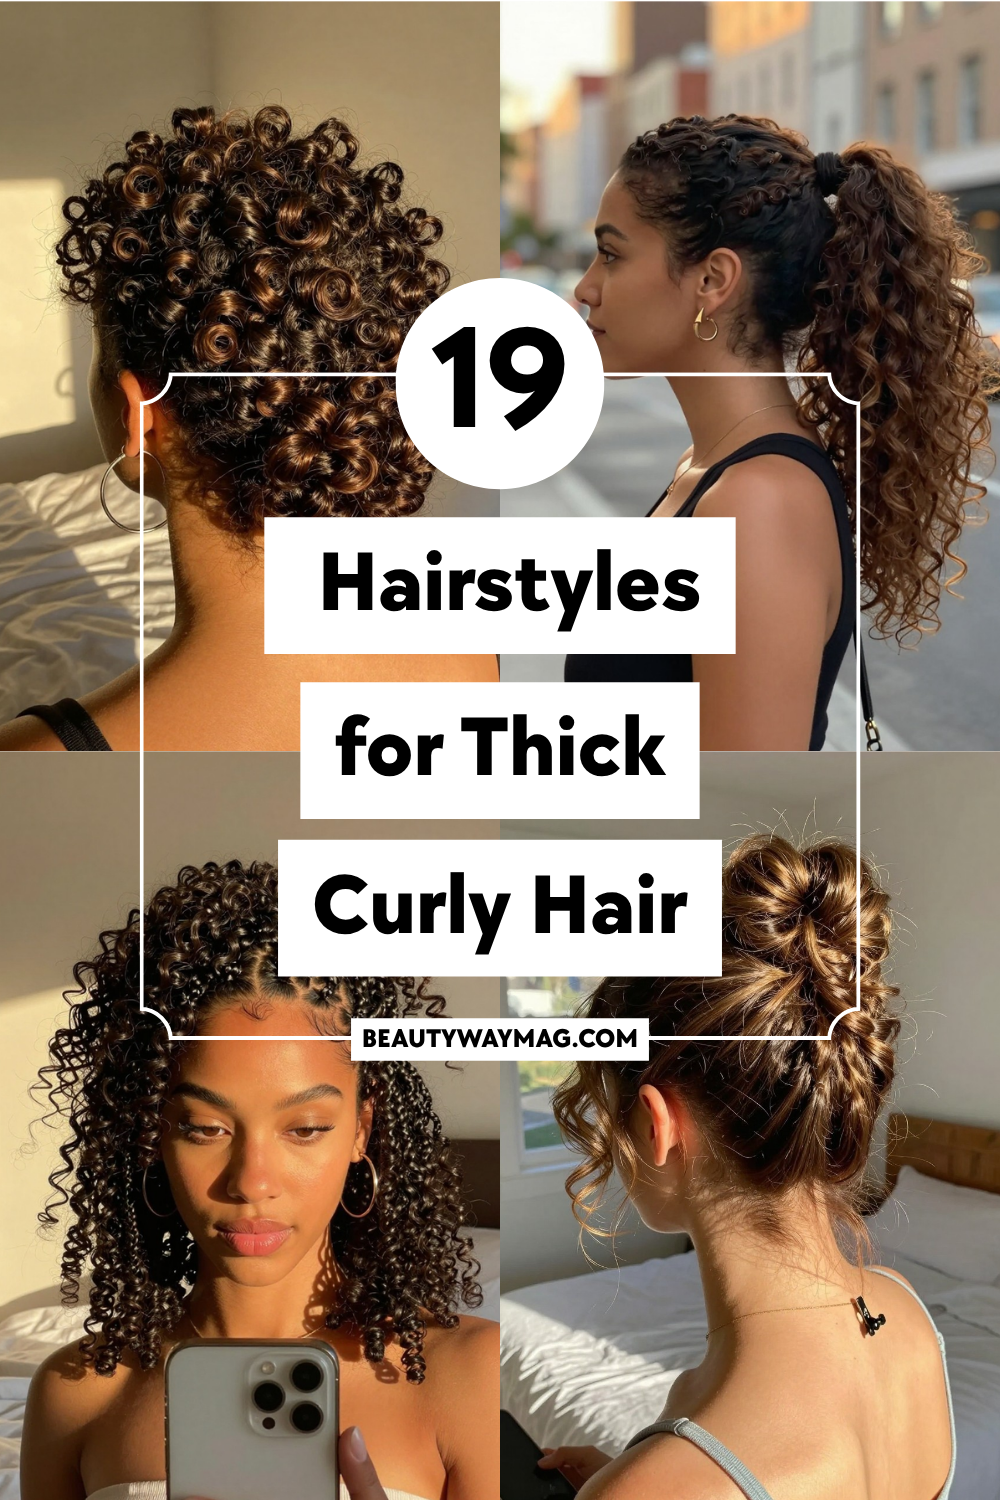
These 19 styles are designed specifically for thick curly hair—they remove bulk where you need it, add shape where you want it, and make your density work for you, not against you.
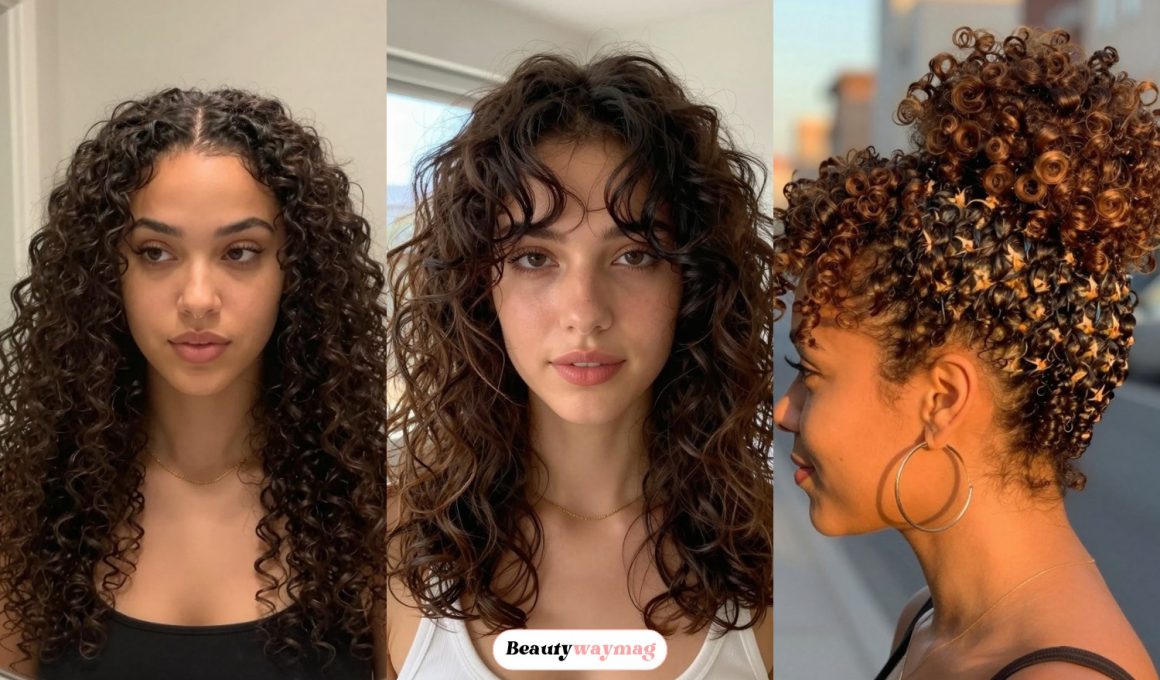
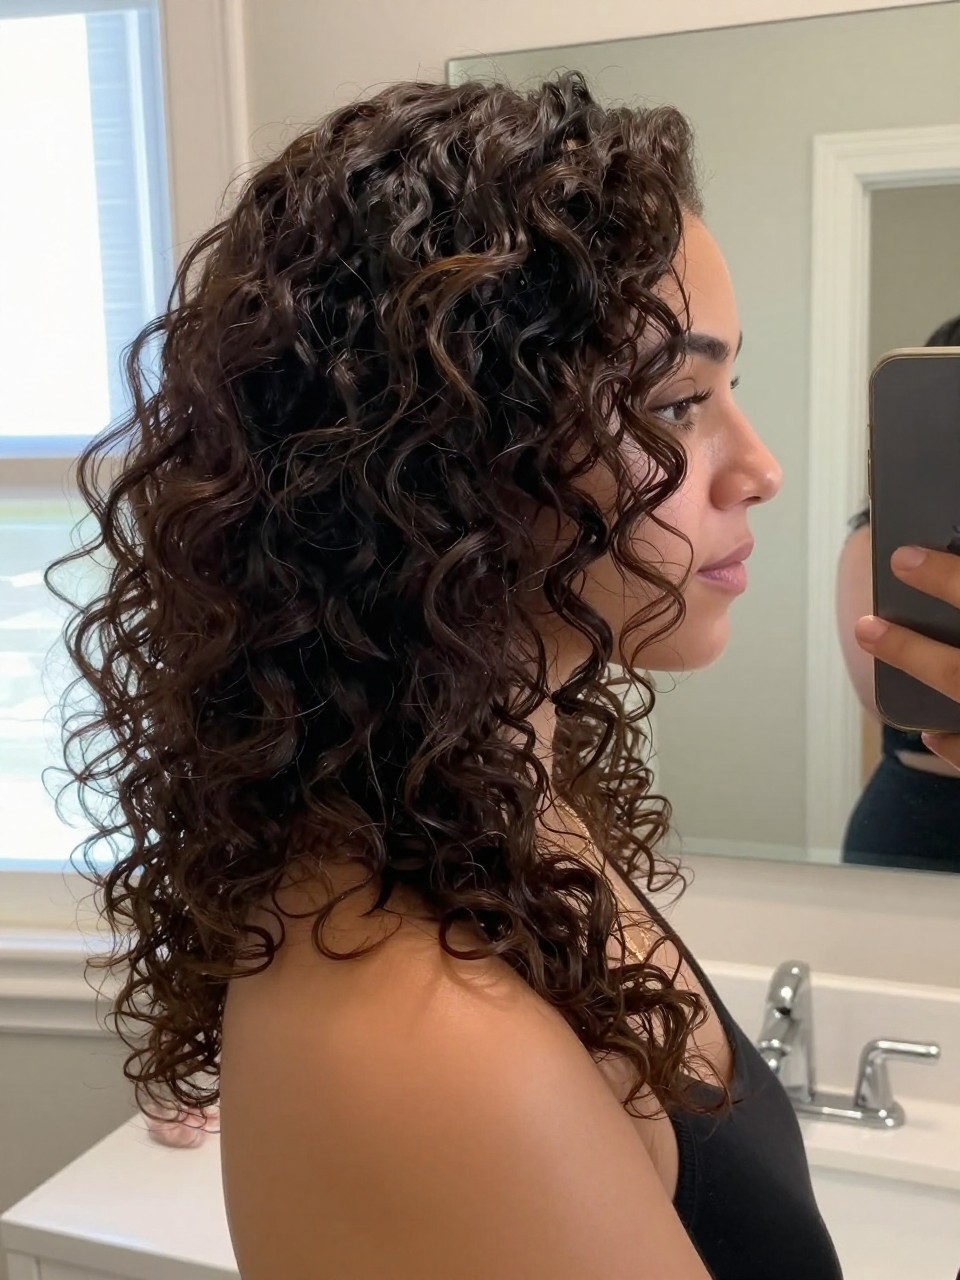
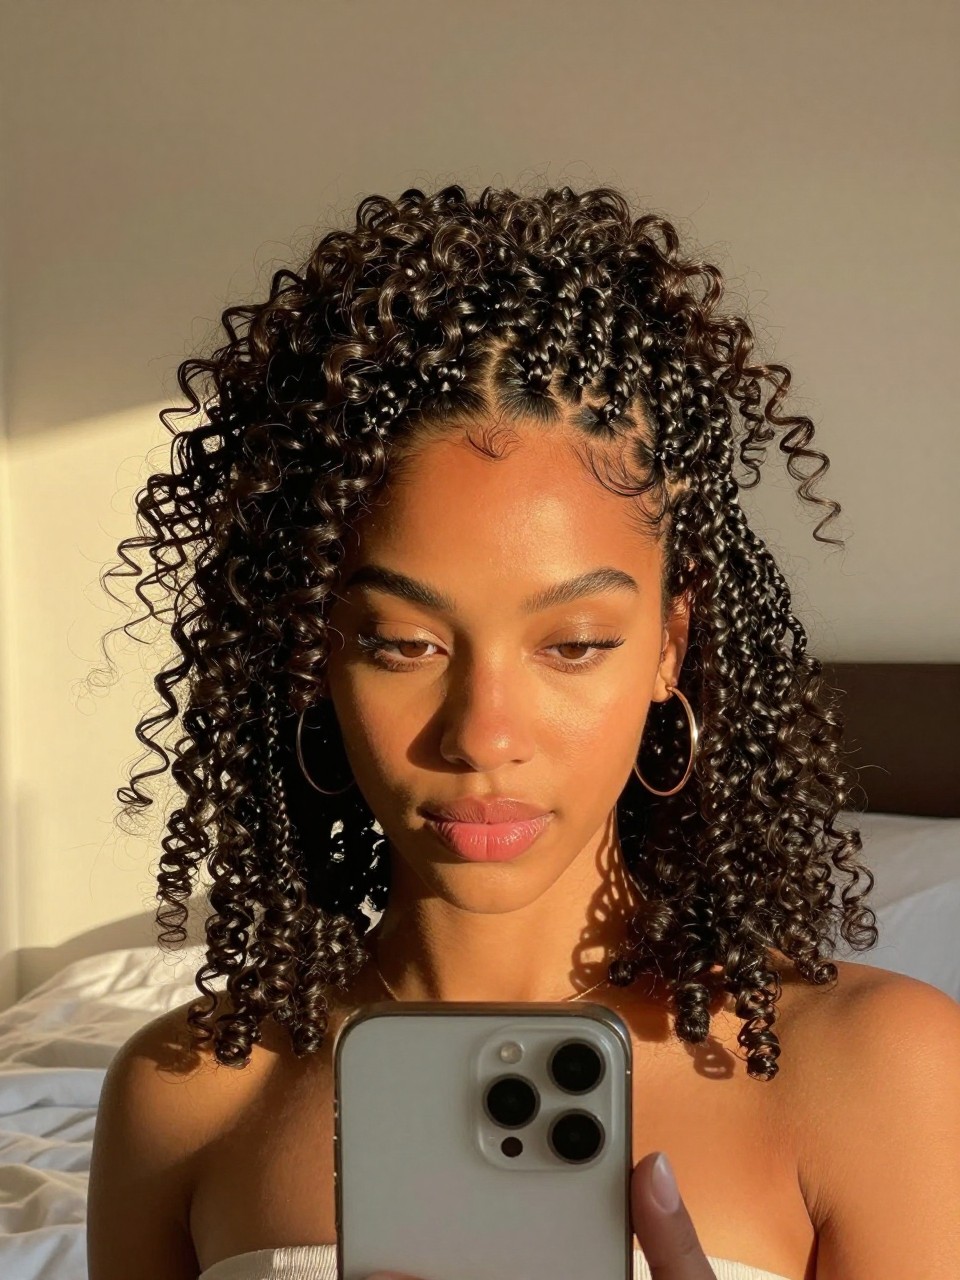
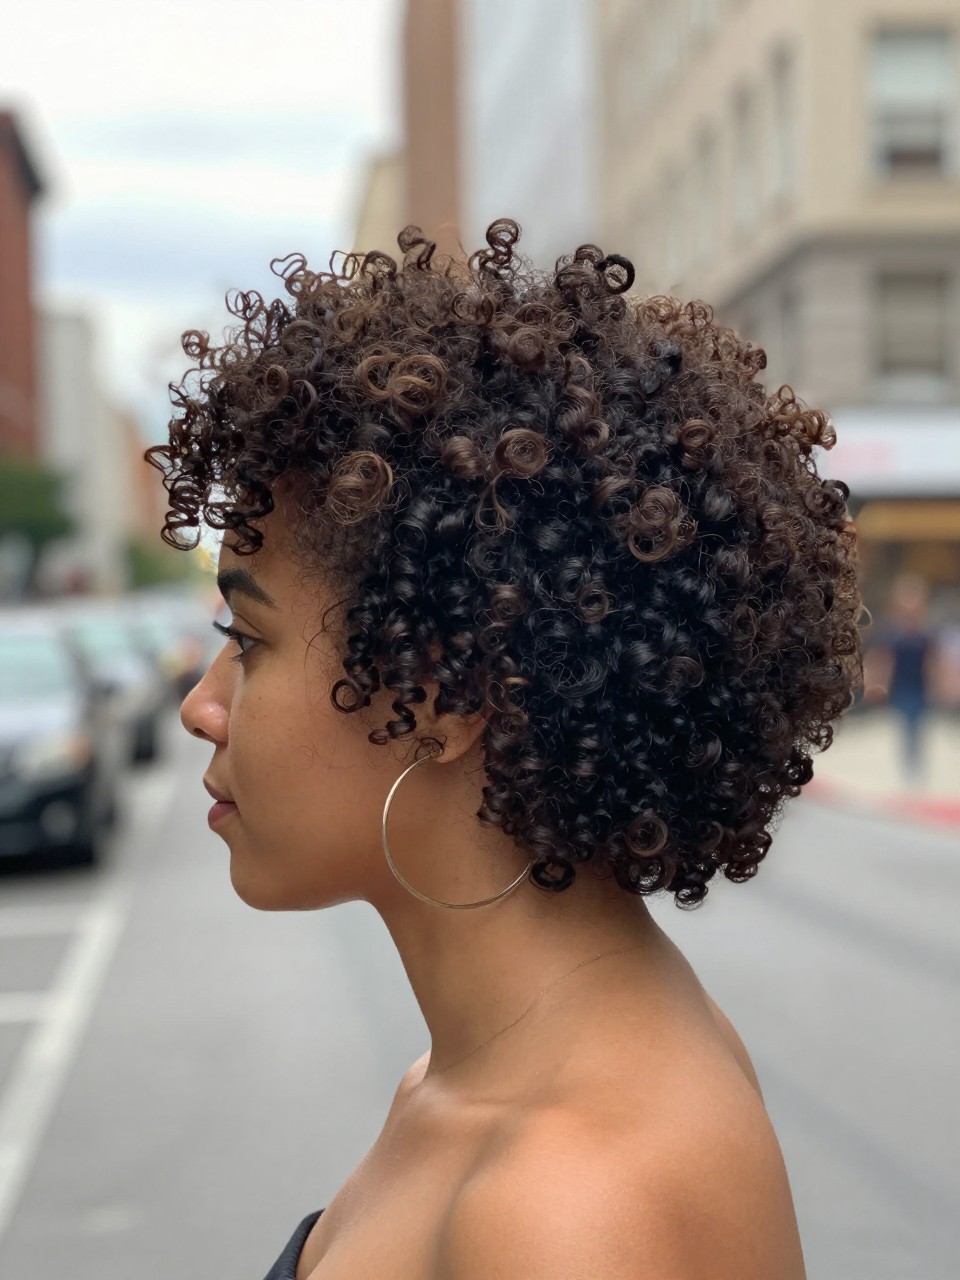
1. The Layered Curly Cut with Face-Framing Pieces
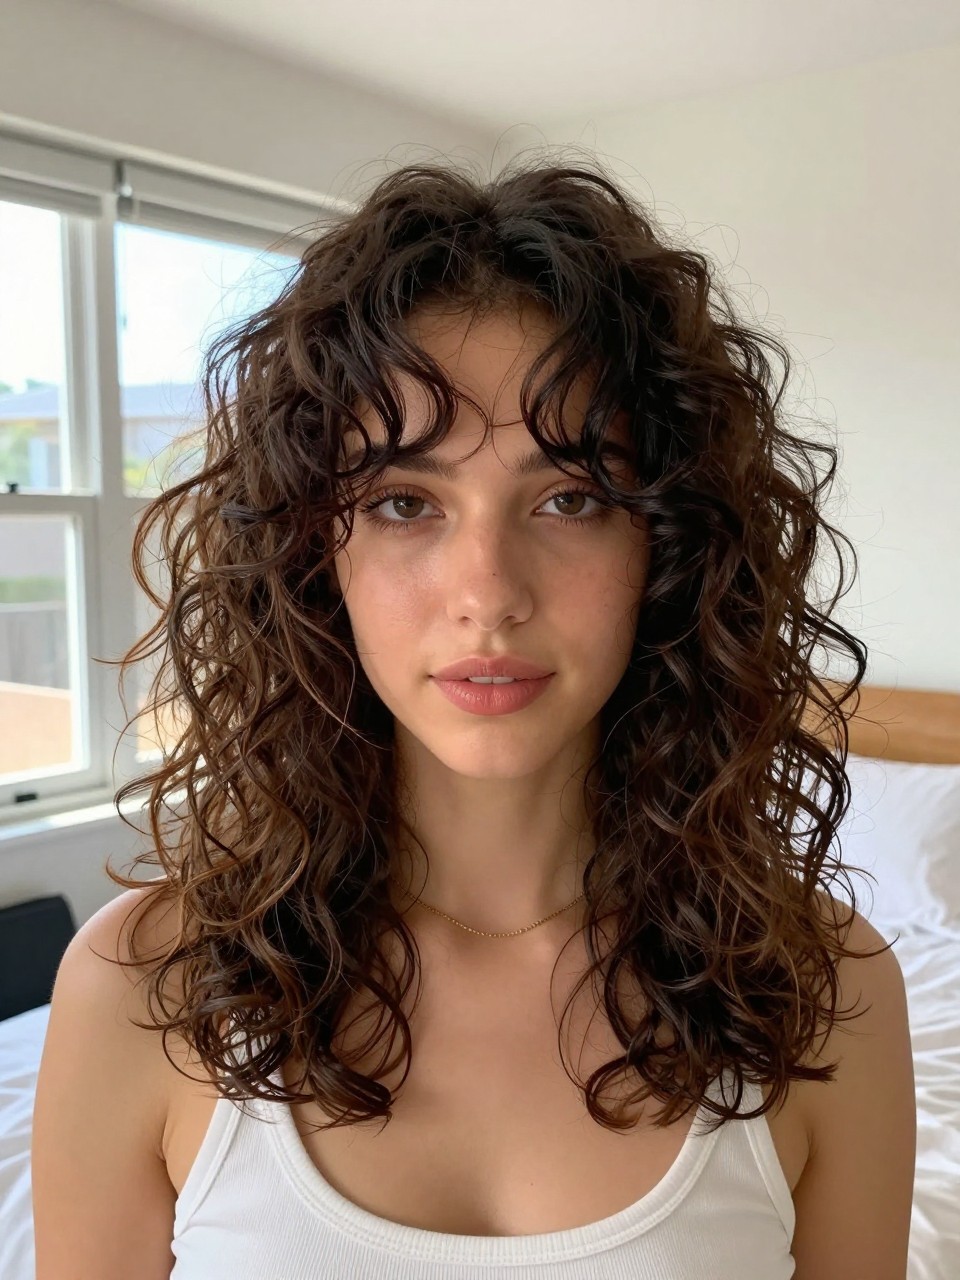
This is the foundation style for thick curls—strategic layers that remove weight while maintaining shape. Face-framing pieces soften the look and draw attention to your features.
How to style it:
- Step 1: Apply a leave-in conditioner and curl cream to soaking wet hair, focusing on mid-lengths and ends.
- Step 2: Use a denman brush or your fingers to define curls and encourage clumping.
- Step 3: Diffuse with your head upside down until 80% dry, then let air-dry completely.
- Step 4: Once dry, fluff at the roots and arrange the face-framing pieces to fall naturally.
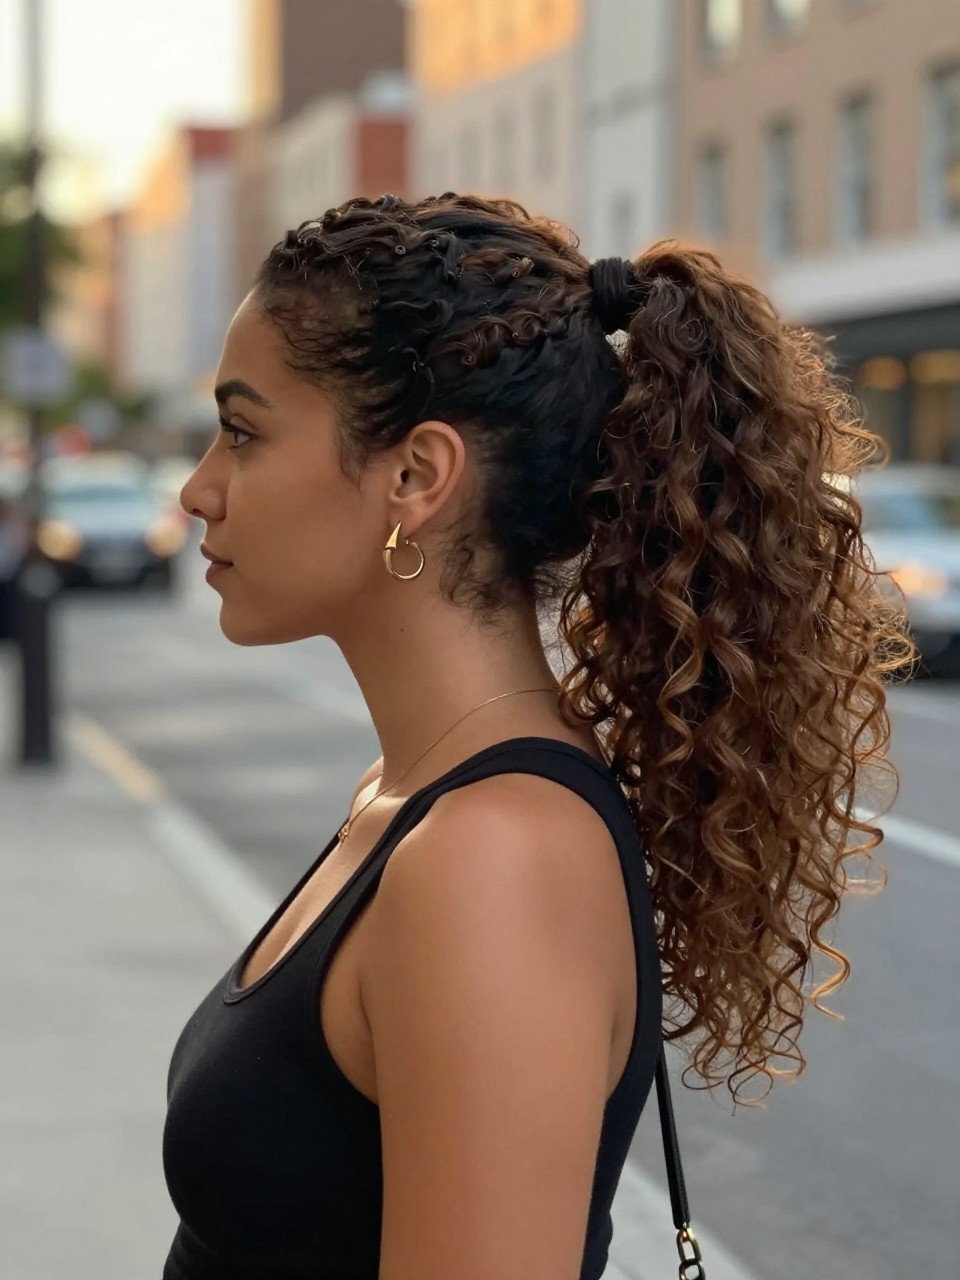
2. The High Curly Pony with Volume
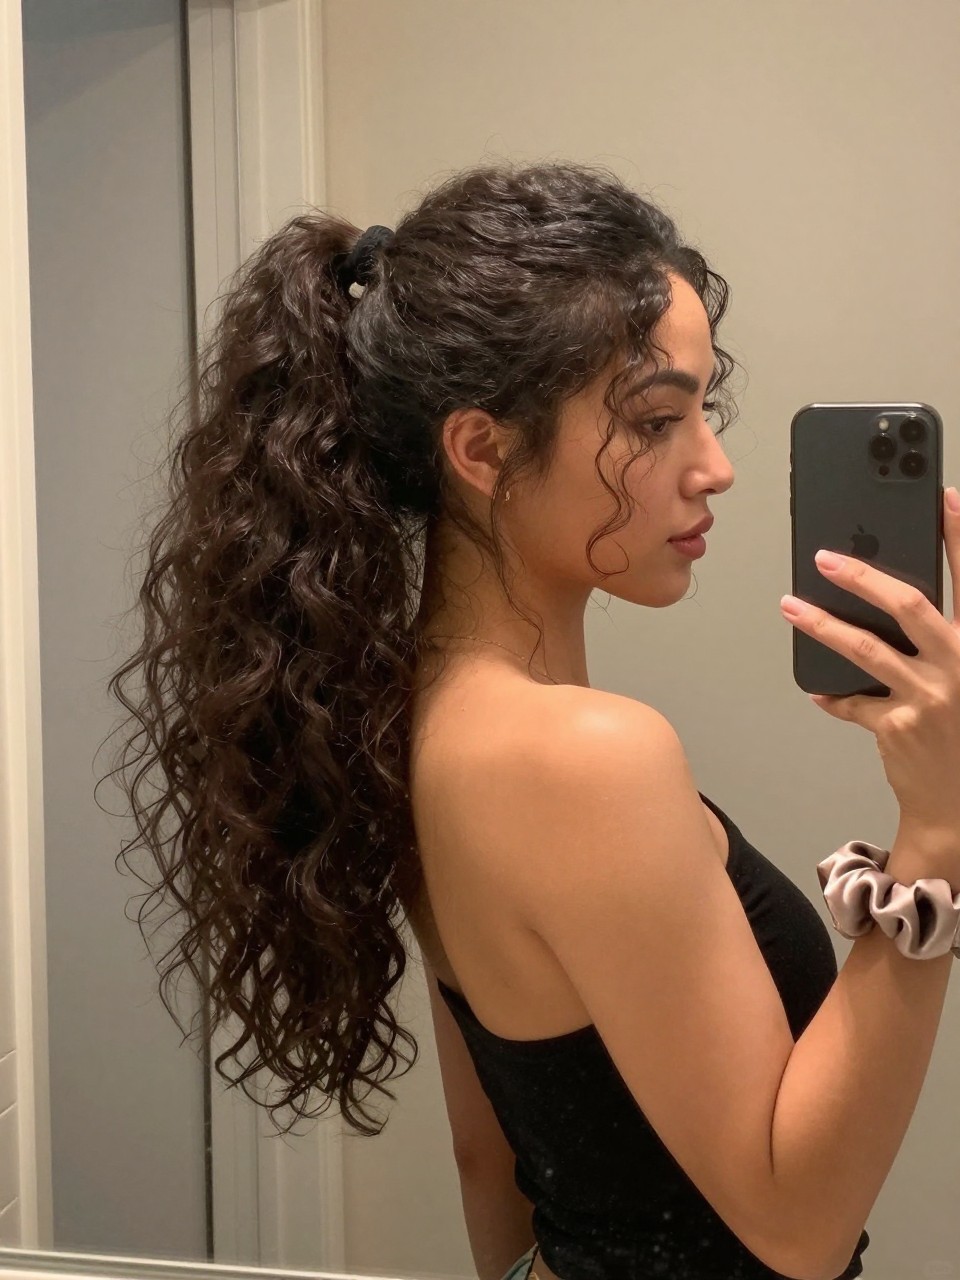
A high ponytail on thick curls is dramatic and practical. It lifts all that weight off your neck and shows off your curl pattern in one gorgeous cascade.
How to style it:
- Step 1: Apply a smoothing cream to tame flyaways, then flip your head forward.
- Step 2: Gather all curls at your crown and secure with a strong elastic band.
- Step 3: Take a small section of hair from the ponytail and wrap it around the base to hide the elastic.
- Step 4: Gently separate the ponytail curls for maximum volume and let them fall.
3. The Curly Pineapple Updo
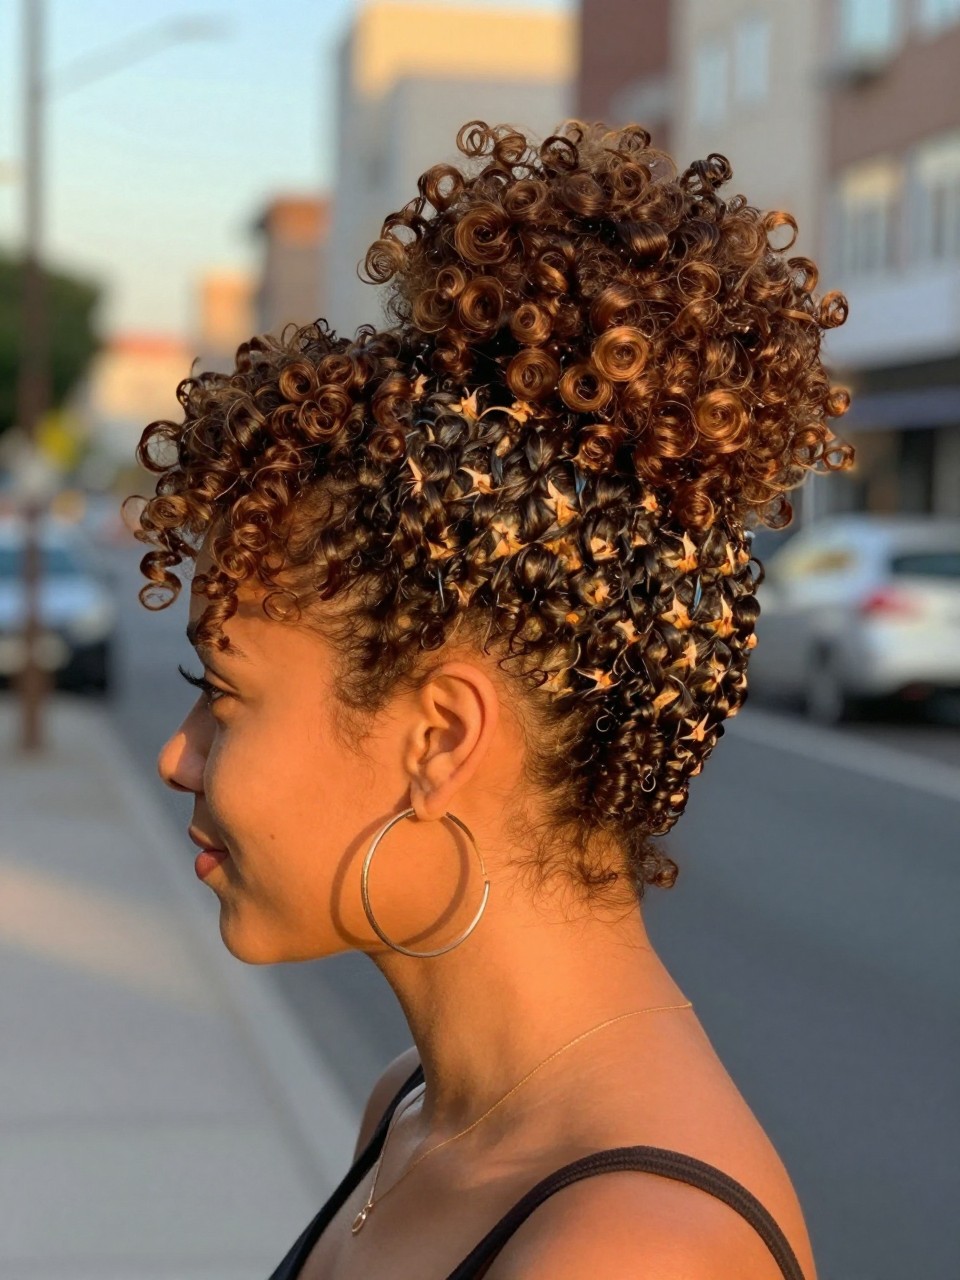
The pineapple isn’t just for sleep—it’s a legitimate style that keeps thick curls contained and lifted. Perfect for second-day hair or when you want volume at the crown.
How to style it:
- Step 1: Flip your head forward and gather all curls at your very crown.
- Step 2: Secure with a large satin scrunchie—loose enough to not dent curls but tight enough to hold.
- Step 3: Let the curls fan out around the scrunchie like a fountain.
- Step 4: Gently pull out a few face-framing pieces and fluff the crown.
4. The Half-Up Curly Knot
This style pulls the top half into a knot, removing weight from your face while letting the rest of your thick curls hang free. It’s quick, easy, and looks intentional.
How to style it:
- Step 1: Section off the top half of your curls from ear to ear.
- Step 2: Gather that section at your crown and twist into a loose knot—don’t pull the ends through all the way.
- Step 3: Secure the knot with bobby pins if needed, letting ends stick out.
- Step 4: Let the bottom half hang loose and arrange a few face-framing pieces.
5. The Deep Side Part with Cascading Curls
A deep side part transforms thick curls instantly, adding drama and directing volume exactly where you want it. It takes two seconds and changes everything.
How to style it:
- Step 1: Create a deep side part using a rat-tail comb, starting at the arch of your eyebrow.
- Step 2: Apply a light oil or shine serum to smooth the part and add gloss.
- Step 3: Sweep the larger section of curls over your shoulder on the heavy side.
- Step 4: Tuck the smaller side behind your ear and let face-framing pieces fall naturally.
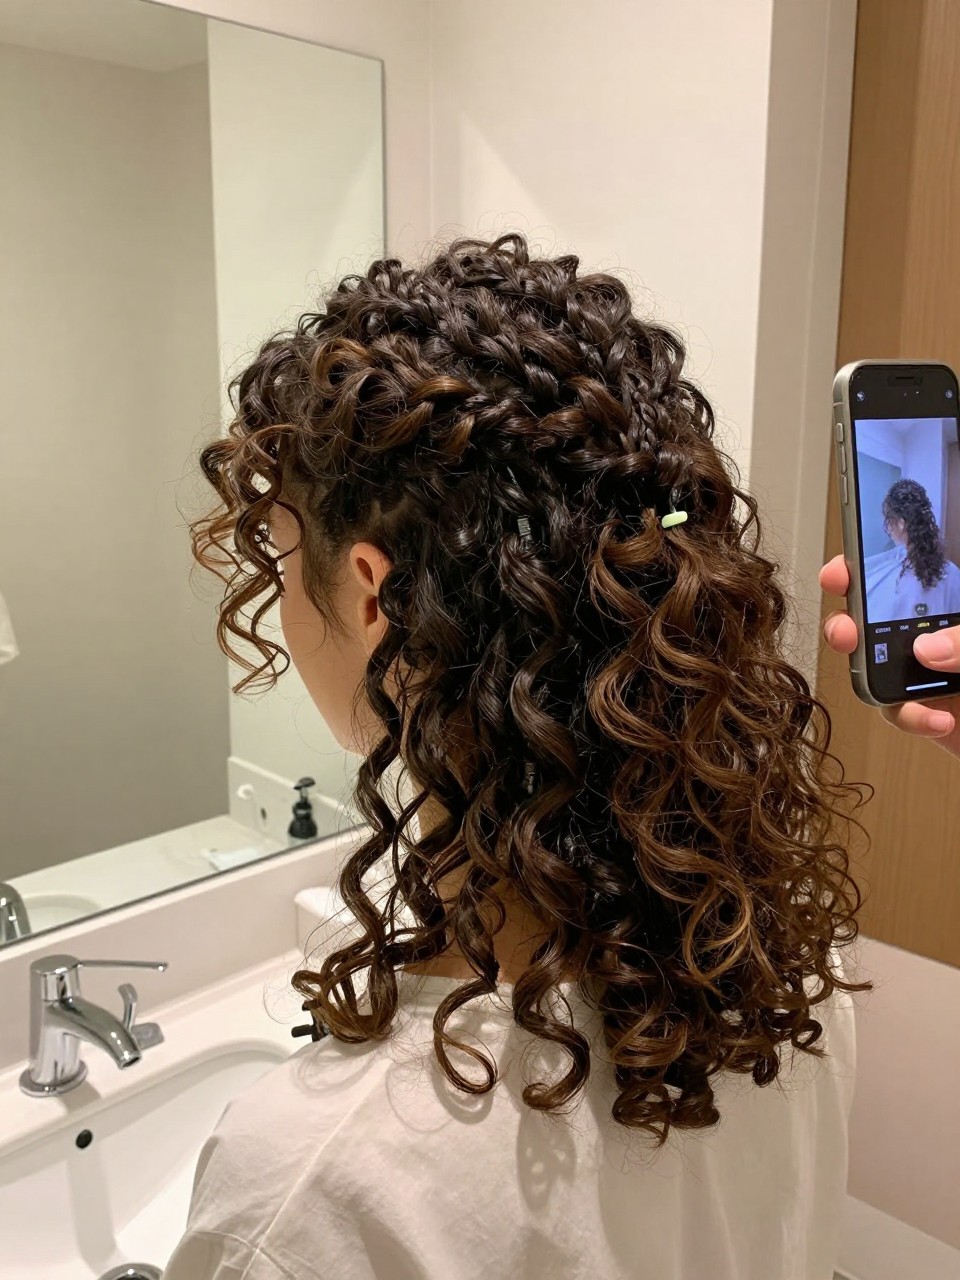
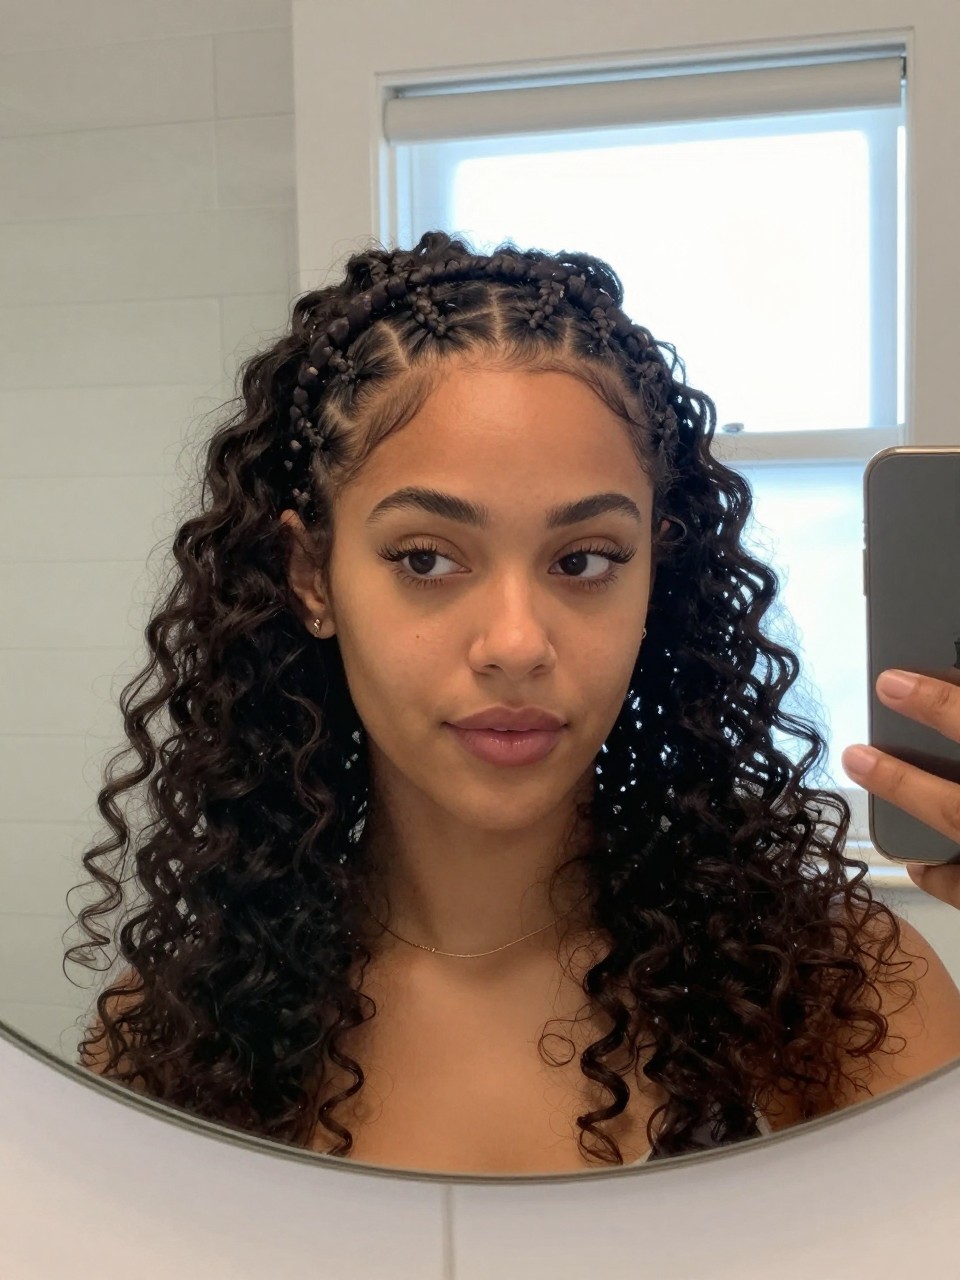
6. The Curly Braided Crown
This romantic style braids a section along your hairline, removing weight from the front while keeping the rest of your thick curls free. It’s elegant and practical.
How to style it:
- Step 1: Take a triangular section from your part to just behind your ear on one side.
- Step 2: Dutch braid this section along your hairline, incorporating hair as you go.
- Step 3: Continue braiding until you reach the opposite ear, then secure with a small elastic.
- Step 4: Tuck the end behind your ear and let your remaining curls hang loose.
7. The Low Curly Bun with Volume

A low bun on thick curls is elegant and polished, but keeping it slightly loose prevents it from looking severe. It’s perfect for work or special occasions.
How to style it:
- Step 1: Gather all curls at the nape of your neck.
- Step 2: Twist loosely and wrap into a bun, letting ends stick out intentionally.
- Step 3: Secure with spiral pins or bobby pins, leaving the bun soft and voluminous.
- Step 4: Pull out a few face-framing pieces to soften the look.
8. The Curly Space Buns
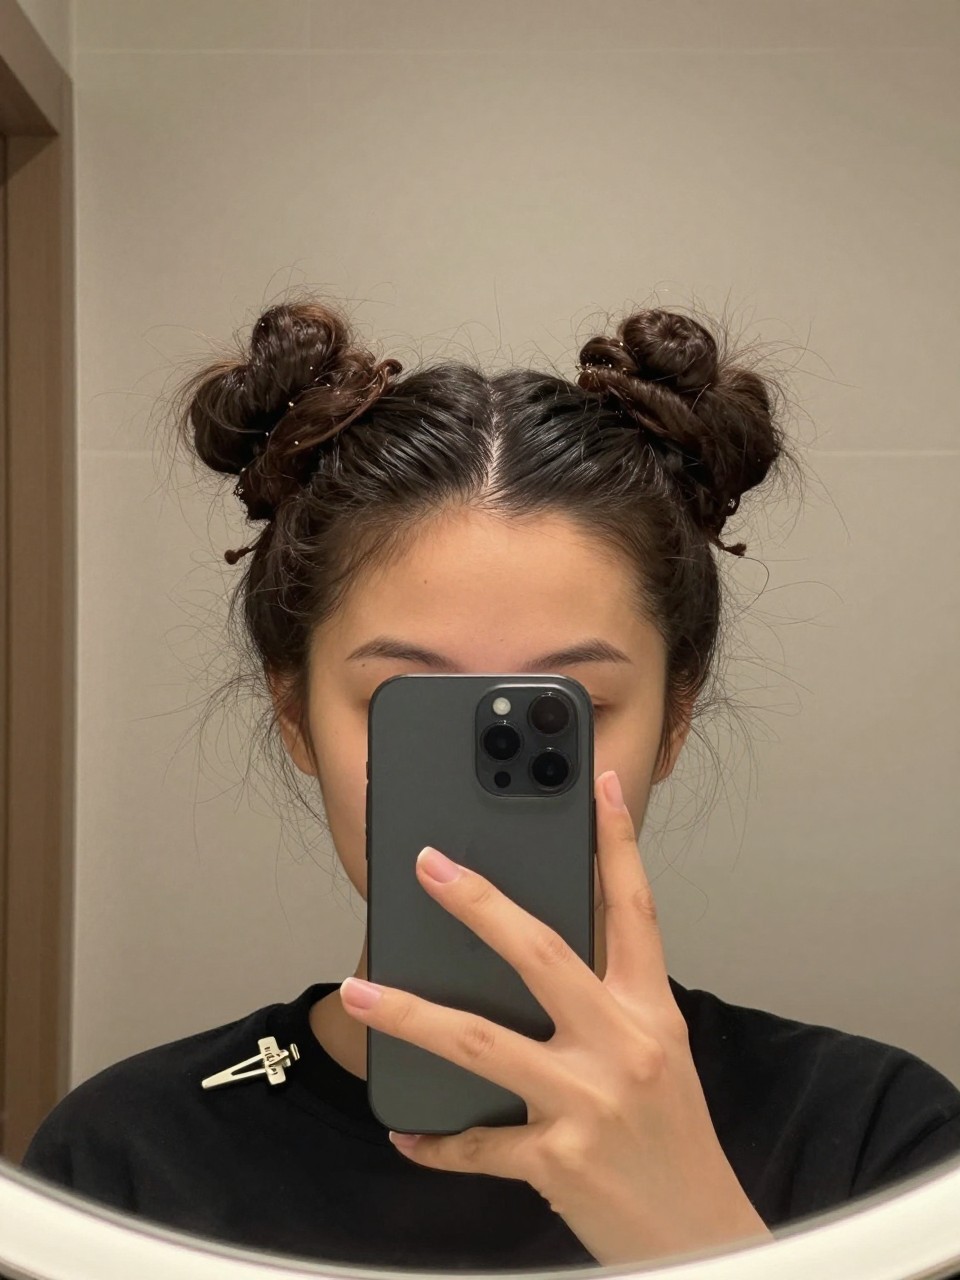
Space buns on thick curls are playful and practical—they contain all that volume into two manageable buns while looking incredibly cute.
How to style it:
- Step 1: Part your curls down the middle from forehead to nape.
- Step 2: Gather each side into high ponytails at your crown.
- Step 3: Twist each ponytail and wrap into buns, securing with pins and letting ends peek out.
- Step 4: Fluff each bun gently for maximum volume.
9. The Curly Faux Hawk
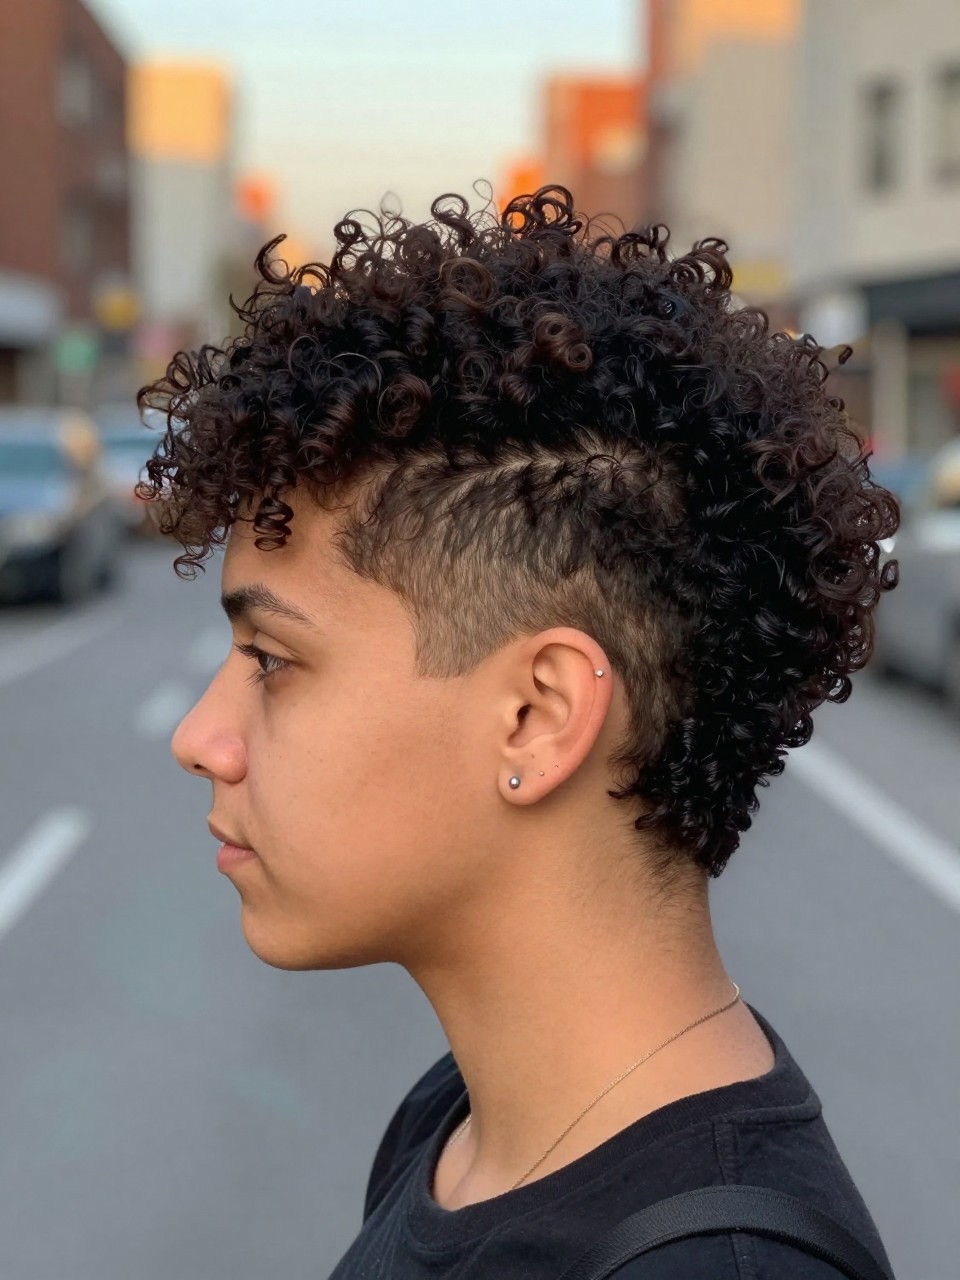
This edgy style pins the sides back while leaving volume down the center. It’s bold but wearable, and it removes bulk from the sides while showing off your curls.
How to style it:
- Step 1: Take the curls from both sides of your head and pin them back toward the center.
- Step 2: Use bobby pins or curl pins to secure them flat against your head.
- Step 3: Leave a strip of curls down the center from forehead to nape with full volume.
- Step 4: Fluff the center curls for maximum height and texture.
10. The Curly Ponytail with Braided Detail
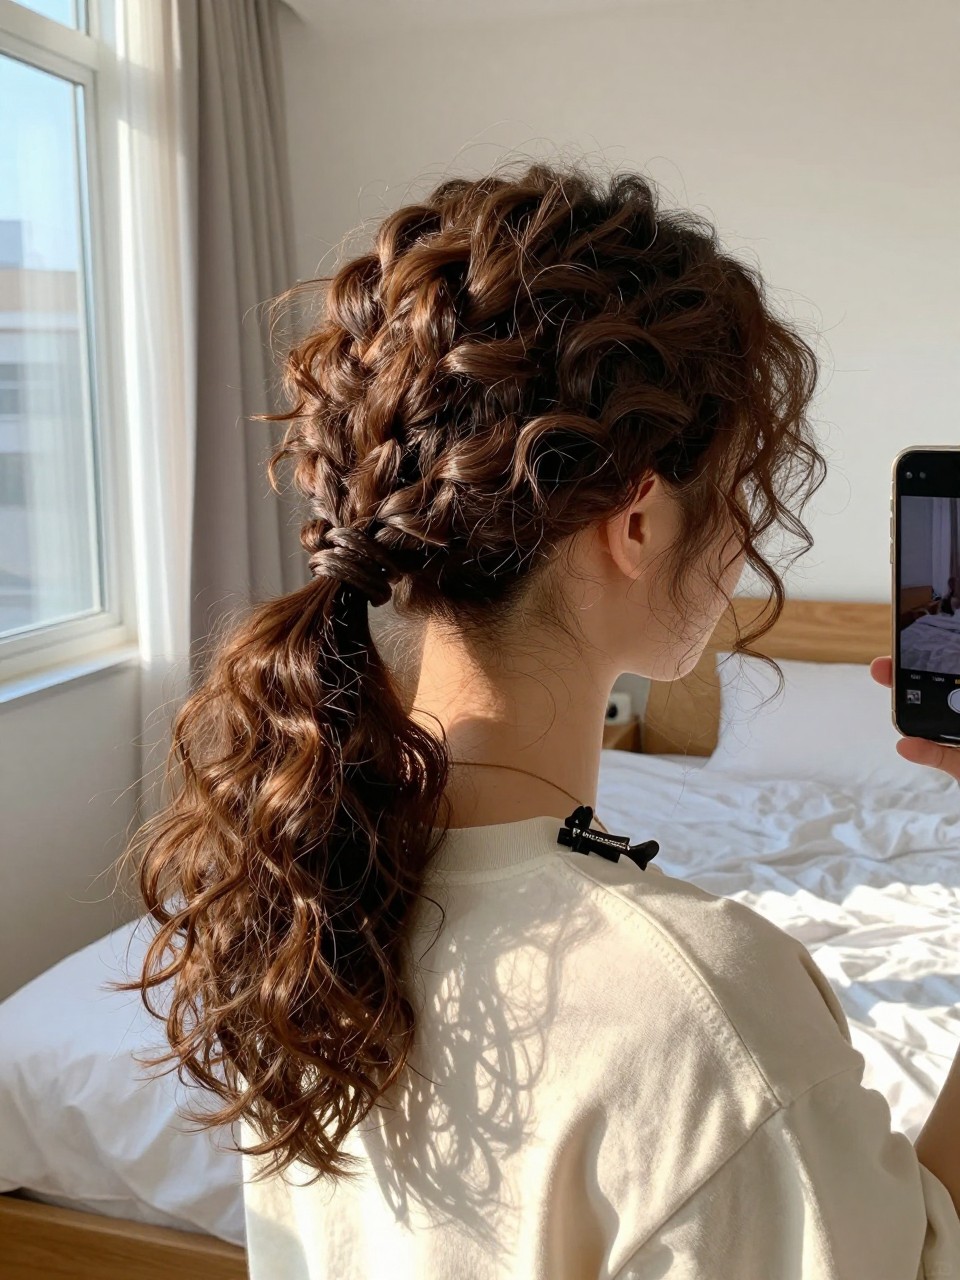
Adding a braid to a ponytail elevates the style and helps manage thick curls by incorporating some of the bulk into the braid.
How to style it:
- Step 1: Gather curls into a high or mid-height ponytail.
- Step 2: Take a small section from the ponytail and braid it.
- Step 3: Wrap the braid around the base to hide the elastic, or let it hang with the rest.
- Step 4: Secure the end of the braid with a small clear elastic.
11. The Curly Twist-Out for Maximum Definition

A twist-out gives thick curls incredible definition and helps manage volume by creating uniform, separated curls. It takes time upfront but pays off for days.
How to style it:
- Step 1: Start with damp, conditioned hair and apply a leave-in and styling cream.
- Step 2: Section hair into medium-sized sections and twist each one tightly from root to tip.
- Step 3: Allow twists to dry completely—overnight is best.
- Step 4: Untwist carefully, separate curls with your fingers, and fluff.
12. The Curly Claw Clip Updo
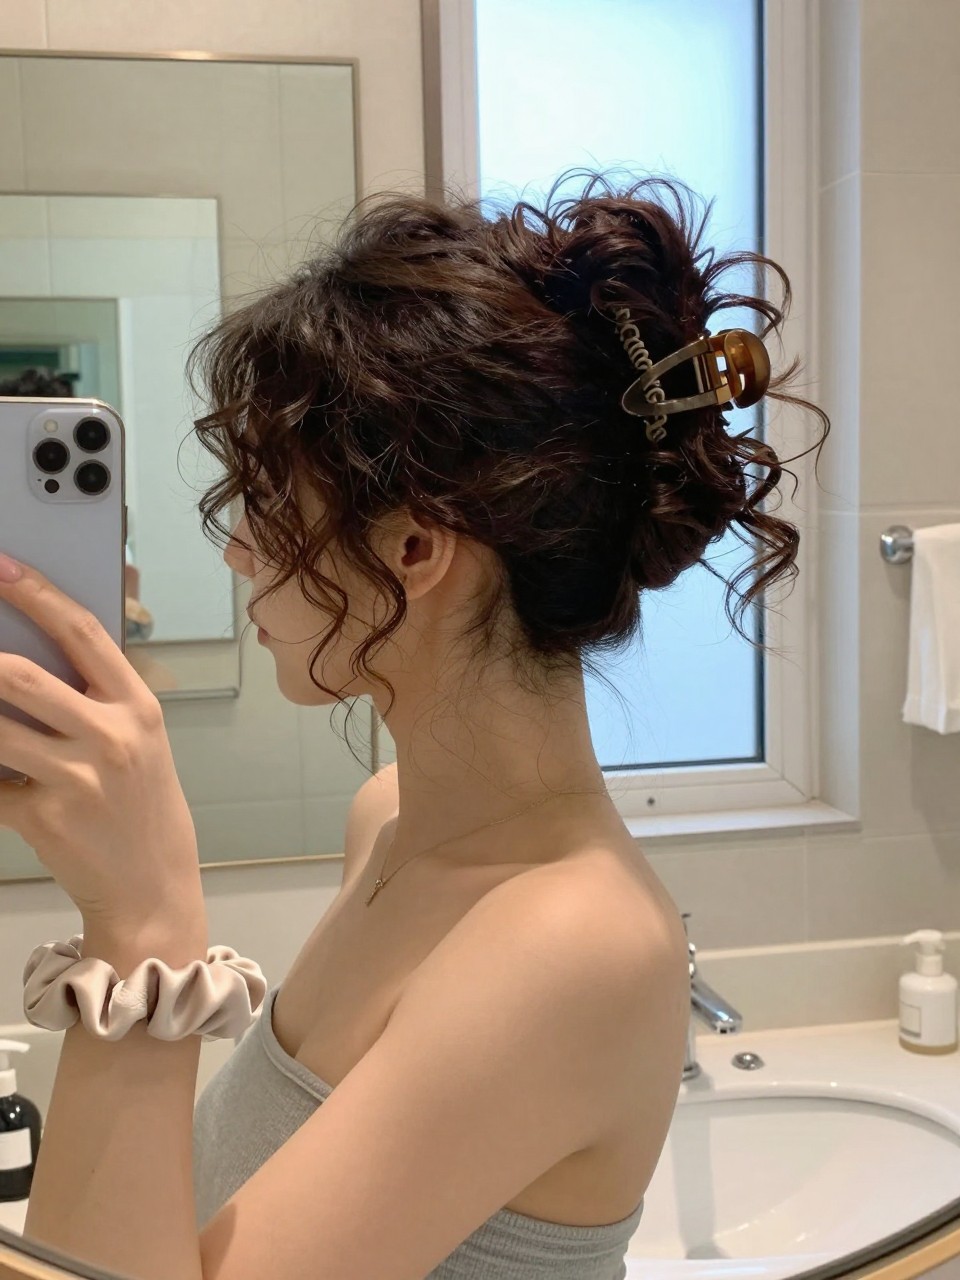
A claw clip is the ultimate tool for thick curls—it holds securely without pulling and lets you create an updo in seconds. Perfect for those “I’m done” moments.
How to style it:
- Step 1: Gather curls at the back of your head as if making a low ponytail.
- Step 2: Twist the gathered section once and lift it up.
- Step 3: Clamp a large claw clip vertically over the twist—make sure it’s strong enough for thick hair.
- Step 4: Let remaining curls fall freely and adjust a few front pieces.
13. The Side-Swept Curly Ponytail
A side-swept ponytail takes the weight of thick curls off your neck while creating a dramatic, elegant silhouette. It’s perfect for events or everyday glamour.
How to style it:
- Step 1: Create a deep side part on the opposite side of where you want the ponytail.
- Step 2: Gather all curls to one side, just behind your ear.
- Step 3: Secure with a strong elastic at the shoulder level.
- Step 4: Wrap a small curl around the base and let the ponytail cascade over your shoulder.
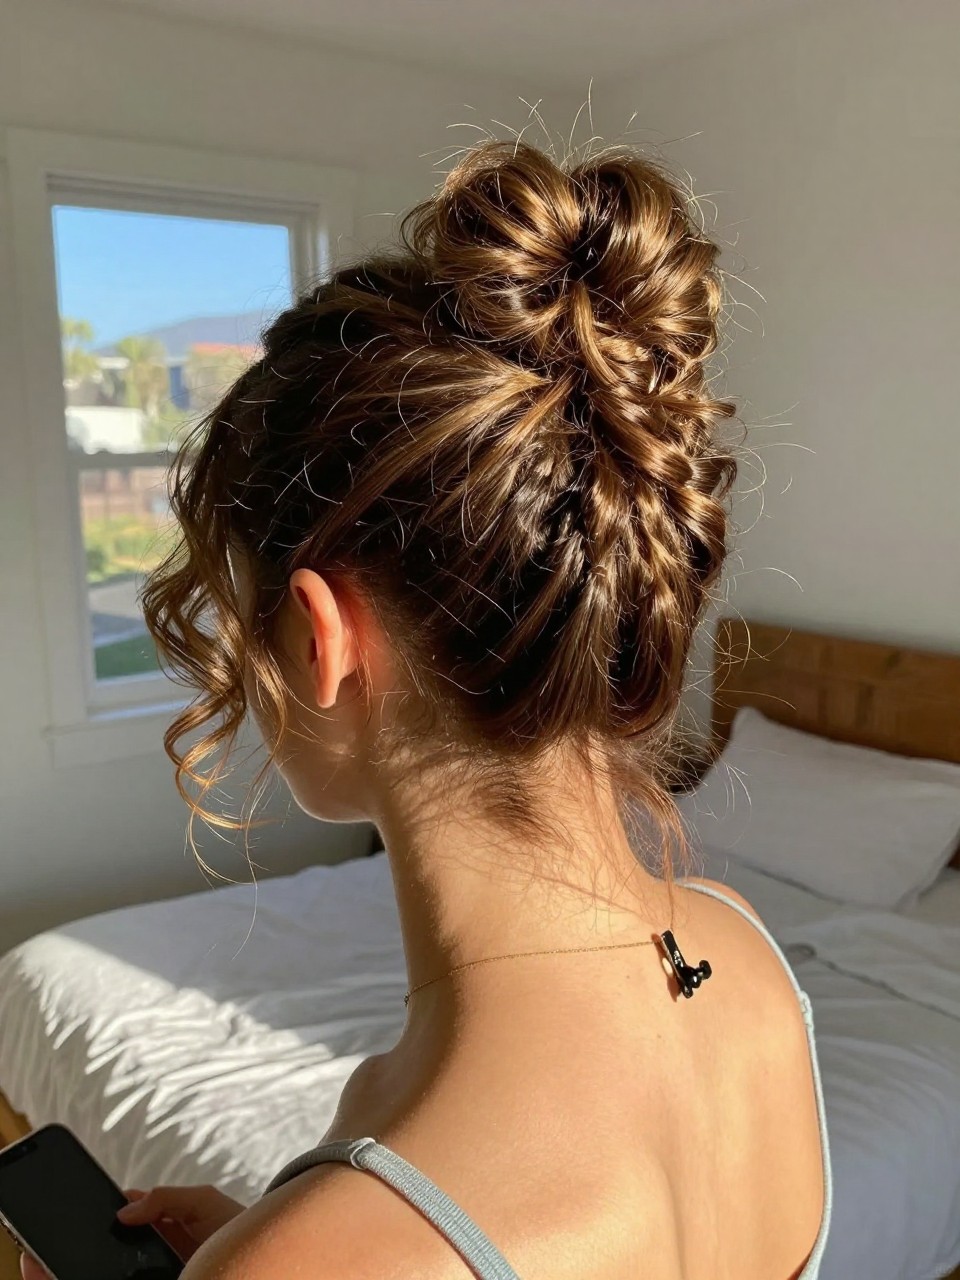
14. The Curly Top Knot with Face-Framing Pieces
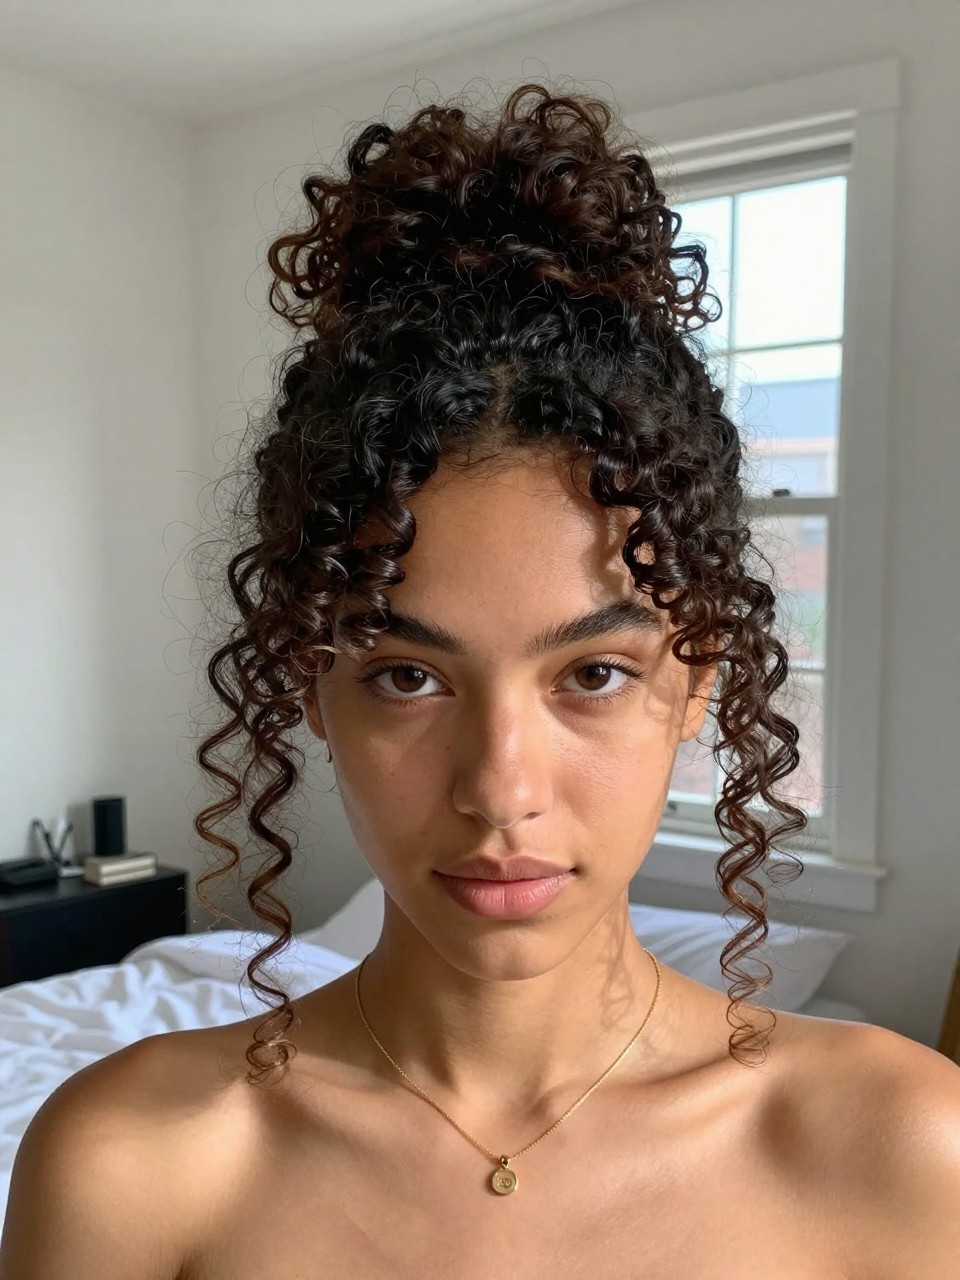
A top knot on thick curls is substantial and stylish. Leaving out face-framing pieces softens the look and draws attention to your features.
How to style it:
- Step 1: Gather all curls except small sections at each temple.
- Step 2: Secure the gathered curls into a high ponytail at your crown.
- Step 3: Twist the ponytail and wrap into a bun, securing with pins.
- Step 4: Let the front pieces hang freely and arrange them around your face.
15. The Curly Half-Up with Twisted Sides
This style twists small sections from each side and meets at the back, removing front bulk while leaving the rest of your thick curls free.
How to style it:
- Step 1: Take a small section from each temple and twist toward the back.
- Step 2: Bring both twists together at the back of your head.
- Step 3: Secure with bobby pins or a small decorative clip.
- Step 4: Gently pull at the twists to loosen them and let the rest hang loose.
16. The Curly Bantu Knot-Out
Bantu knots give thick curls incredible definition and volume. Worn as knots or taken down, they’re a versatile style that manages bulk beautifully.
How to style it:
- Step 1: Section damp, conditioned hair into medium-sized squares.
- Step 2: Twist each section and wrap it around itself into a tight knot against the scalp.
- Step 3: Allow knots to dry completely—overnight is ideal.
- Step 4: Unravel carefully and separate curls with your fingers for maximum volume and definition.
17. The Curly Low Pony with Volume at Crown

A low ponytail can sometimes fall flat on thick hair, but adding volume at the crown before securing transforms the whole look.
How to style it:
- Step 1: Apply a volumizing powder or spray to the roots at your crown.
- Step 2: Lift the crown section with your fingers or a pick for height.
- Step 3: Gather remaining curls at the nape and secure with an elastic.
- Step 4: Smooth the top layer and let the volume at crown remain lifted.
18. The Curly Braided Headband
This style braids a section from ear to ear like a headband, removing front bulk and keeping curls off your face while the rest hang free.
How to style it:
- Step 1: Take a section from just behind one ear across the top of your head to just behind the other ear.
- Step 2: Braid this section loosely and secure both ends with small elastics.
- Step 3: Let the braid sit across your head like a headband.
- Step 4: Tuck the ends behind your ears and let the remaining curls hang loose.
19. The Wash-and-Go with Root Volume
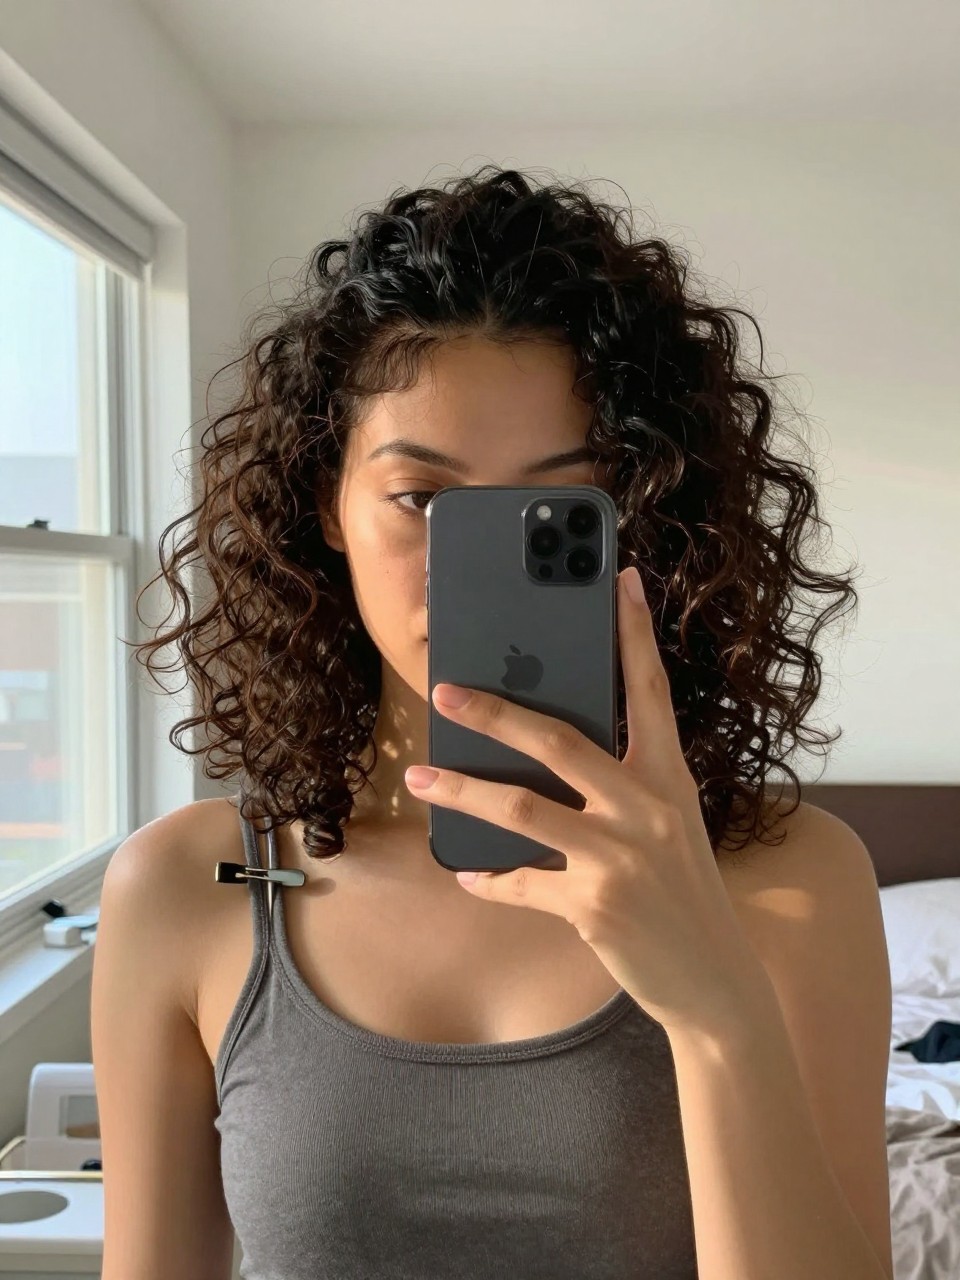
Sometimes the best style for thick curls is simply letting them be themselves, but with one strategic adjustment—volume at the roots. It lifts your whole face and makes the style look intentional.
How to style it:
- Step 1: Apply your usual curl products to soaking wet hair.
- Step 2: Diffuse with your head upside down until 80% dry.
- Step 3: Once dry, use a pick or your fingers to gently lift the roots at your crown.
- Step 4: Fluff and arrange without disturbing the curl pattern too much.