
Table of Contents Show
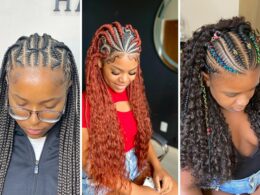
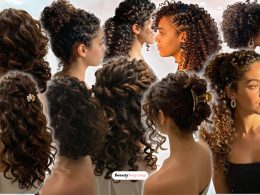
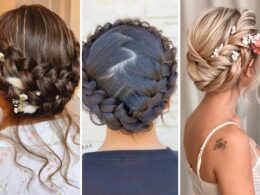
Prom night is one of those evenings you’ll remember forever, and finding the right hairstyle can feel like a big piece of that puzzle. If you’re thinking about wearing your hair up, you probably want something that feels special and elegant but also stays put while you’re dancing and taking photos all night.
Beauty For The Modern Woman
I totally get that—there’s nothing worse than fussing with falling strands when you should be having fun. This post is here to help you find that perfect updo.
I’ve rounded up 16 stunning prom updos, from sleek and polished to soft and romantic, so you can walk into your venue feeling absolutely beautiful and completely put-together.
1. Classic French Twist

This is the ultimate elegant updo that never goes out of style. It’s a sophisticated twist that rolls hair vertically up the back of your head, creating a sleek, polished silhouette. It’s perfect for showing off your neckline and statement earrings, and it works beautifully for formal events like prom.
What you need:
- Paddle brush for smoothing
- Strong-hold gel to tame flyaways
- Rat-tail comb for creating clean sections
- Long bobby pins or hair pins (at least 6-8)
- Strong-hold hairspray
- Shine spray for a glossy finish
How to style it:
- Start with brushed, product-free hair. Apply gel lightly for sleekness, then gather all hair at the nape as if making a low ponytail, but don’t secure it.
- Hold the hair with one hand and twist it upward, rolling it tightly against your head until the twist lies flat against your spine.
- Pin the twist securely by inserting long bobby pins or hairpins vertically into the roll, angling them toward your scalp.
- Tuck the ends inside the twist and smooth the top with your hands. Finish with strong-hold hairspray and a spritz of shine spray.
2. Messy Bun with Braided Detail

This style strikes the perfect balance between romantic and effortless. It’s a textured, slightly undone bun with a small braid woven through or wrapped around it, adding a touch of intricate detail. It’s a lifesaver for second-day hair and gives off that “I woke up like this but make it fancy” vibe.
What you need:
- Texturizing spray for grip and volume
- 1-inch curling iron for soft waves (optional)
- Clear elastic for the braid
- Bobby pins (lots of them)
- Hairspray with flexible hold
How to style it:
- Spray texturizer throughout your hair for grip. If your hair is too clean, this step is essential for the bun to hold.
- Take a small section from the front or side and braid it, securing the end with a clear elastic. Set it aside.
- Gather the rest of your hair into a high or low ponytail (your choice), then twist and wrap it into a messy bun, pinning as you go. Leave the ends loose for texture.
- Take the pre-made braid and wrap it around the base of the bun or weave it through, pinning it in place. Gently pull on the bun to loosen it further and set it with hairspray.
3. Low Chignon with Face-Framing Tendrils

The low chignon is a classic for a reason—it’s timeless, elegant, and incredibly feminine. This version keeps the bun smooth and low at the nape, but softens the look with a few wispy tendrils left out to frame the face. It’s romantic and perfect for a formal night out.
What you need:
- 1-inch curling iron for the tendrils
- Shine serum for gloss
- Strong-hold hairspray
- Clear elastic for the base
- Bobby pins and U-shaped pins for securing
- Rat-tail comb for parting
How to style it:
- Apply shine serum to smooth hair. Gather hair into a low ponytail at the nape, but on the last pull-through, don’t pull the ends all the way—leave a loop.
- The loop becomes your chignon. Spread it out slightly and pin the sides down with U-shaped pins to create a flat, rounded bun.
- Take the hanging ends and twist them loosely, tucking them up and around the base of the bun, pinning securely.
- Use the curling iron to curl a few small sections around your face. Let them cool, then finger-comb them softly. Finish with hairspray.
4. Braided Crown Updo
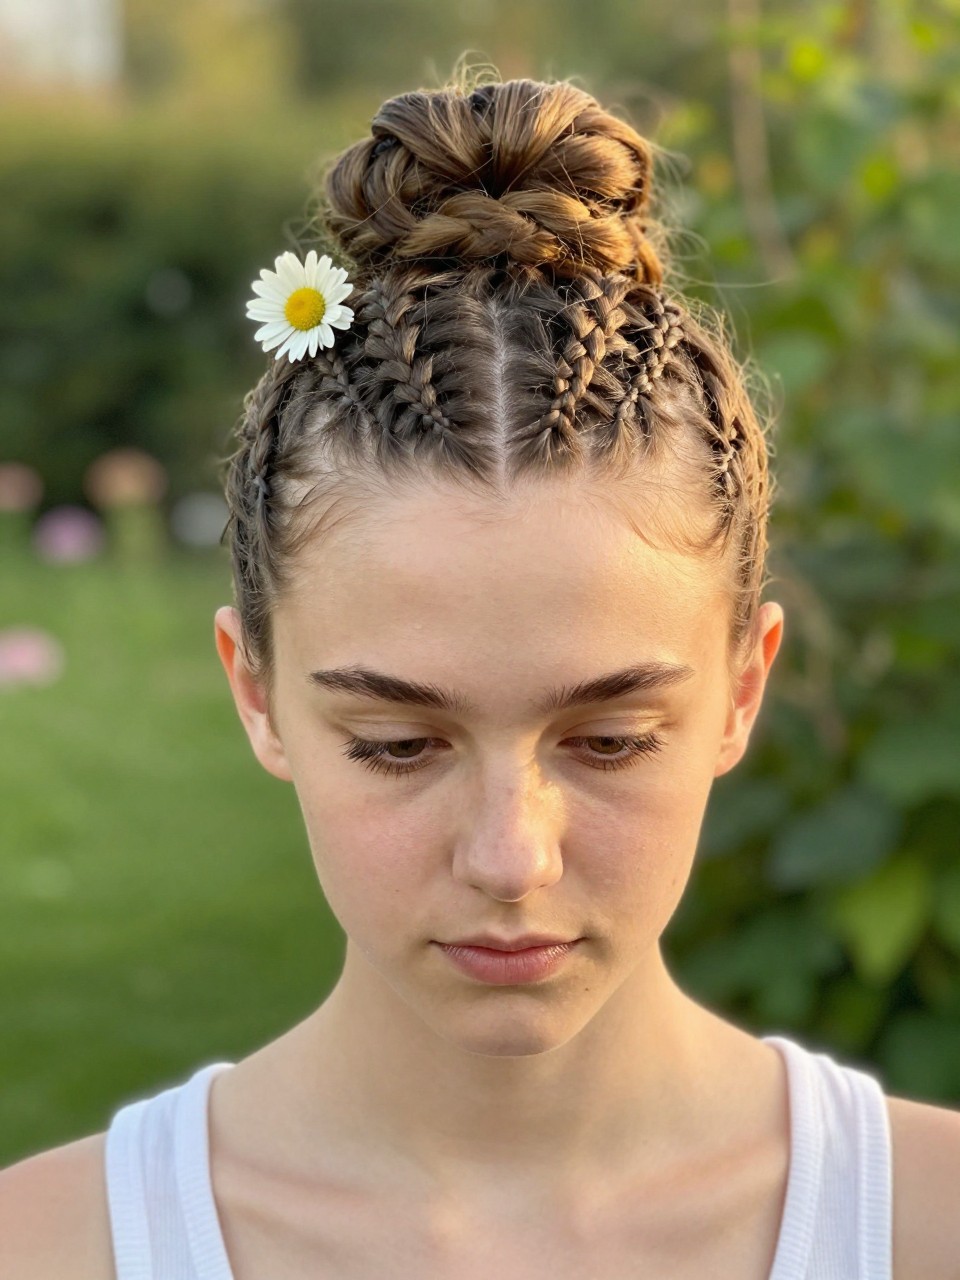
This style makes you feel like royalty. Two braids are pinned across the top of your head like a crown, with the rest of the hair gathered into a soft, low bun or left loose. It’s a dreamy, romantic choice that’s perfect for a bohemian or fairy-tale prom theme.
What you need:
- Texturizing spray for grip and volume
- 1-inch curling iron to soften ends (optional)
- Clear elastics for the braids
- Plenty of bobby pins that match your hair color
- Light-hold hairspray to set everything
How to style it:
- Spray texturizer throughout your hair for grip. Create a center part from forehead to nape.
- On one side, start a French braid at your temple, braiding along your hairline towards the back of your head. Secure the end with a clear elastic. Repeat on the other side.
- Bring both braids to the back and pin them across the crown of your head, tucking the ends under. They should meet and overlap slightly to form a “crown.”
- Gather the remaining loose hair into a low, twisted bun at the nape. Pin it securely. Gently pull on the braids to loosen them for a fuller look and set with hairspray.
5. Sleek High Bun

This is the ultimate polished, modern updo. It’s a smooth, high bun placed at the crown of your head that looks incredibly chic and sophisticated. It’s perfect for showing off your facial features and pairs beautifully with bold makeup or statement earrings.
What you need:
- Paddle brush for smoothing
- Strong-hold gel for sleekness
- Fine-tooth comb for creating clean lines
- Strong elastic for the ponytail base
- Bobby pins and U-shaped pins for the bun
- Shine spray for a glass-like finish
How to style it:
- Apply gel to damp hair and comb through with the paddle brush for a completely smooth finish. Create your desired part (a center or deep side part both work).
- Gather hair into a very high ponytail at the crown of your head and secure tightly with an elastic. Smooth any bumps with the fine-tooth comb.
- Twist the ponytail tightly and wrap it around the base to form a neat bun. Tuck the ends under and secure with U-shaped pins and bobby pins.
- Smooth any flyaways with more gel on your fingertips and finish with a generous spritz of shine spray for maximum gloss.
6. Textured Top Knot

This is the cool-girl version of an updo. It’s a high, messy bun with lots of volume and texture, giving off an effortlessly chic vibe. It’s a great option if you want your hair up but don’t want to look too stiff or formal, and it’s perfect for dancing the night away.
What you need:
- Texturizing spray for volume and grip
- Dry shampoo for root lift
- Strong elastic for the ponytail base
- Bobby pins for securing
- Hairspray with flexible hold
How to style it:
- Spray dry shampoo at the roots and texturizer throughout for maximum volume and grip. Flip your head over and rough up the hair with your fingers.
- Gather hair into a very high ponytail at the crown and secure with an elastic. Don’t worry about smoothness—messy is the goal.
- Twist the ponytail loosely and wrap it around the base to form a bun, pinning as you go. Let pieces stick out naturally—don’t tuck everything in.
- Gently pull on the bun to loosen and expand it for more volume. Set with flexible-hold hairspray to keep the texture without stiffness.
7. Dutch Braid Bun
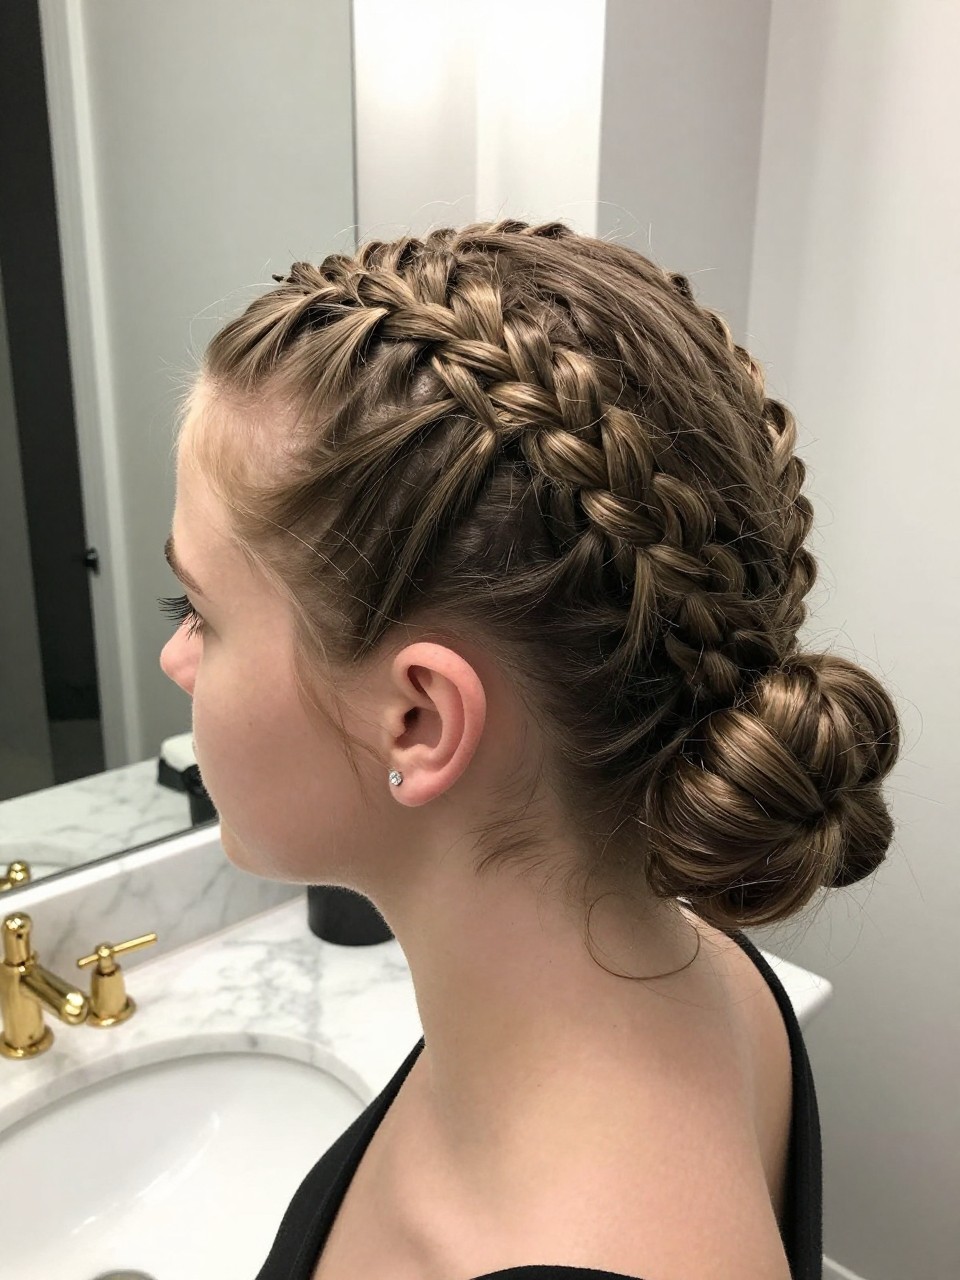
This style combines two stunning elements: the texture of a Dutch braid and the elegance of a bun. A Dutch braid (which is like an inside-out French braid) starts at the nape and is then wrapped into a low bun, creating a look that’s both intricate and sophisticated.
What you need:
- Texturizing spray for grip
- Rat-tail comb for sectioning
- Clear elastic for the braid
- Bobby pins and U-shaped pins for the bun
- Hairspray for hold
How to style it:
- Spray texturizer throughout your hair. Flip your head over and gather all hair at the nape, then start a Dutch braid (braiding under, not over) from the nape downwards.
- Braid all the way to the ends and secure with a clear elastic.
- Gently pancake the braid by pulling on the edges to make it fuller and softer. This step adds romantic volume.
- Coil the braid around itself at the nape to form a bun, tucking the end underneath. Secure with bobby pins and U-shaped pins. Finish with hairspray.
8. Vintage Victory Rolls Updo

This is for the bold glamour lover. Victory rolls are a vintage style from the 1940s that involves rolling sections of hair at the front into sculptural, voluminous curls. Paired with a sleek low bun in the back, it’s a show-stopping, elegant look that’s perfect for a themed prom or anyone wanting to stand out.
What you need:
- Strong-hold gel for sleekness
- Rat-tail comb for clean sections
- Large bobby pins or hair pins for securing rolls
- 1-inch curling iron for the rolls (optional)
- Strong-hold hairspray
- Shine spray for gloss
How to style it:
- Create a deep side part. Take a 2-3 inch section from the front on the heavier side. Apply gel for sleekness.
- Comb the section smooth, then tease it lightly at the roots for volume. Roll the section inward (toward your face) and pin it flat against your head to form a cylindrical roll. Repeat on the other side if desired, or just do one dramatic roll.
- Gather the rest of your hair into a sleek, low ponytail at the nape, then twist into a neat bun and pin.
- Smooth any flyaways and finish with strong-hold hairspray and shine spray for a glossy, vintage-inspired look.
9. Low Braided Bun with Pearls

This romantic updo adds a touch of luxury with delicate pearl accents. A low, textured bun is created, and small pearl-tipped pins are scattered throughout or a strand of pearls is woven into the braid. It’s elegant, feminine, and perfect for a formal night out.
What you need:
- Texturizing spray for grip
- 1-inch curling iron for soft waves (optional)
- Clear elastic for any braids
- Bobby pins for the bun
- Pearl-tipped hair pins or a strand of small pearls on a thread
- Light-hold hairspray
How to style it:
- Spray texturizer throughout your hair. (Optional) Create soft waves for added texture.
- Create a loose braid or two at the back or sides of your head, depending on your preference. Secure with clear elastics.
- Gather all hair into a low bun at the nape, incorporating the braids. Pin securely, leaving the bun slightly loose and textured.
- Insert the pearl-tipped pins throughout the bun in a scattered pattern. If using a pearl strand, weave it through the bun or braid. Finish with a light mist of hairspray.
10. Sleek Low Twist

This is minimalist elegance at its finest. It’s a simple, low twist that gathers hair at the nape and twists it into a clean, sculptural shape. It’s modern, sophisticated, and perfect for showing off the lines of a dress with a high neckline or interesting back detail.
What you need:
- Paddle brush for smoothing
- Strong-hold gel for sleekness
- Fine-tooth comb for clean lines
- Bobby pins for securing
- Shine spray for gloss
How to style it:
- Apply gel to damp hair and comb through with the paddle brush for a completely smooth finish. Create a center or deep side part.
- Gather all hair at the nape as if making a low ponytail, but don’t secure it with an elastic.
- Twist the hair upward or downward (experiment to see what works) and pin it flat against your head, tucking the ends under. The twist should lie smoothly.
- Use bobby pins to secure the twist every inch or so. Smooth any flyaways with more gel on your fingertips and finish with shine spray for a glossy, polished look.
11. Half-Up Bouffant Updo

This retro-inspired style adds major volume and glamour. The top section is teased into a soft bouffant or pouf, then swept back into a low updo with the rest of the hair. It’s elegant, face-framing, and perfect for anyone who wants a little extra height and drama.
What you need:
- Volumizing mousse for lift
- Teasing brush or fine-tooth comb for backcombing
- Texturizing spray for grip
- Bobby pins for securing
- Strong-hold hairspray
- Shine spray for finish
How to style it:
- Apply mousse to damp hair and blow-dry upside down for maximum volume at the roots.
- Section off the top front portion of your hair (from temple to temple). Spray texturizer and gently tease the roots for volume.
- Smooth the top layer over the teased section with a brush and gently sweep it back, pinning it at the crown to create a soft pouf.
- Gather the remaining hair into a low bun or twist at the nape. Pin securely. Finish with hairspray and shine spray.
12. Fishtail Braid Bun

This style combines the intricate texture of a fishtail braid with the elegance of a bun. The fishtail braid is more detailed than a regular braid and creates a stunning, woven effect when wrapped into an updo. It’s bohemian, romantic, and looks much more complicated than it actually is.
What you need:
- Texturizing spray for grip
- Clear elastic for the braid
- Bobby pins and U-shaped pins for the bun
- Light-hold hairspray
How to style it:
- Spray texturizer throughout your hair for grip. Pull hair into a low side ponytail or low ponytail at the nape.
- Create a fishtail braid: split the ponytail into two sections. Take a small piece from the outside of the left section and cross it to the right. Take a small piece from the outside of the right section and cross it to the left. Repeat until you reach the ends.
- Secure the end with a clear elastic. Gently pancake the braid by pulling on the edges to make it fuller.
- Wrap the fishtail braid around its base to form a bun, tucking the end underneath. Pin securely with U-shaped pins and bobby pins. Finish with a light mist of hairspray.
13. Rope Twist Chignon

This modern take on the classic chignon uses rope twists instead of a simple bun. Two sections of hair are twisted into rope-like strands and then pinned together at the nape to form an elegant, sculptural shape. It’s sleek, simple, and adds a unique, textured detail.
What you need:
- Texturizing spray for grip
- Clear elastics (optional)
- Bobby pins for securing
- Light-hold hairspray
- Shine spray for gloss (optional)
How to style it:
- Spray texturizer throughout your hair for grip. Create a deep center or side part.
- Divide your hair into two equal sections, left and right, from the part down to the nape.
- Twist each section tightly away from your face until they naturally coil into rope-like strands. Hold the twists to prevent them from unraveling.
- Bring both rope twists together at the nape and pin them to each other and to your head, forming a chignon. Tuck the ends under. Finish with hairspray and optional shine spray.
14. Romantic Flower Bun

This style is pure romance. A textured, low bun is created, and fresh flowers or high-quality silk flowers are tucked into it, adding a natural, whimsical touch. It’s perfect for a spring or summer prom and pairs beautifully with flowy, floral dresses.
What you need:
- Texturizing spray for volume and grip
- 1.5-inch curling iron for soft waves
- Clear elastic for the ponytail base
- Bobby pins for the bun
- Fresh flowers or high-quality silk flowers (2-3 blooms)
- Floral tape and bobby pins to secure flowers
How to style it:
- Create soft waves throughout your hair with the curling iron for a romantic base. Spray with texturizer.
- Gather hair into a low, loose ponytail at the nape, then twist and pin into a textured, messy bun. Leave some pieces loose for softness.
- Prepare your flowers by wrapping the stems with floral tape. Attach a bobby pin to each taped stem.
- Tuck the flowers into the bun at different angles, securing the bobby pins firmly into the hair. Arrange them to look natural and effortless.
15. Braided Low Bun with Ribbon

This sweet, romantic style adds a pop of color with a delicate ribbon woven through a low braided bun. A simple braid is created, then wrapped into a bun, with a silk or velvet ribbon threaded through for a touch of whimsy and elegance.
What you need:
- Texturizing spray for grip
- Clear elastic for the braid
- Bobby pins and U-shaped pins for the bun
- A long silk or velvet ribbon (about 1/2 inch wide)
- Light-hold hairspray
How to style it:
- Spray texturizer throughout your hair. Pull hair into a low ponytail at the nape and create a regular three-strand braid, securing the end with a clear elastic.
- Gently pancake the braid by pulling on the edges to make it fuller.
- Take your ribbon and weave it through the braid, starting at the top and working your way down. You can weave it over and under the braid sections.
- Coil the braid around itself at the nape to form a bun, tucking the end underneath. Pin securely. Tie the remaining ribbon into a small bow at the base or let the ends hang softly. Finish with hairspray.
16. Textured Low Bun with Pearl Pins

This is the perfect combination of effortless and elegant. It’s a low, textured bun with lots of softness and movement, elevated by the addition of decorative pearl pins scattered throughout. It’s romantic, sophisticated, and works for any hair type or dress style.
What you need:
- Texturizing spray for volume and grip
- 1.5-inch curling iron for soft waves
- Clear elastic for the ponytail base
- Bobby pins for the bun
- Decorative pearl pins (5-7 of them)
- Light-hold hairspray
How to style it:
- Create soft waves throughout your hair with the curling iron for a romantic base. Spray generously with texturizer.
- Gather hair into a low, loose ponytail at the nape. Don’t pull it too tight—keep it soft.
- Twist the ponytail loosely and wrap it around the base to form a bun, pinning as you go. Don’t worry about perfection; let pieces stick out naturally for texture.
- Insert the pearl pins throughout the bun in a scattered pattern, pushing them in securely. Gently pull on the bun to loosen it further and set with light-hold hairspray.