

Table of Contents Show
If you have wavy hair, you already know it lives in this funny in-between space. One day it wants to be curly, the next day it falls almost straight, and some days it just does its own thing. It can be tricky to figure out what to do with it that actually works with your natural texture instead of fighting against it.
Beauty For The Modern Woman
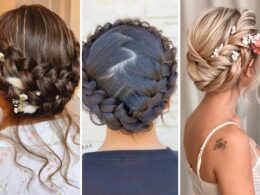
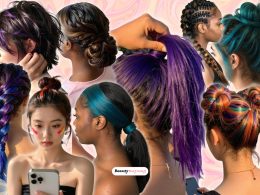
The good news is that wavy hair has this effortless, undone look that other people actually pay for. This post is going to walk you through fifteen hairstyles that let your waves do the heavy lifting.
Some are quick five-minute fixes, others are worth the extra time, but all of them are designed to make your waves look like you meant to do that.
1. Textured Low Bun
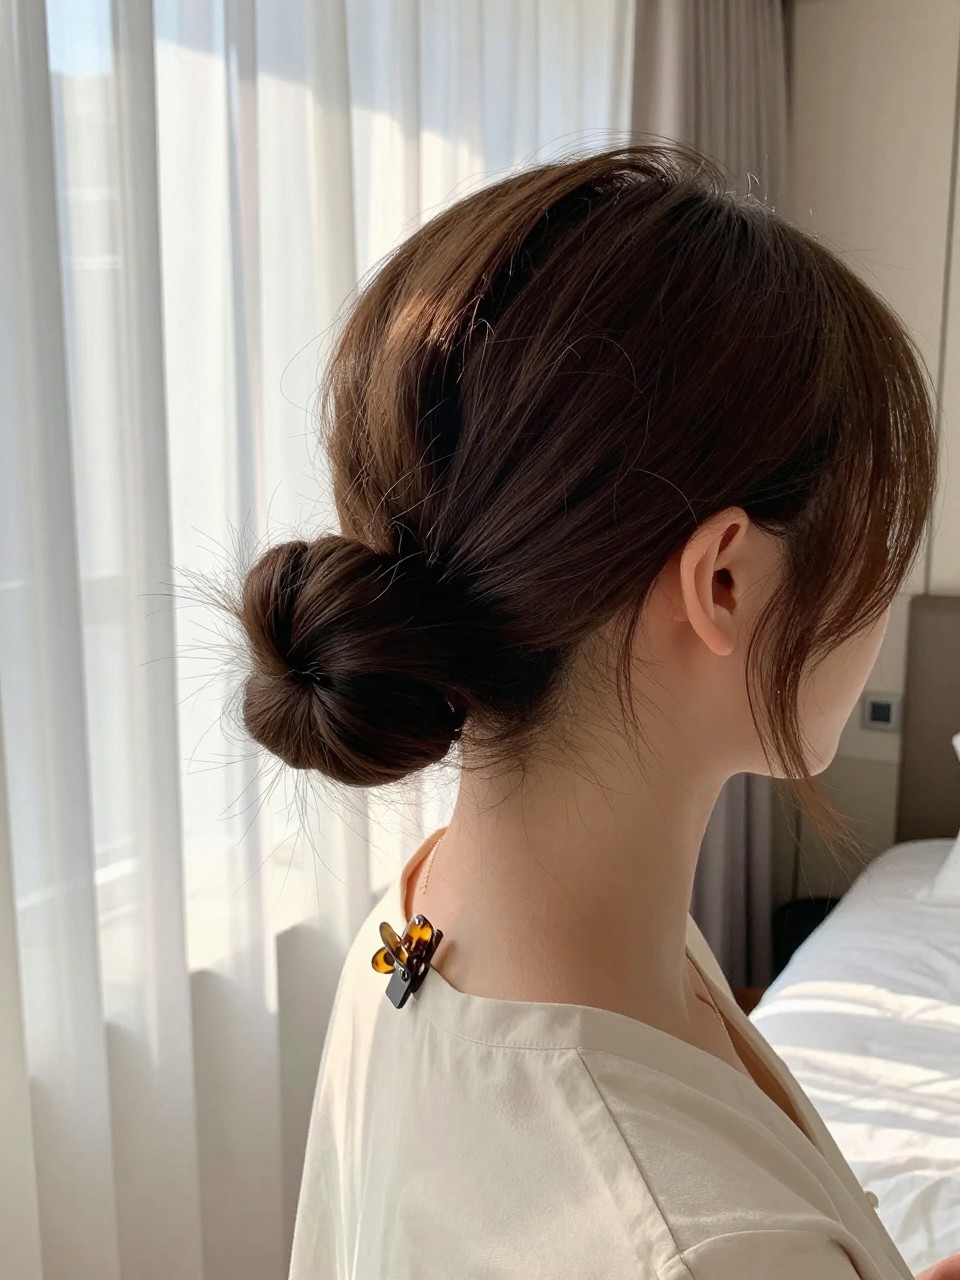
This is the kind of bun that looks complicated but is probably the easiest thing you will do all week. It sits low on the nape of the neck with pieces gently falling out, giving off that relaxed but pulled-together energy. It is a lifesaver for third-day hair when the waves are losing their shape but you are not ready for a wash.
What you need:
- Soft hair tie (the kind that looks like an old t-shirt material)
- Bobby pins (matte ones grip better)
- Texturizing spray
- Light-hold hairspray
How to style it:
- Step 1: Spray texturizer all over to give your waves some grit so they don’t slip out of the bun.
- Step 2: Gather your hair low at the nape like you are making a ponytail, but don’t pull it all the way through on the last loop. Leave a loop of hair about halfway through.
- Step 3: Twist the looped hair and wrap it around the base, securing with bobby pins by sliding them in at an angle.
- Step 4: Pull out a few pieces around your face and spray lightly with hairspray so everything stays without getting crunchy.
2. Curtain Bangs Blowout
This style gives you that perfect 70s-inspired framing that makes everything look softer. The bangs sweep away from your face like curtains (hence the name) and blend right into your waves so it all flows together. It works for almost every face shape because you can customize how long the bangs are and how dramatic the sweep is.
What you need:
- Round brush (medium size, about 1.5 inches)
- Blow dryer with a nozzle attachment
- Small clip to section off the bangs
- Lightweight styling cream
How to style it:
- Step 1: Start with damp hair and apply a tiny bit of styling cream just to your bang area.
- Step 2: Section off the front triangle of hair (think from your temples to the top of your head) and clip the rest back.
- Step 3: Use the round brush to pull the bangs forward and slightly away from your face while blow drying, directing the air down the shaft.
- Step 4: Once dry, brush them side to side to break them up, then let them fall naturally and blend into your waves.
3. The Half-Up Butterfly Clip
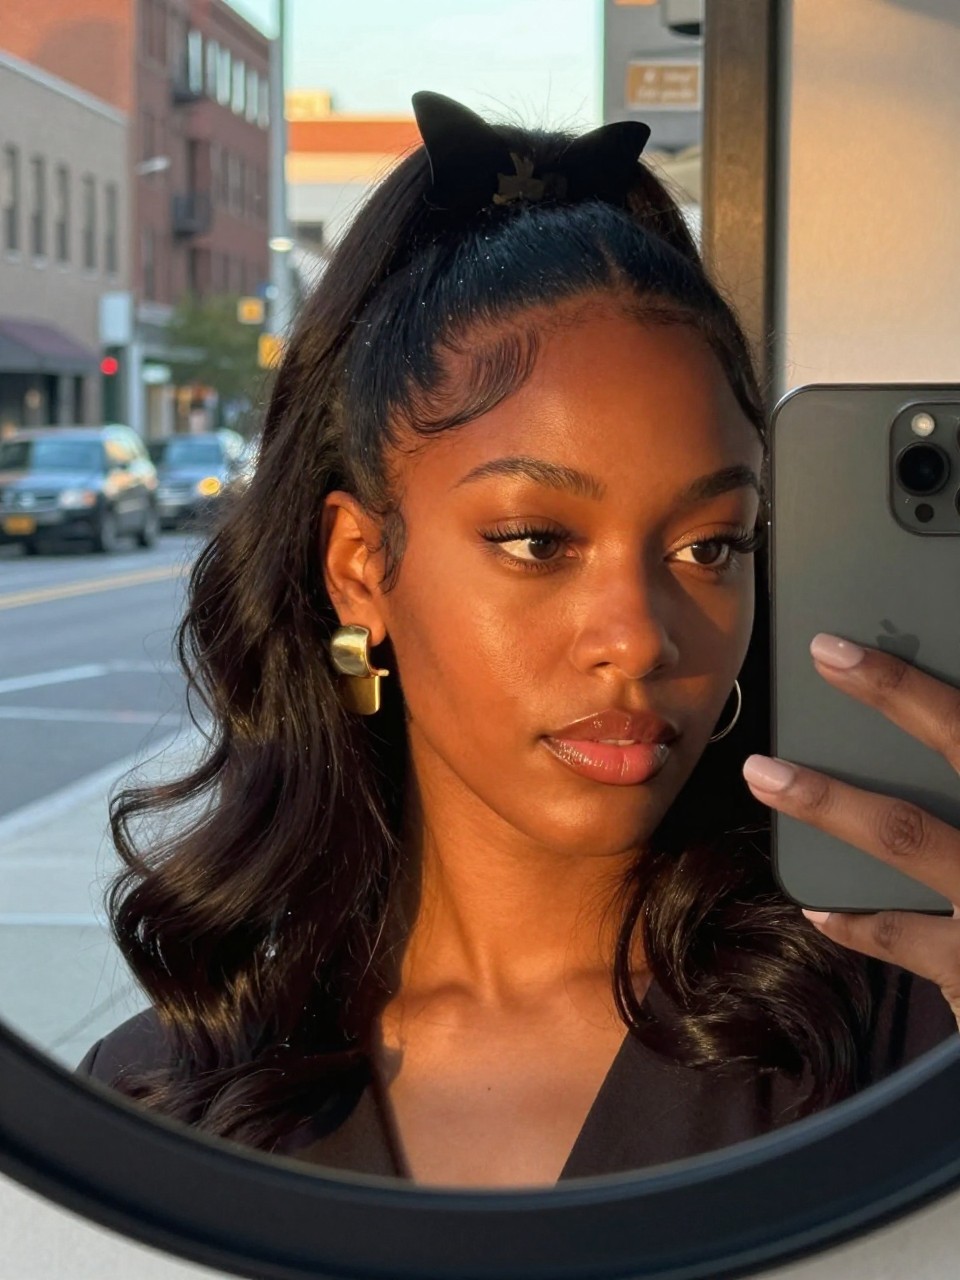
This is the hairstyle that says you tried but also you really didn’t, and it looks fantastic either way. A large butterfly or claw clip gathers the top half of your hair while leaving your waves loose and flowing down. It is ideal for those days when you want your hair off your face but still want to show off your length and texture.
What you need:
- Large butterfly or claw clip (size matters here, bigger is better)
- Wide-tooth comb (just for gently shaping)
- Light-hold hairspray
How to style it:
- Step 1: Take a section from each temple going back to the crown of your head, like you are making a half-ponytail.
- Step 2: Hold that section in one hand and comb through it gently just to smooth the top layer.
- Step 3: Twist the section once or twice (this gives it some height) and then clip it at the back of your head with the butterfly clip.
- Step 4: Gently pull on the top a tiny bit for volume, then arrange your loose waves around the clip and mist with hairspray.
4. Overnight Heatless Waves
This is not a style you do in the morning; it is what you do before bed to wake up with perfect waves without any heat damage. Using a soft rod or even just a robe tie, you wrap your damp hair around it and sleep on it. When you take it out in the morning, you have these bouncy, uniform waves that last all day.
What you need:
- Satin heatless curling rod (or a long silk robe tie works too)
- Satin scrunchie
- Lightweight leave-in conditioner
- Hair oil for the ends
How to style it:
- Step 1: Start with damp, not wet, hair and apply leave-in conditioner focusing on the ends.
- Step 2: Place the rod at the top of your head and start wrapping sections of hair around it, alternating directions as you go.
- Step 3: Once all hair is wrapped, secure the ends with a satin scrunchie so nothing unravels while you sleep.
- Step 4: In the morning, carefully unwrap, shake out your hair with your fingers, and run a tiny bit of oil through the ends.
5. High Pony with Ribbon
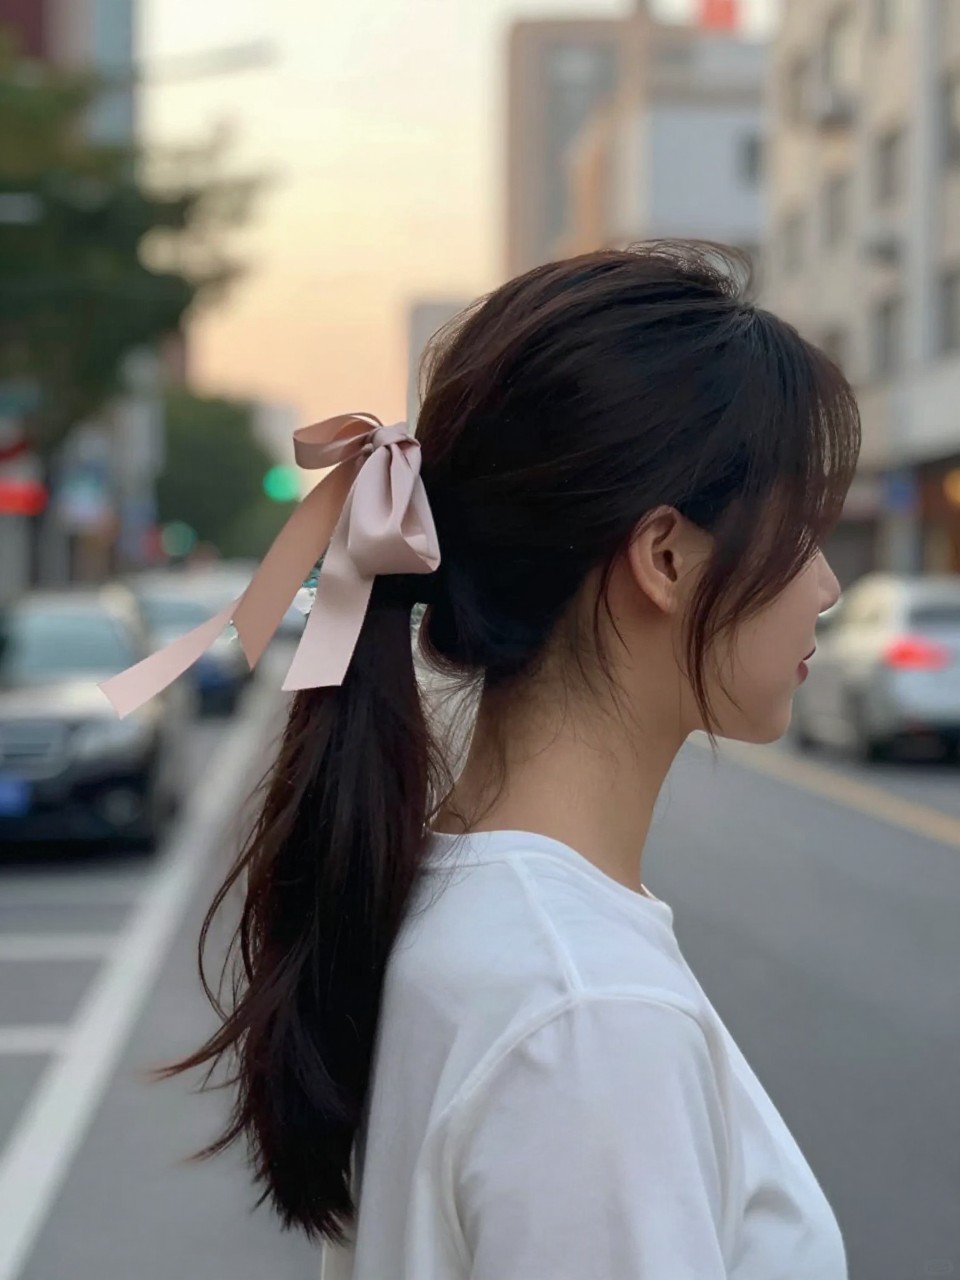
This takes a basic ponytail and makes it feel special because of one simple addition: a ribbon. The ponytail sits high on your head, letting your waves cascade down, and the ribbon is tied around the base or woven through. It is perfect for summer, bad hair days, or any day you want to feel a little fancy without much work.
What you need:
- Strong hair tie (to hold the height)
- Silk or satin ribbon (about half an inch wide)
- Bobby pins (if the ribbon needs securing)
- Smoothing cream (just for flyaways)
How to style it:
- Step 1: Flip your head upside down and gather all hair at the very top of your head, smoothing it back with your hands.
- Step 2: Secure tightly with a hair tie. Don’t worry about perfection, waves hide any messiness.
- Step 3: Tie the ribbon around the base of the ponytail in a bow. If it slides, use a bobby pin through the knot to hold it in place.
- Step 4: Let your front pieces fall naturally and use a tiny bit of smoothing cream on any halo frizz.
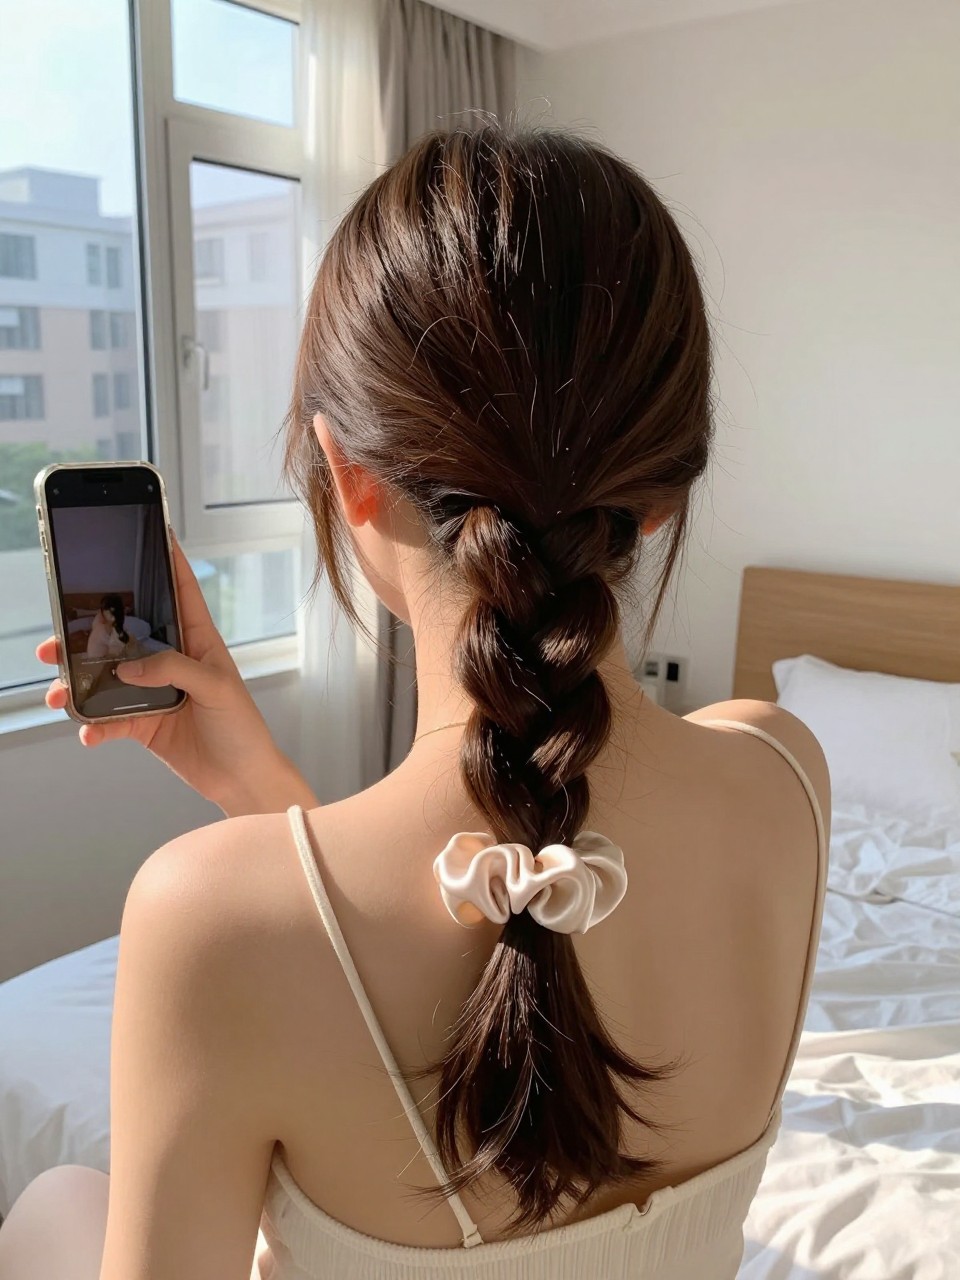
6. Messy Side Braid
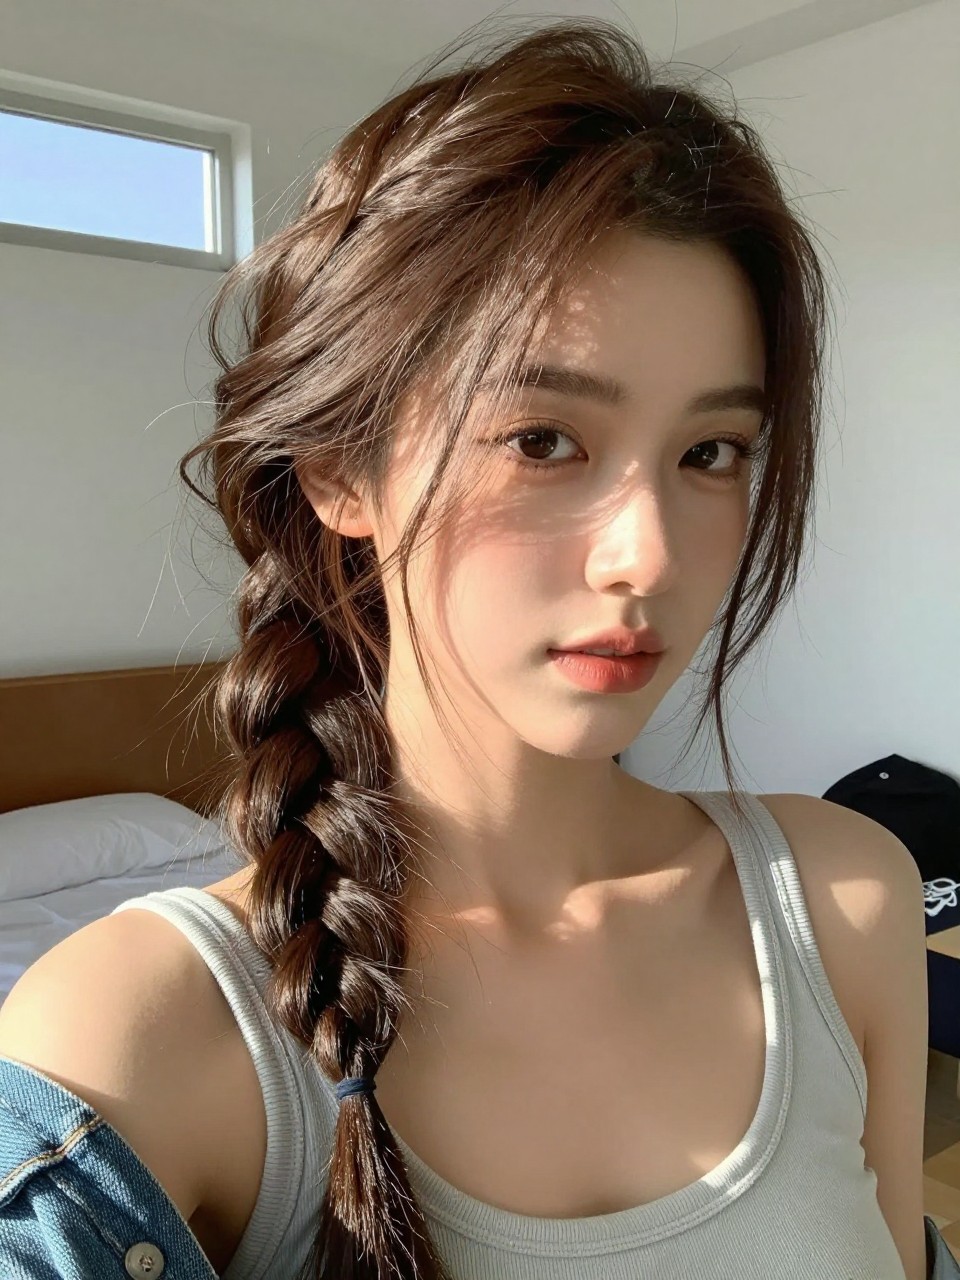
This is the braid you can do with your eyes closed once you get the hang of it. Swept over one shoulder, it is loose and imperfect on purpose, with waves and pieces falling out to frame your face. It is a great way to keep hair contained but still looking intentional, especially on windy days or when you are running errands.
What you need:
- Clear elastic (small, for the end)
- Texturizing spray
- Bobby pins (if you need to tuck short pieces)
- Dry shampoo (for grip if hair is clean)
How to style it:
- Step 1: Spray texturizer throughout to give your hair something to hold onto so the braid doesn’t slip out.
- Step 2: sweep all your hair to one side and divide it into three sections. Braid loosely, pulling sections apart as you go to keep it from looking tight.
- Step 3: Secure the end with a clear elastic and gently tug on the outside loops of the braid to widen it.
- Step 4: Pull out a few wispy pieces around your face and maybe mist with a little hairspray if you want them to stay put.
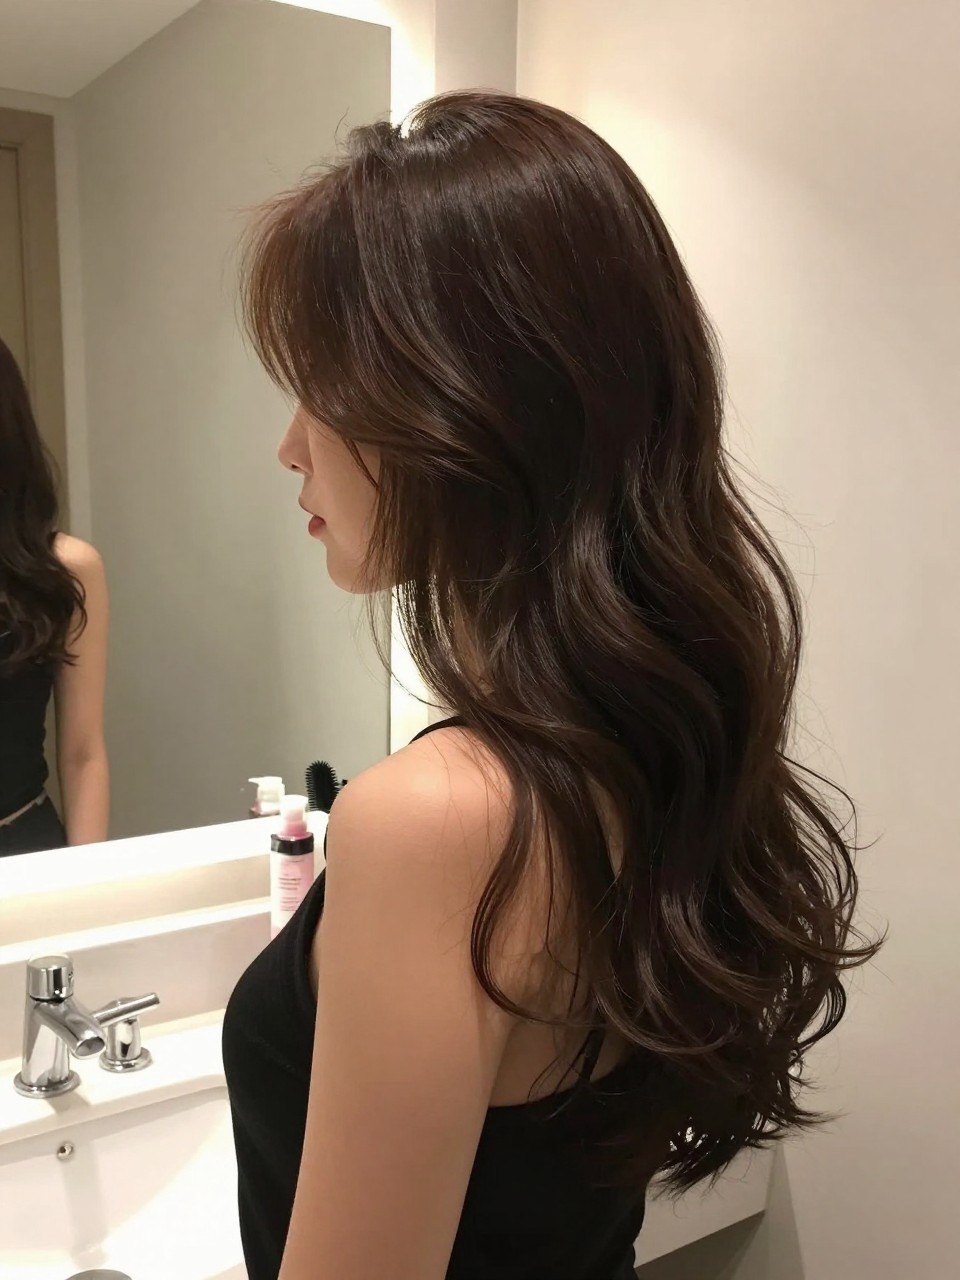
7. Voluminous Blowout on Natural Waves

This is for when you want your waves to look like they just stepped out of a salon. Using a round brush and a dryer, you stretch out the waves just enough to give them that bouncy, full-body look while still keeping their natural texture. It is more polished than your everyday wave, but still you.
What you need:
- Large round brush (boar bristle mix is great for tension)
- Blow dryer with concentrator nozzle
- Volumizing mousse
- Heat protectant spray
- Hair clips (for sectioning)
How to style it:
- Step 1: On damp hair, apply heat protectant and mousse from roots to ends, then clip hair into sections.
- Step 2: Starting with the bottom sections, use the round brush to pull hair taut while directing heat downward, wrapping ends around the brush briefly.
- Step 3: Work your way up, lifting at the roots for volume. Let hair cool in the brush for a few seconds before releasing.
- Step 4: Once all sections are dry, flip your head over and shake it out, then arrange waves with your fingers.
8. Bandana Headband Waves
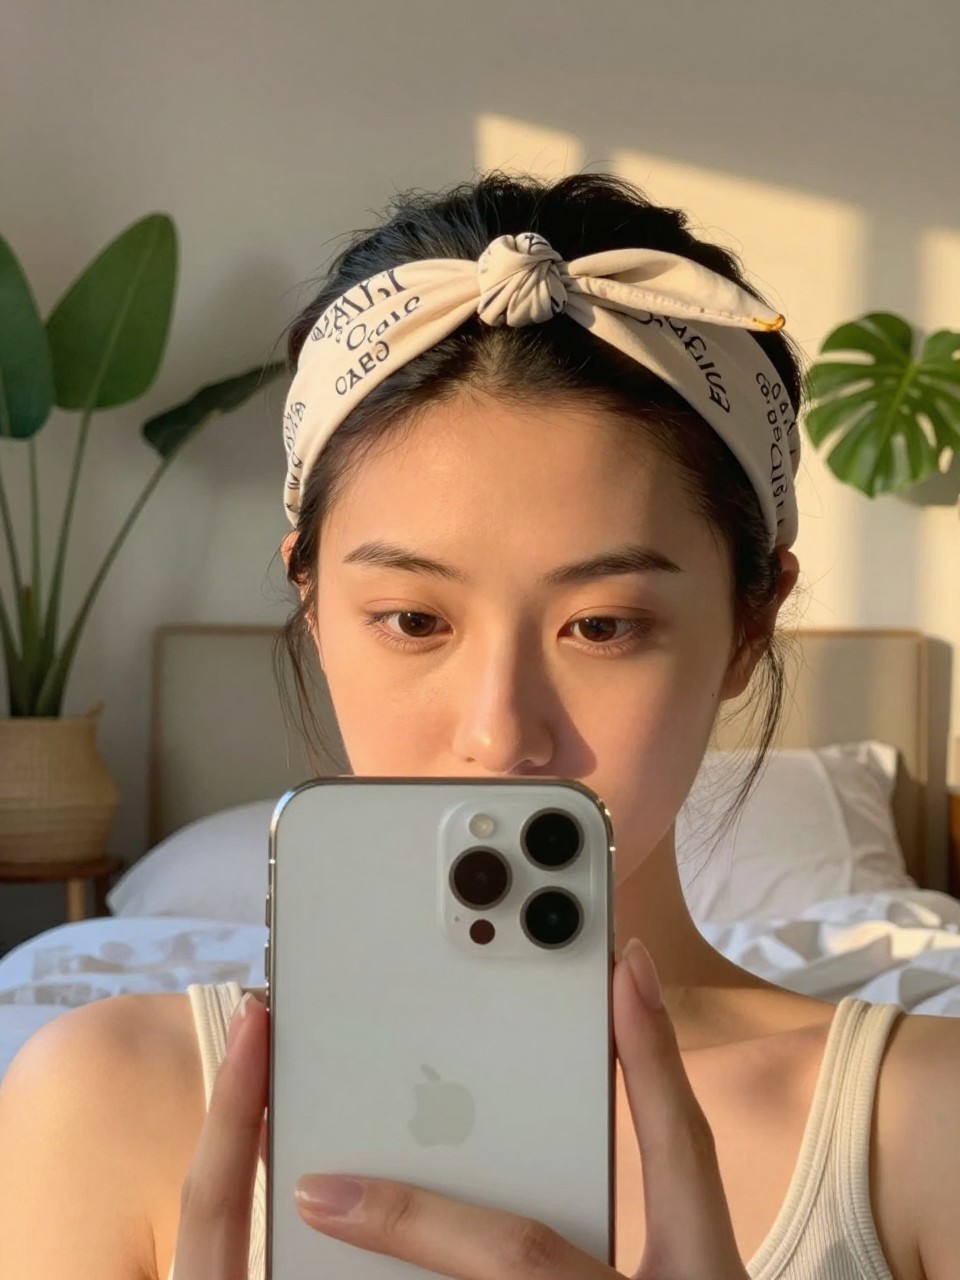
This is less about styling your hair and more about accessorizing what you already have. You take a bandana, fold it into a headband, and wear it pushing your waves back off your face. It keeps hair out of your eyes, hides any greasy roots, and adds a pop of color or pattern. It works for everyone.
What you need:
- Cotton bandana (vintage style or any print you like)
- Bobby pins (if needed to secure)
- Dry shampoo (optional, for extra texture at roots)
- Texturizing spray (optional)
How to style it:
- Step 1: Fold your bandana diagonally into a triangle, then keep folding lengthwise until it is a thick strip about two inches wide.
- Step 2: Place the center of the bandana at the nape of your neck and bring the ends up to your forehead.
- Step 3: Tie the ends in a double knot at your hairline (or at the top of your head, whatever you prefer).
- Step 4: Adjust it so the knot sits how you like, and fluff your waves around it. If it slips, pin the bandana to your hair underneath.
9. Twist and Pin Back

This is the easiest way to look polished in about thirty seconds. You take a front section from one side, twist it back, and pin it. That is it. It shows off your waves, clears your face, and works for any hair length that reaches your chin or longer. It is my personal go-to when I am eating something messy or just want to see my earrings.
What you need:
- Two bobby pins (or cute decorative pins)
- Smoothing cream (tiny amount for flyaways)
- Hairspray (optional)
How to style it:
- Step 1: Take a one to two inch section of hair from your temple area on whichever side you prefer.
- Step 2: Twist it loosely away from your face, not too tight, you want it soft.
- Step 3: Bring the twisted section to the back of your head and secure it with bobby pins crossed in an X shape.
- Step 4: Let the rest of your waves hang naturally. If you have pieces sticking out, a tiny bit of smoothing cream fixes it.
10. The Deep Side Part
Sometimes the most dramatic change requires the least amount of work. Switching your part from the middle to the deep side instantly changes your whole look. It adds volume at the root, makes your waves fall differently, and frames your face in a new way. It takes two seconds but it looks like you did something major.
What you need:
- Wide-tooth comb (or just your finger)
- Volumizing spray (for the roots)
- Light hairspray
How to style it:
- Step 1: Decide which side you want the part on (usually the side with your better eyebrow or more volume).
- Step 2: Use the tail of a comb or your finger to create a deep side part, starting at the arch of your eyebrow.
- Step 3: Lift the hair at the roots on the smaller side and spray with volumizing spray for extra lift.
- Step 4: Let your waves fall over the deeper side and arrange them to cover the part line a bit so it looks soft and natural.
11. Bubble Ponytail
This style turns a regular ponytail into something playful with a few extra hair ties. You create a high or mid-height ponytail, then add hair ties every few inches down the length, gently puffing out each section to look like bubbles. It is surprisingly easy and looks way more complicated than it is. Kids love it, adults love it, everyone wins.
What you need:
- Several small clear elastics (matching your hair color)
- Hair tie for the base
- Texturizing spray
- Rat-tail comb (for puffing the bubbles)
How to style it:
- Step 1: Put your hair in a high or mid ponytail and secure it with a hair tie.
- Step 2: About two inches down from the first tie, add another clear elastic. Gently tug the section between the ties to puff it out into a bubble.
- Step 3: Repeat down the length of the ponytail, spacing them evenly and puffing each section.
- Step 4: For the last bubble, you can leave the ends wavy or curl them under. Spray lightly to hold the shape.
12. Braided Crown
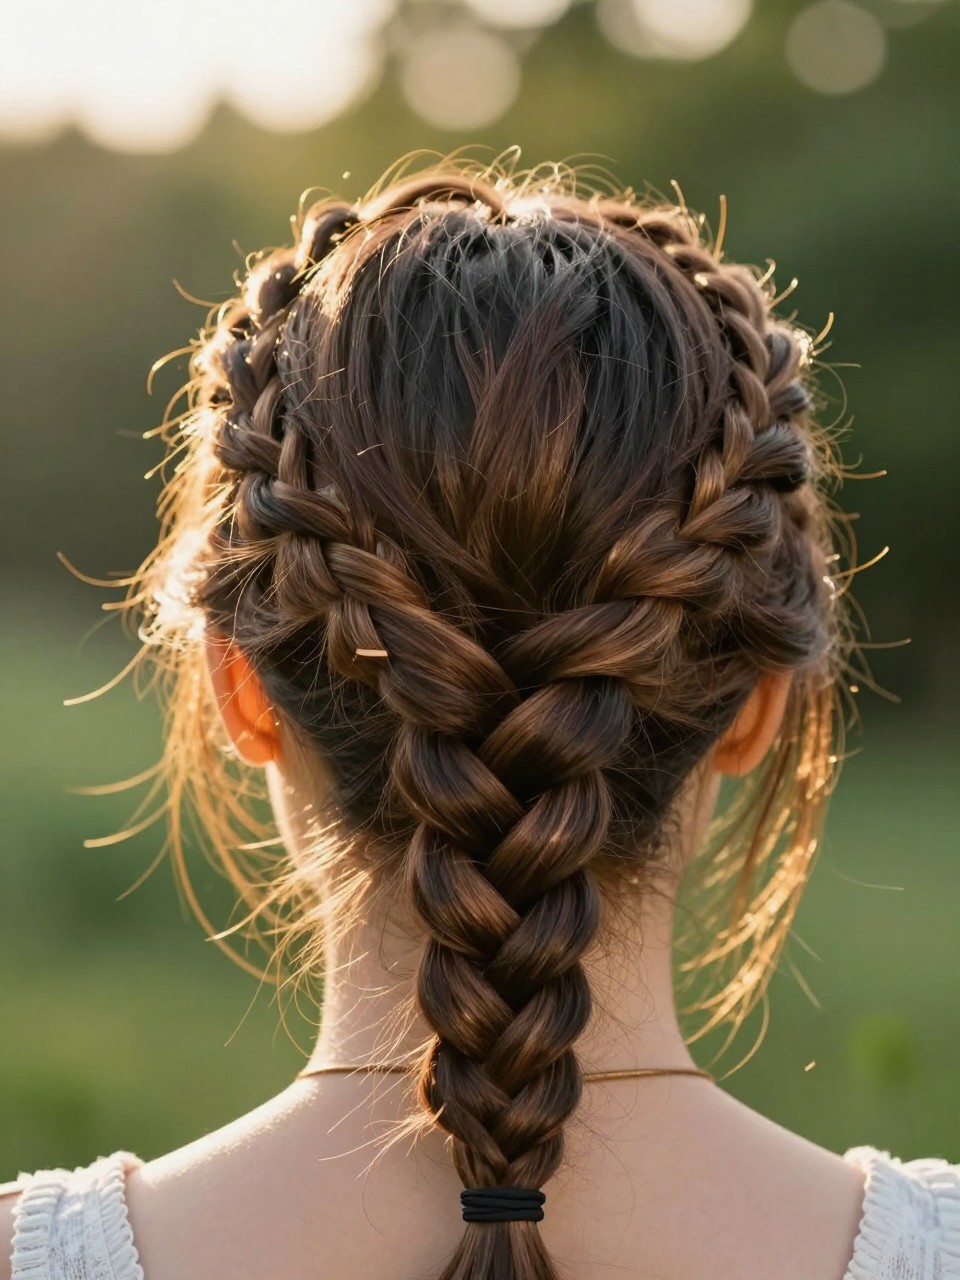
This style makes you feel like you belong in a magazine editorial but it is actually just two braids pinned across your head. You braid sections from each side and pin them across the back, creating a halo or crown effect. It works beautifully with wavy texture because the waves soften the braids and keep it from looking too severe.
What you need:
- Bobby pins (quite a few, matching your hair)
- Clear elastics (small, for the ends of braids)
- Texturizing spray (for grip)
- Hairspray (for hold)
How to style it:
- Step 1: Create a deep side part, then take a section from the heavier side and braid it loosely towards the back, securing the end with a clear elastic.
- Step 2: Repeat on the other side with a matching section.
- Step 3: Bring the first braid across the back of your head and pin it just above the opposite ear. Tuck the end under.
- Step 4: Bring the second braid up and over, pinning it to cross over the first one. Tuck all ends and spray everything so it stays.
13. Sleek Front with Waves
This is the best of both worlds: polished and smooth in the front, wild and free in the back. You take the front section of your hair (like a triangle from your part to your ears) and smooth it back sleek against your head, then let the rest of your waves do their thing in the back. It looks editorial and expensive but is simple to do.
What you need:
- Fine-tooth comb
- Strong-hold gel (or edge control)
- Bobby pins (if you want to pin it back)
- Hairspray
How to style it:
- Step 1: Section off the front triangle of your hair from your part down to your ears. Clip the rest out of the way.
- Step 2: Apply gel to this front section, combing it straight back smoothly from your hairline.
- Step 3: You can either let it lay flat and tucked behind your ears, or twist it and pin it at the back of your head.
- Step 4: Release the rest of your waves and arrange them so there is a clear contrast between the sleek front and textured back.
14. Pineapple Updo for Sleep (and Beyond)
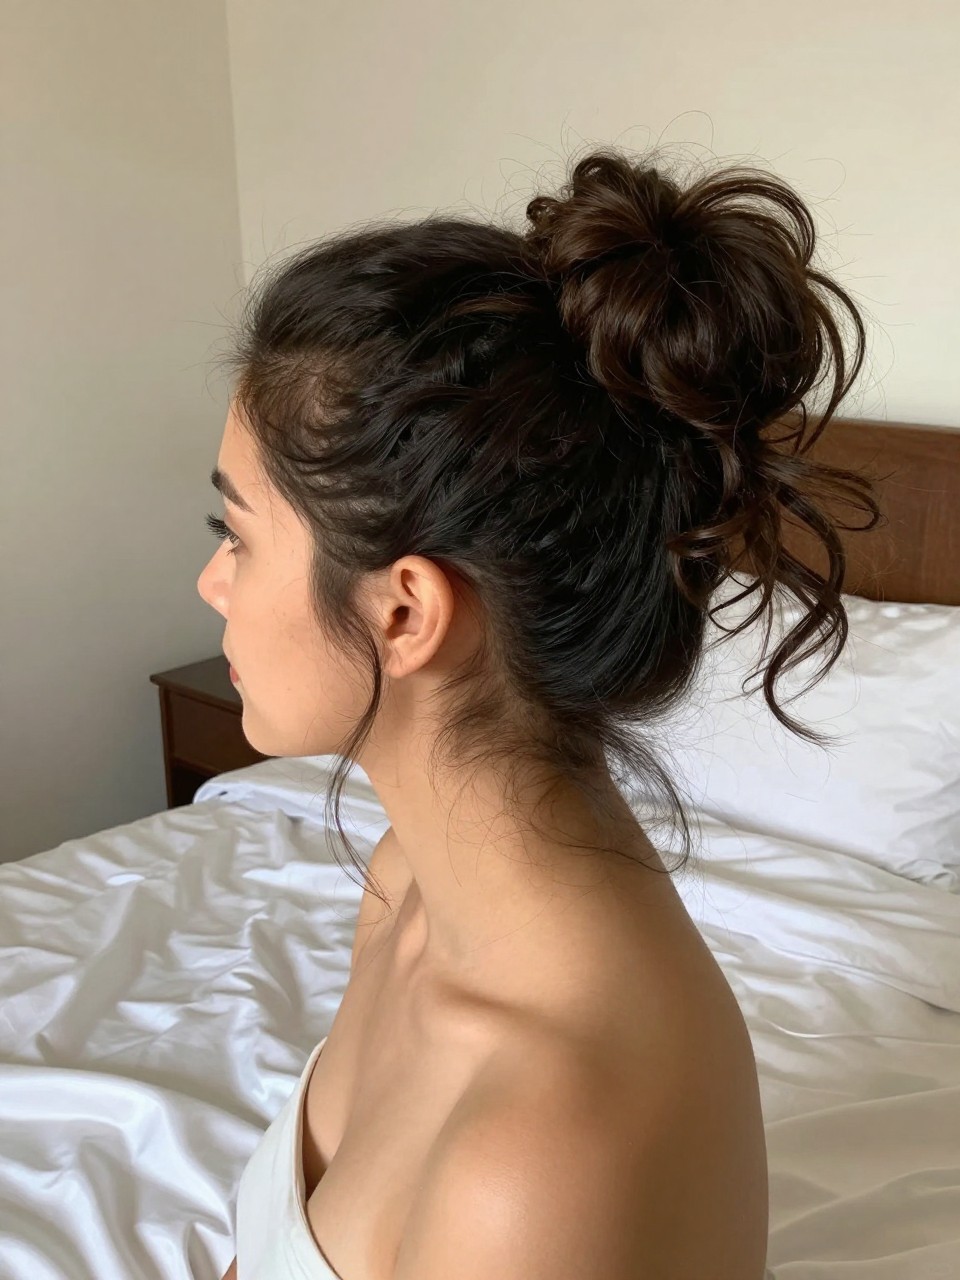
The pineapple is a technique where you gather all your hair into a very loose, high ponytail on top of your head, usually for sleeping. But it also looks cute as a lazy day style. It keeps your waves intact, protects them from friction, and gives you volume at the roots. Plus, it is just funny looking in a charming way.
What you need:
- Silk or satin scrunchie (velvet works too, just not cotton)
- Satin pillowcase (if you don’t keep it in all night)
- Water spray bottle (for refreshing in the morning)
How to style it:
- Step 1: Flip your head forward and gather all your hair at the very top of your head, like you are making a unicorn horn.
- Step 2: Secure loosely with a scrunchie. It should not be tight, just enough to hold it up without creasing your waves.
- Step 3: If you are going to sleep in it, that is it. If you are wearing it out, you can pull a few pieces out to frame your face.
- Step 4: In the morning, take it down, spritz with water if needed, and scrunch to reactivate your waves.
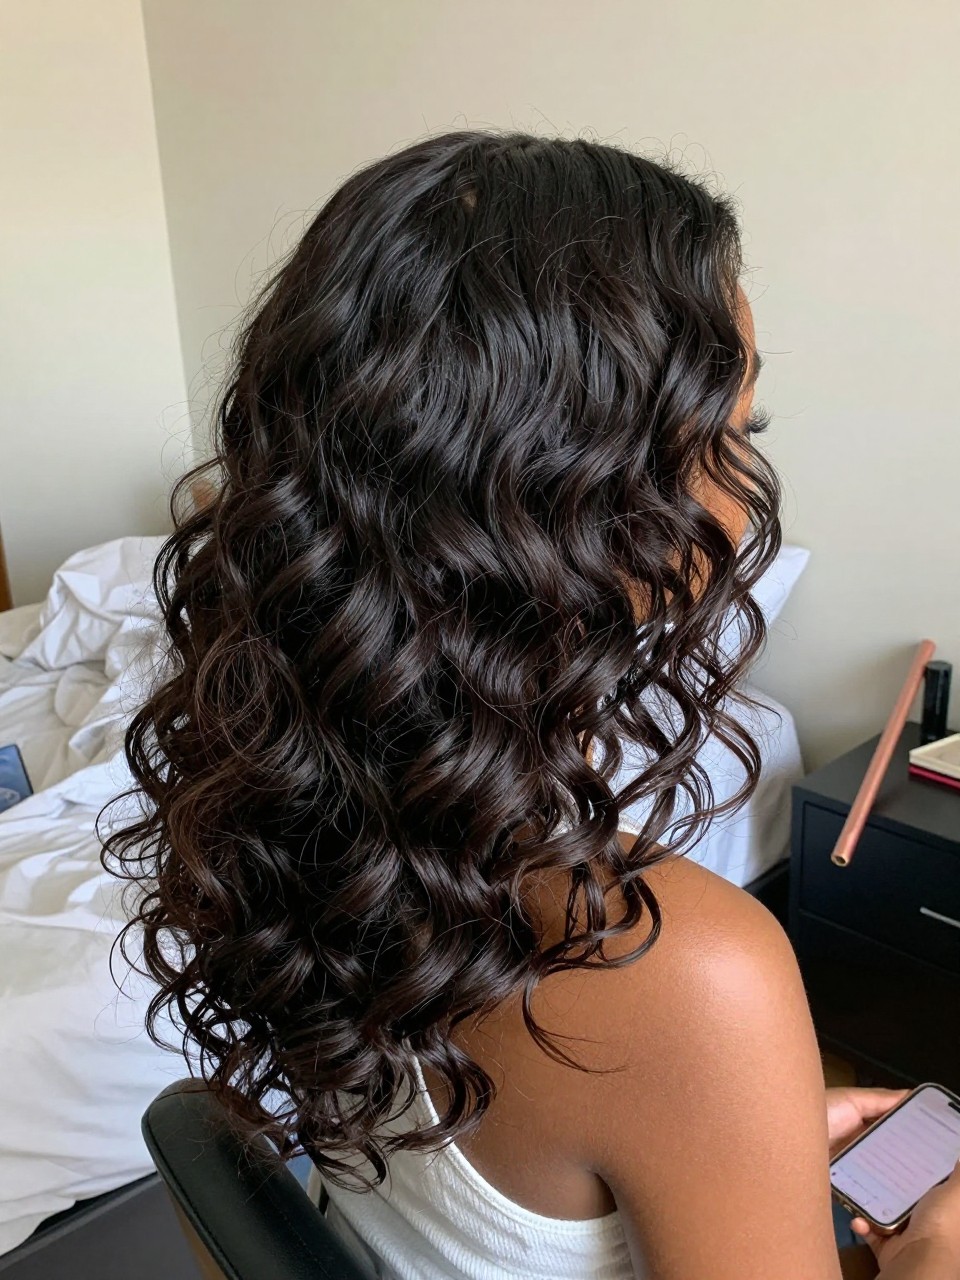
15. Mermaid Waves with a Wand
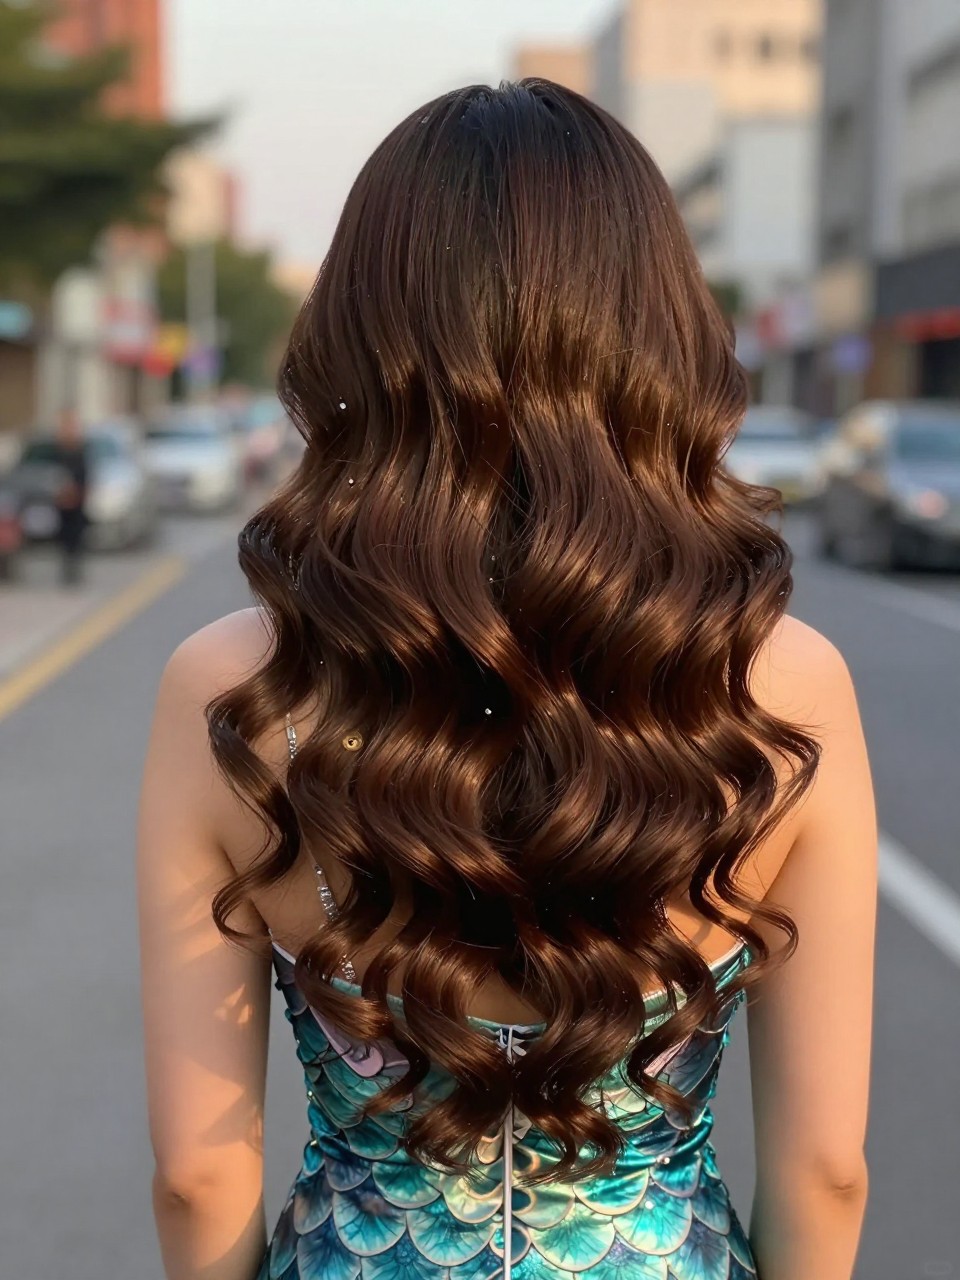
This is for when you want to enhance what you already have. You use a large-barrel curling wand to touch up certain sections, giving your natural waves more definition and uniformity while still looking organic. The goal is not perfect curls, it is better waves. It takes your texture and makes it look like a more polished version of itself.
What you need:
- 1.5 inch curling wand (no clamp)
- Heat protectant spray
- Hair clips (for sectioning)
- Light-hold hairspray
- Hair oil (for shine and breaking up curls)
How to style it:
- Step 1: Spray heat protectant all over dry hair and clip up sections, leaving the bottom layer down.
- Step 2: Take one inch sections, wrap them around the wand away from your face, holding for 5-8 seconds. Do not curl the ends, leave them out for a modern look.
- Step 3: Continue through all sections, alternating directions so it looks natural, not like a wig.
- Step 4: Once cool, flip your head over and shake it out, then run a tiny bit of oil through with your fingers to separate and soften.