Table of Contents Show
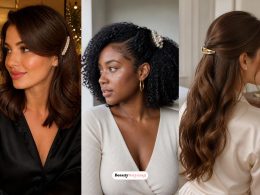
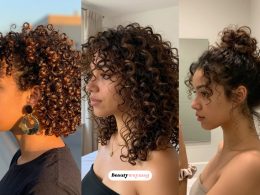
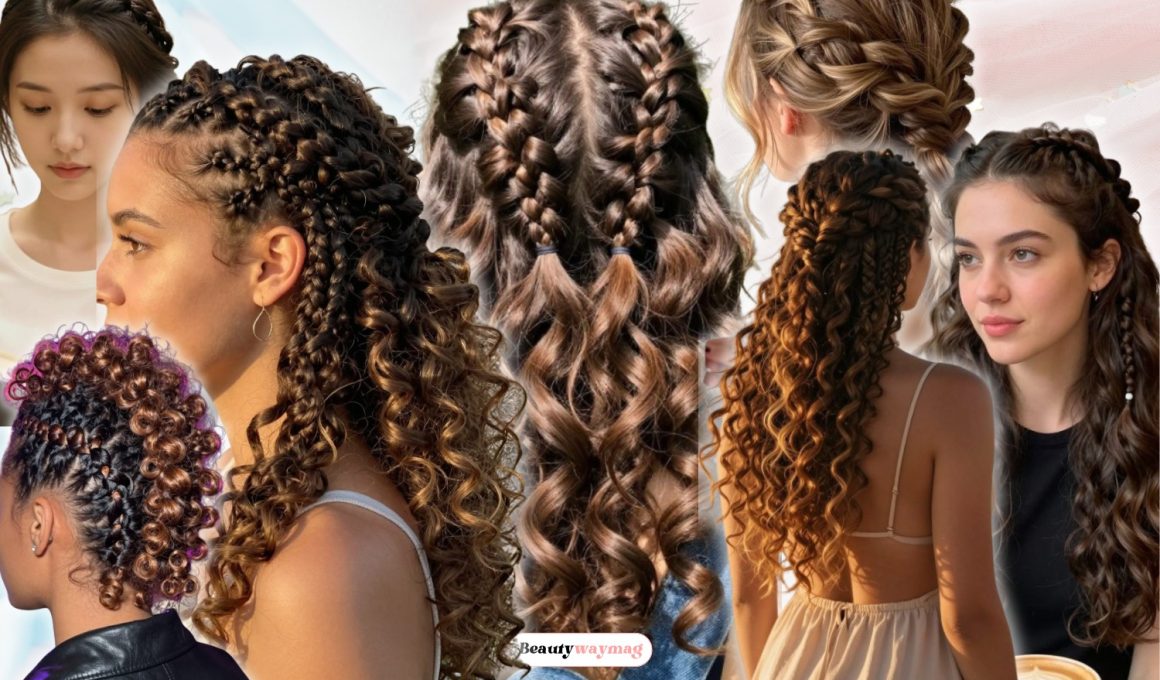
There’s something about braids that just works with curly hair. Maybe it’s the contrast between the structured braid and the wild curls, or maybe it’s how braids actually stay put in textured hair without slipping. Whatever it is, half-braided styles hit that sweet spot—they keep hair off your face without hiding all your length.
I’ve tried plenty of braids that looked complicated but turned out to be surprisingly simple once I got the hang of them.
These 16 styles range from “I just learned this” to “I actually look like I tried,” but none of them require professional skills. Just you, your curls, and a little patience.
1. The Classic Half-Up Dutch Braid
This is your entry-level half-braid that looks impressive but takes about three minutes. The Dutch braid pops against your curls and adds instant texture.
How to style it:
- Step 1: Take a 2-inch section from your hairline to your crown, starting at your part.
- Step 2: Dutch braid this section by crossing pieces under instead of over, working down toward your ear.
- Step 3: Secure the end with a clear elastic where you want the braid to stop.
- Step 4: Gently pancake the braid by pulling the edges outward, and let the rest of your curls fall loose.
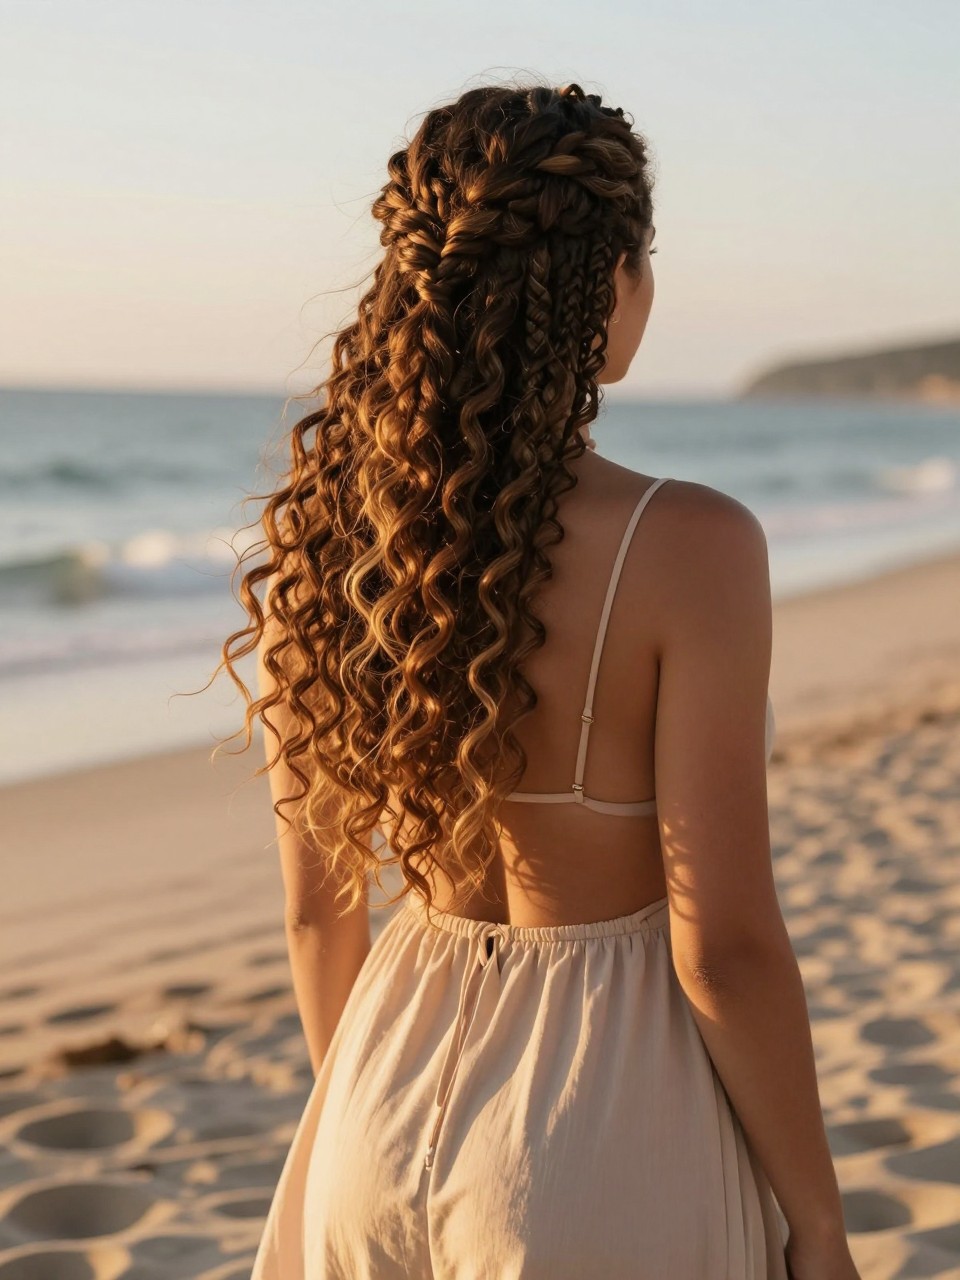
2. The Crown Braid With Loose Curls
This style makes you look like you stepped out of a fairy tale. The braid wraps around your head like a crown while your curls flow freely below.
How to style it:
- Step 1: Part your hair down the middle and take a 1-inch section from behind your left ear.
- Step 2: French braid upward along your hairline, adding hair as you go across your forehead.
- Step 3: Continue braiding around to the back of your right ear and secure temporarily.
- Step 4: Repeat from the right side, joining the two braids at the back and pinning them together.
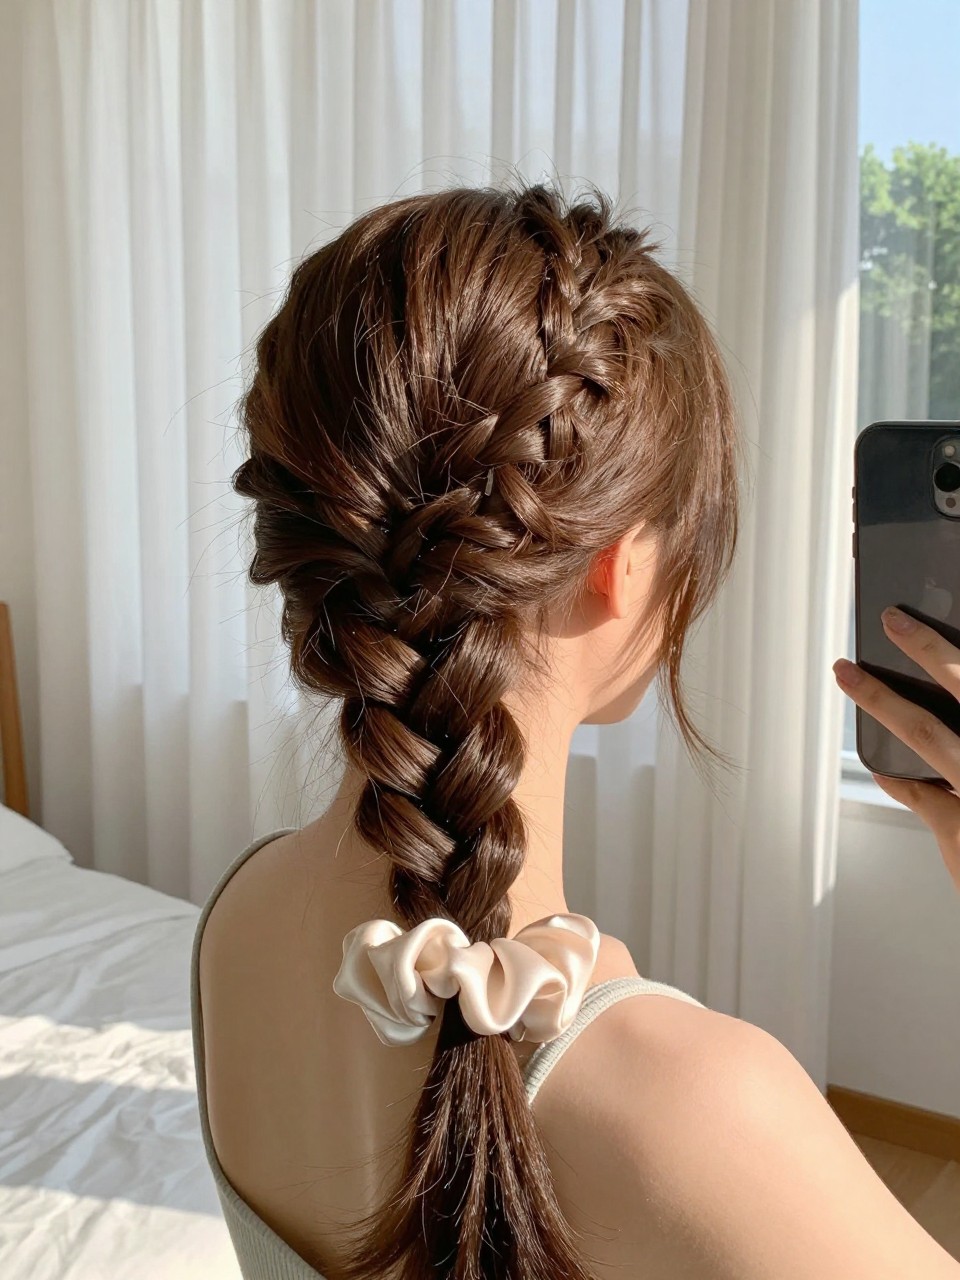
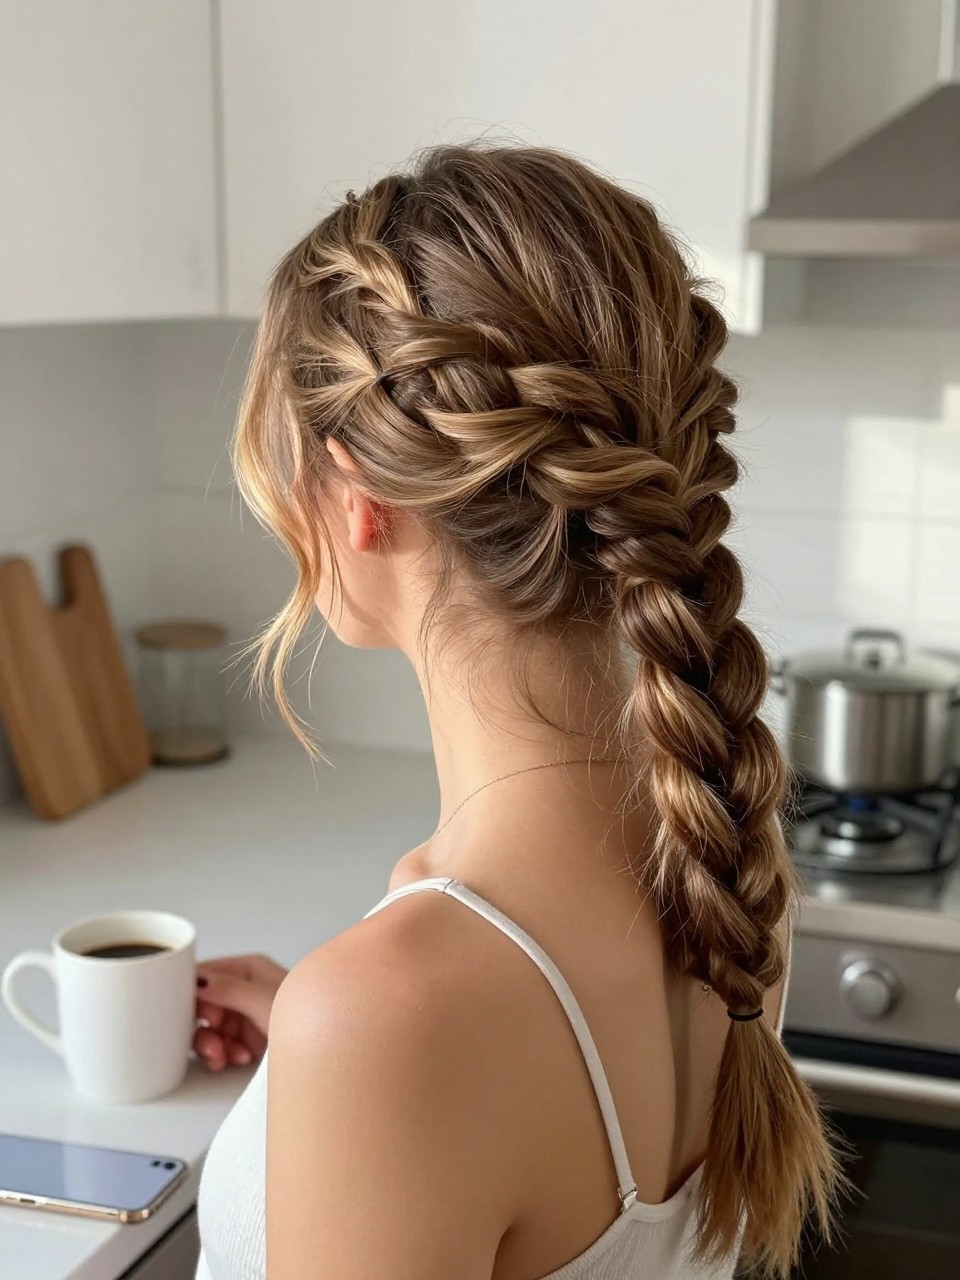
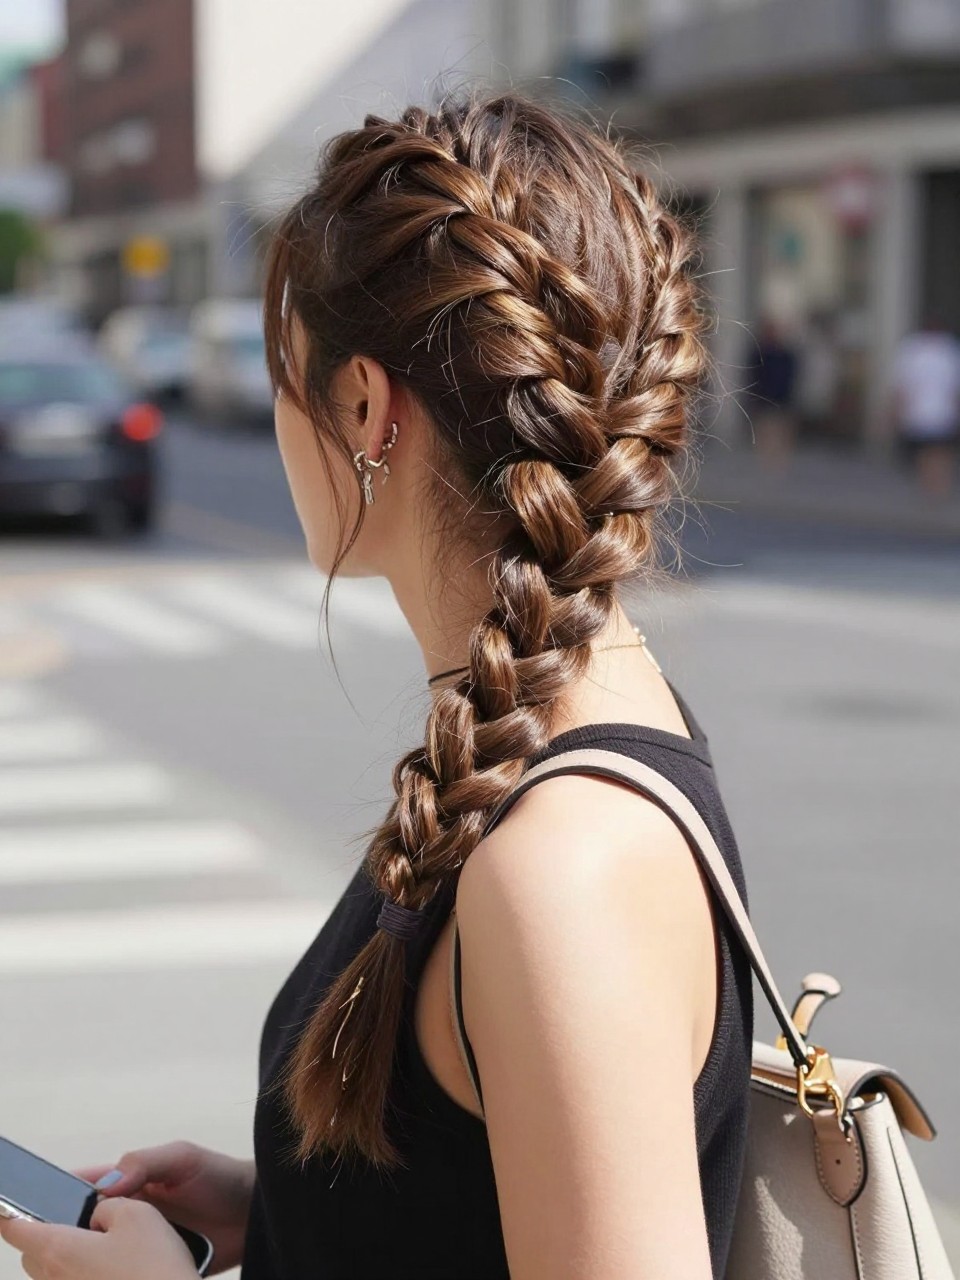
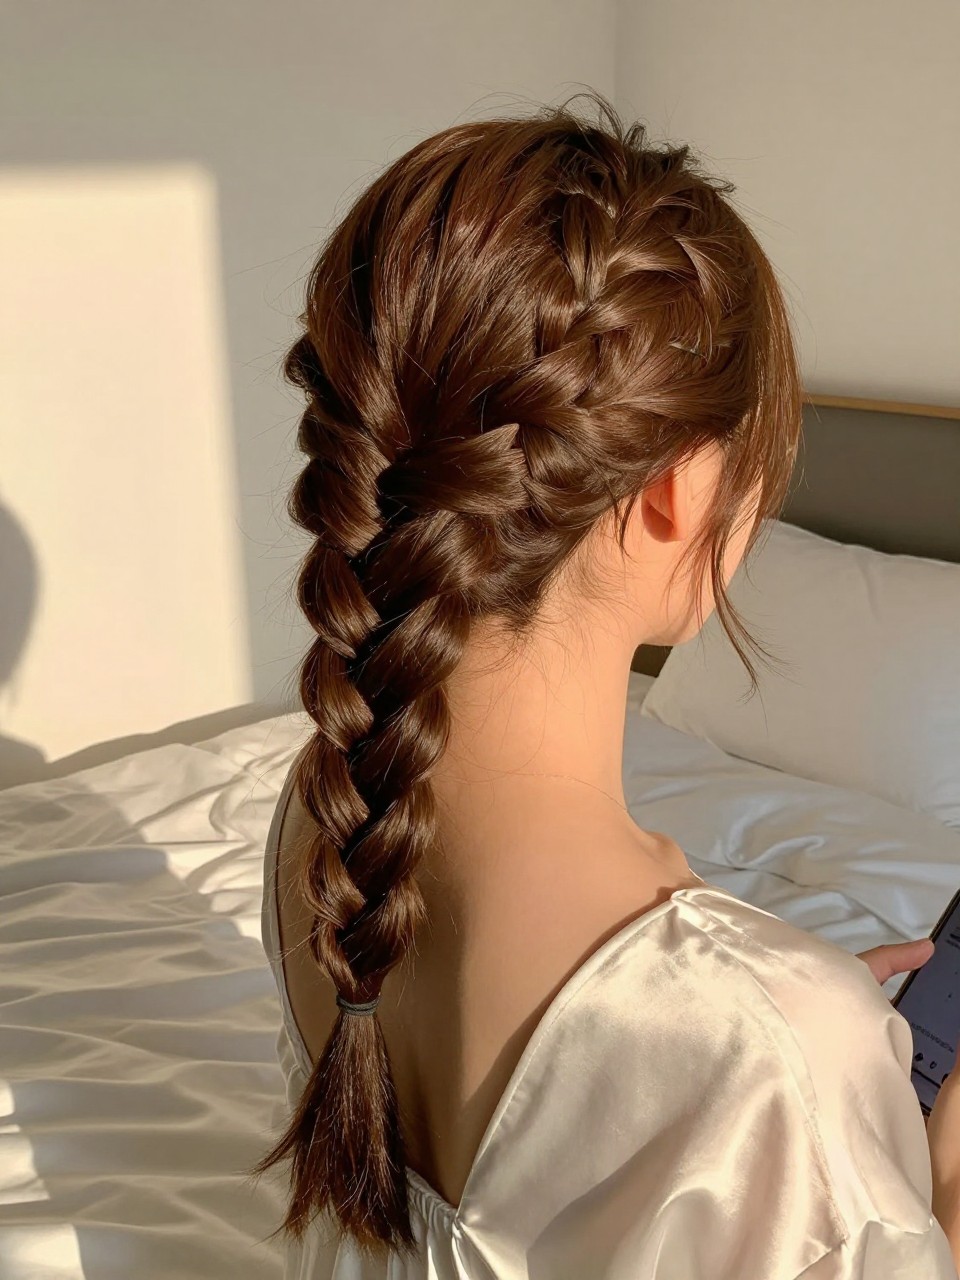
3. The Side-Swept French Braid
Asymmetry adds interest, and this braid keeps hair off your face while letting your curls drape dramatically over one shoulder.
How to style it:
- Step 1: Brush all your hair to one side, creating a deep side part.
- Step 2: Start a French braid at your temple on the heavier side, working down diagonally.
- Step 3: Braid only to your ear, then secure and let the remaining hair fall loose.
- Step 4: Loosen the braid slightly and pull out a few face-framing pieces.
4. The Double Dutch Braid Half-Up
Two braids are always better than one. This style is playful, youthful, and keeps hair perfectly contained on both sides.
How to style it:
- Step 1: Part your hair down the middle from forehead to crown.
- Step 2: On each side, take a 2-inch front section and Dutch braid it back toward your ear.
- Step 3: Secure both braids at the back of your head with a small elastic, leaving them separate.
- Step 4: Gently pancake both braids and let the remaining curls fall freely.
5. The Braided Headband
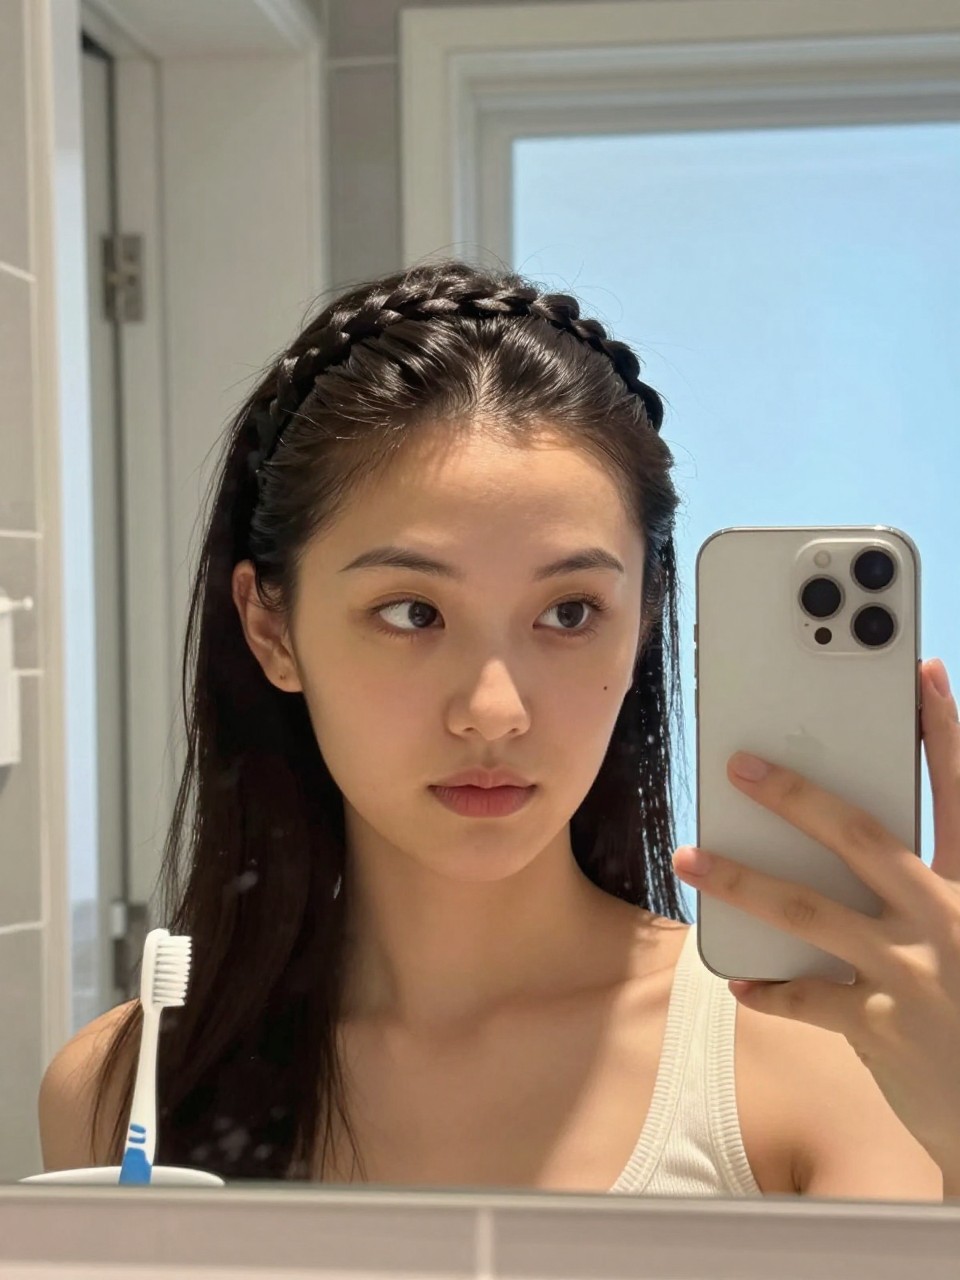
This mimics the look of a braided accessory without buying anything. It’s elegant, romantic, and keeps hair off your face instantly.
How to style it:
- Step 1: Take a 1-inch section from behind your right ear.
- Step 2: Braid it loosely and secure the end with a clear elastic.
- Step 3: Drape the braid across the top of your head like a headband.
- Step 4: Pin the end behind your left ear, tucking it under your hair.
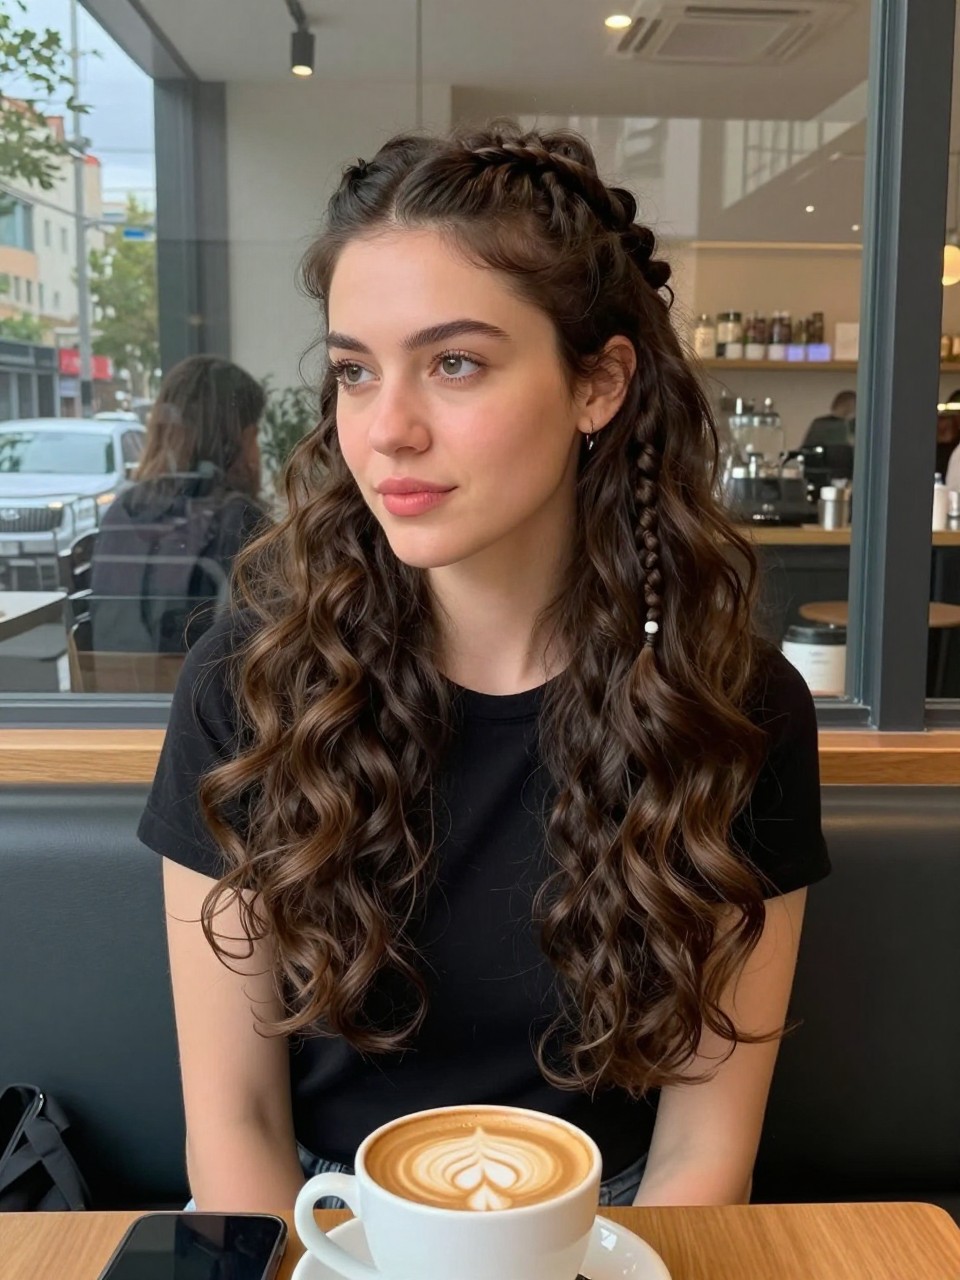
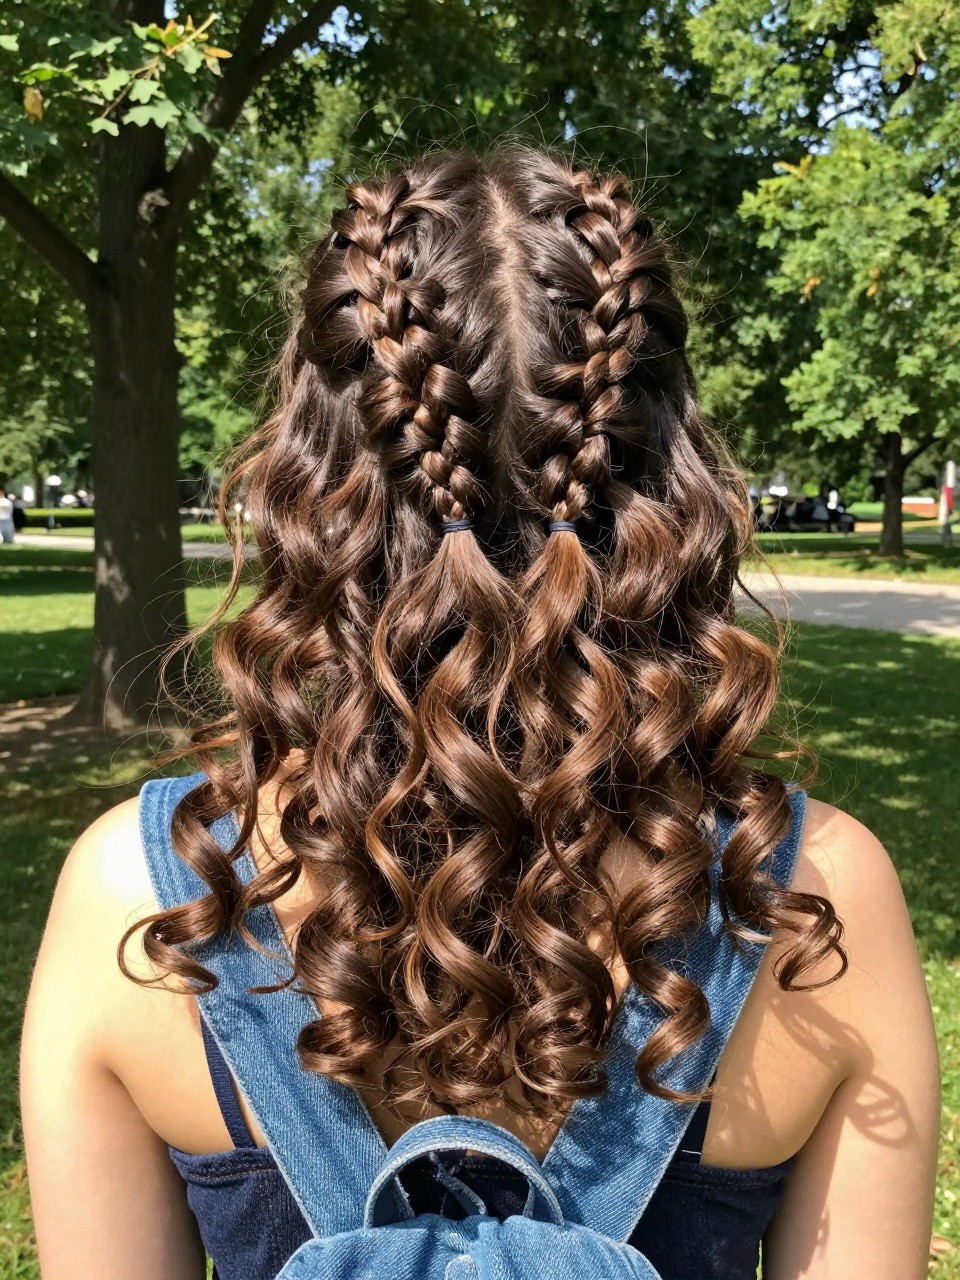
6. The Half-Up Braided Pigtails
This is the grown-up version of childhood pigtails. Two small braids on top with curls everywhere else—it’s cute without trying too hard.
How to style it:
- Step 1: Take a 2-inch section from each temple, dividing them into two equal sections.
- Step 2: Braid each section loosely, securing the ends with small elastics.
- Step 3: Position the braids at the back or sides, whichever you prefer.
- Step 4: Pull gently on each braid to make them fuller and messier.
7. The Rope Twist Half-Up
Not technically a braid, but close enough—and even easier. Rope twists take seconds and look modern and intentional.
How to style it:
- Step 1: Take a 2-inch section from each temple and bring them together at the back.
- Step 2: Twist both sections tightly in the same direction until they start to coil around each other.
- Step 3: Secure the twisted rope with a clear elastic.
- Step 4: Gently pull the rope apart for a fuller look and fluff the ends.
8. The Fishtail Half-Up
Fishtails look intricate but are actually repetitive and easy. This braid adds texture that stands out against your curls.
How to style it:
- Step 1: Take a 3-inch section from your crown and divide it into two equal pieces.
- Step 2: Take a small piece from the outside of the left section and cross it over to the right.
- Step 3: Take a small piece from the outside of the right section and cross it to the left.
- Step 4: Repeat until you reach your desired length, secure, and pancake for width.
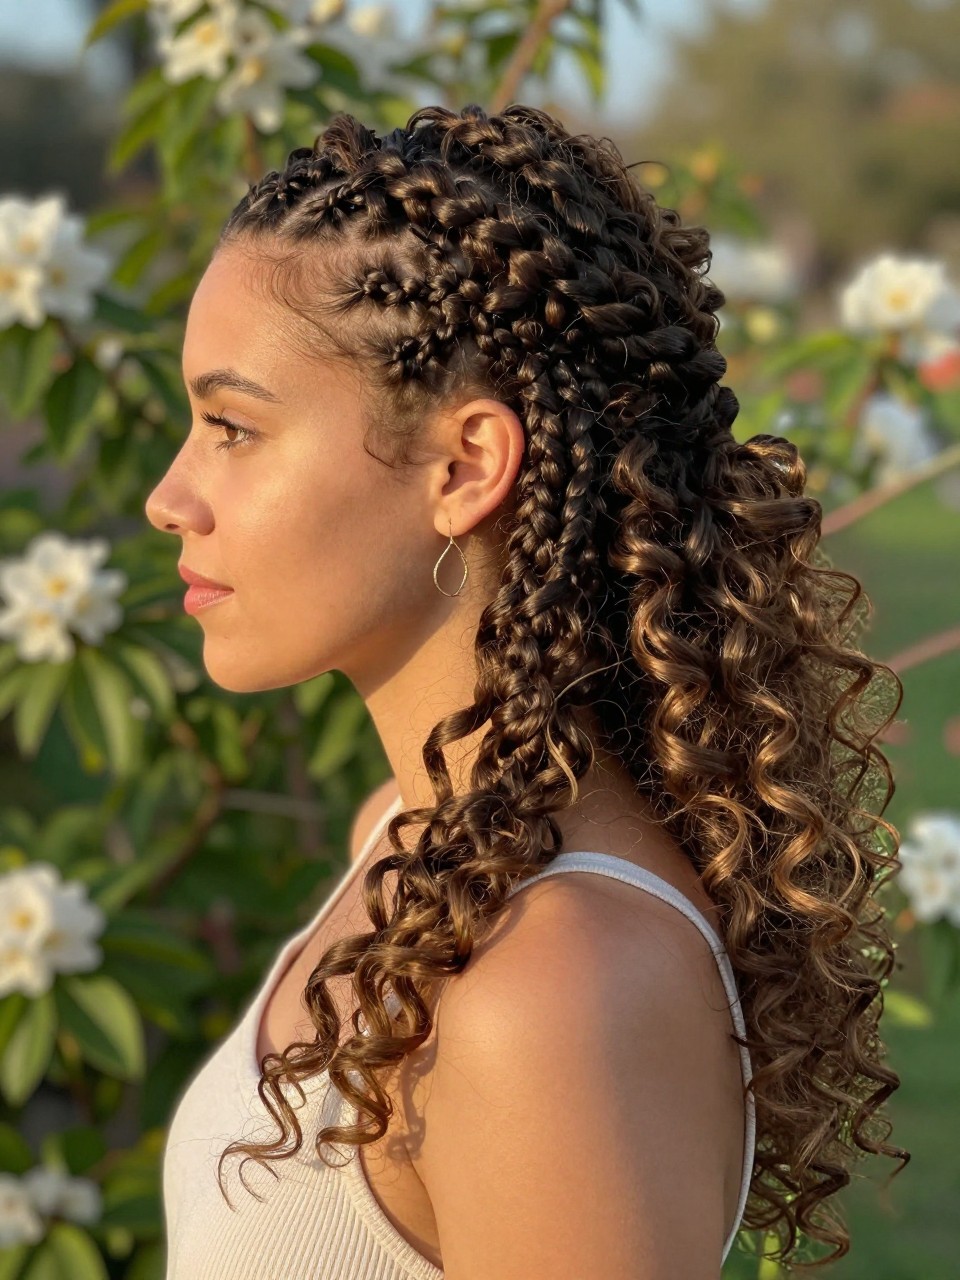
9. The Braided Mohawk (Faux Hawk)
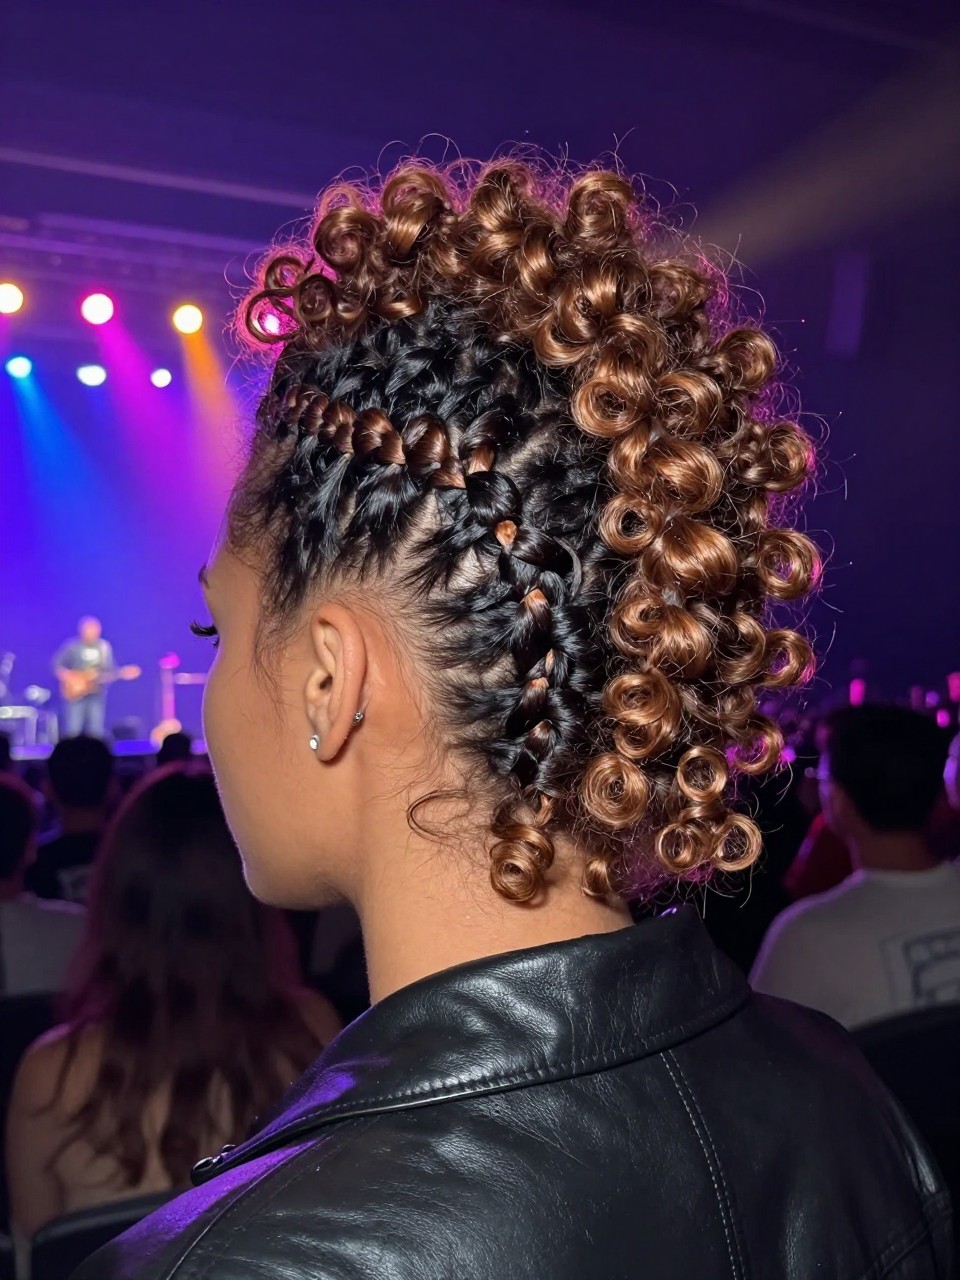
This edgy style features a strip of braids down the center, leaving curls on the sides. It’s bold, modern, and surprisingly wearable.
How to style it:
- Step 1: Section off a 3-inch strip from your forehead to your nape.
- Step 2: Divide this strip into three sections and create a Dutch braid down the center.
- Step 3: Secure at the nape and let the rest of the braid hang with your curls.
- Step 4: Fluff the curls on either side for contrast.
10. The Waterfall Braid Half-Up
This braid lets some curls cascade through like a waterfall. It’s romantic, feminine, and looks much harder than it is.
How to style it:
- Step 1: Take a 2-inch section from your temple and divide into three pieces.
- Step 2: Start a regular braid, but on the bottom section, drop it and pick up new hair.
- Step 3: Continue across the back of your head, dropping and adding as you go.
- Step 4: Secure at the opposite side and let the dropped pieces blend with your curls.
11. The Braided Bun Half-Up
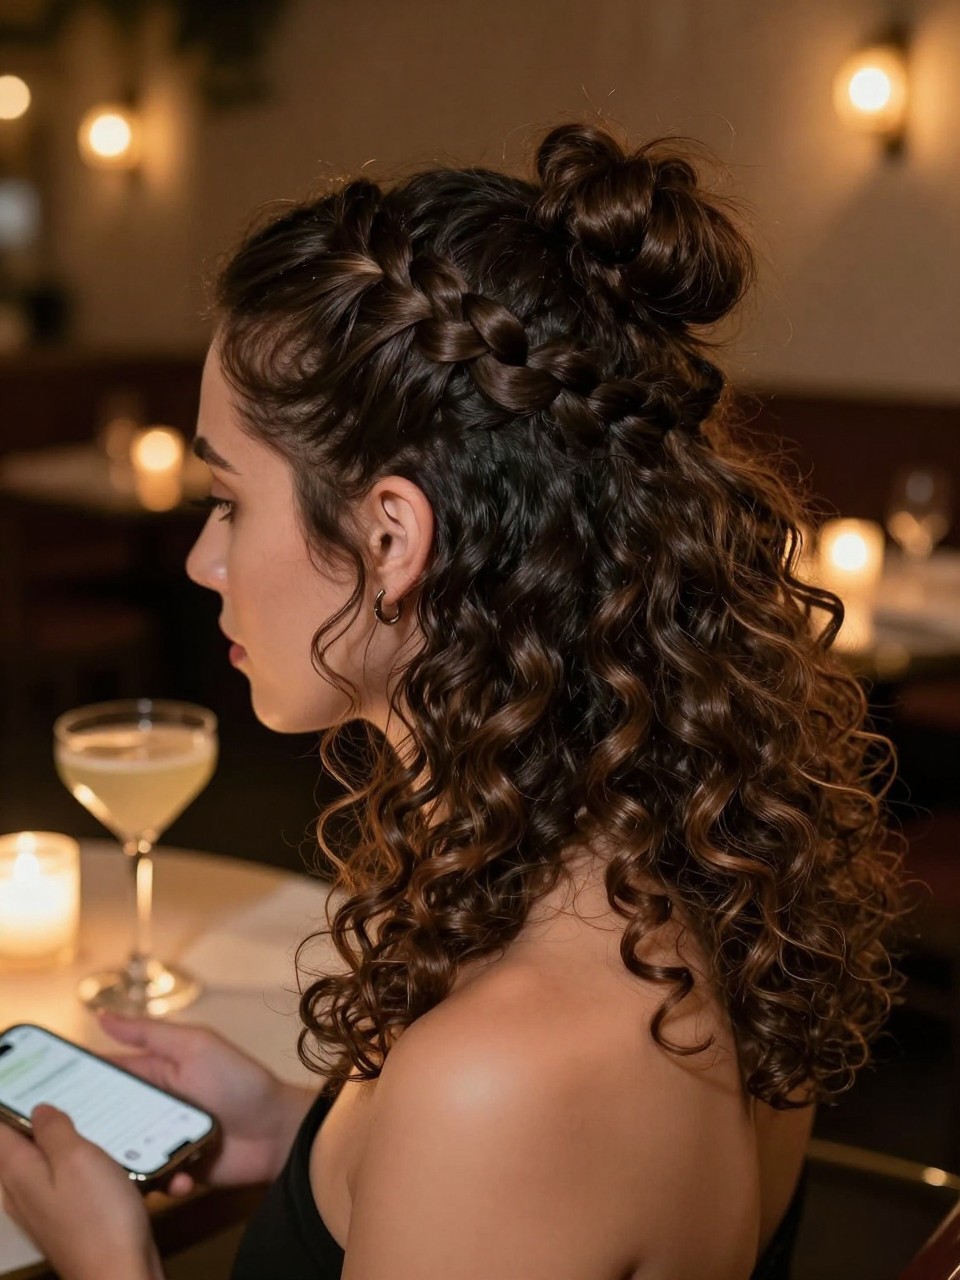
This combines two styles: a braid on top and a bun on top of that. It keeps hair secure and looks polished for events.
How to style it:
- Step 1: Take a 3-inch section from your crown and Dutch braid it to the end.
- Step 2: Twist the braid into a small bun at the back of your head.
- Step 3: Pin the bun securely with bobby pins.
- Step 4: Let the rest of your curls hang loose and pull a few face-framing pieces out.
12. The Reverse Braid Half-Up
Braiding under instead of over creates a braid that pops outward. It’s a small change that makes a big visual difference.
How to style it:
- Step 1: Take a 2-inch section from your hairline and divide it into three pieces.
- Step 2: Dutch braid by crossing the side pieces under the middle, not over.
- Step 3: Continue down to your ear and secure.
- Step 4: Pancake the braid generously for maximum impact.
13. The Lace Braid Half-Up

A lace braid only adds hair from one side, creating a delicate, lacy effect along your hairline. It’s subtle and elegant.
How to style it:
- Step 1: Start at your part and take a small section, dividing it into three pieces.
- Step 2: Braid normally, but only add new hair from the top section facing your face.
- Step 3: Continue along your hairline to your ear and secure.
- Step 4: Gently loosen the braid for a softer look.
14. The Four-Strand Braid Half-Up

This looks complicated but it creates a beautiful, flat braid that sits nicely against your curls. It’s worth learning the extra step.
How to style it:
- Step 1: Take a 3-inch section from your crown and divide into four equal pieces.
- Step 2: Cross piece 4 over piece 3, then piece 2 over piece 1.
- Step 3: Cross piece 1 over piece 3, then piece 4 under piece 2.
- Step 4: Repeat pattern until done, secure, and flatten gently.
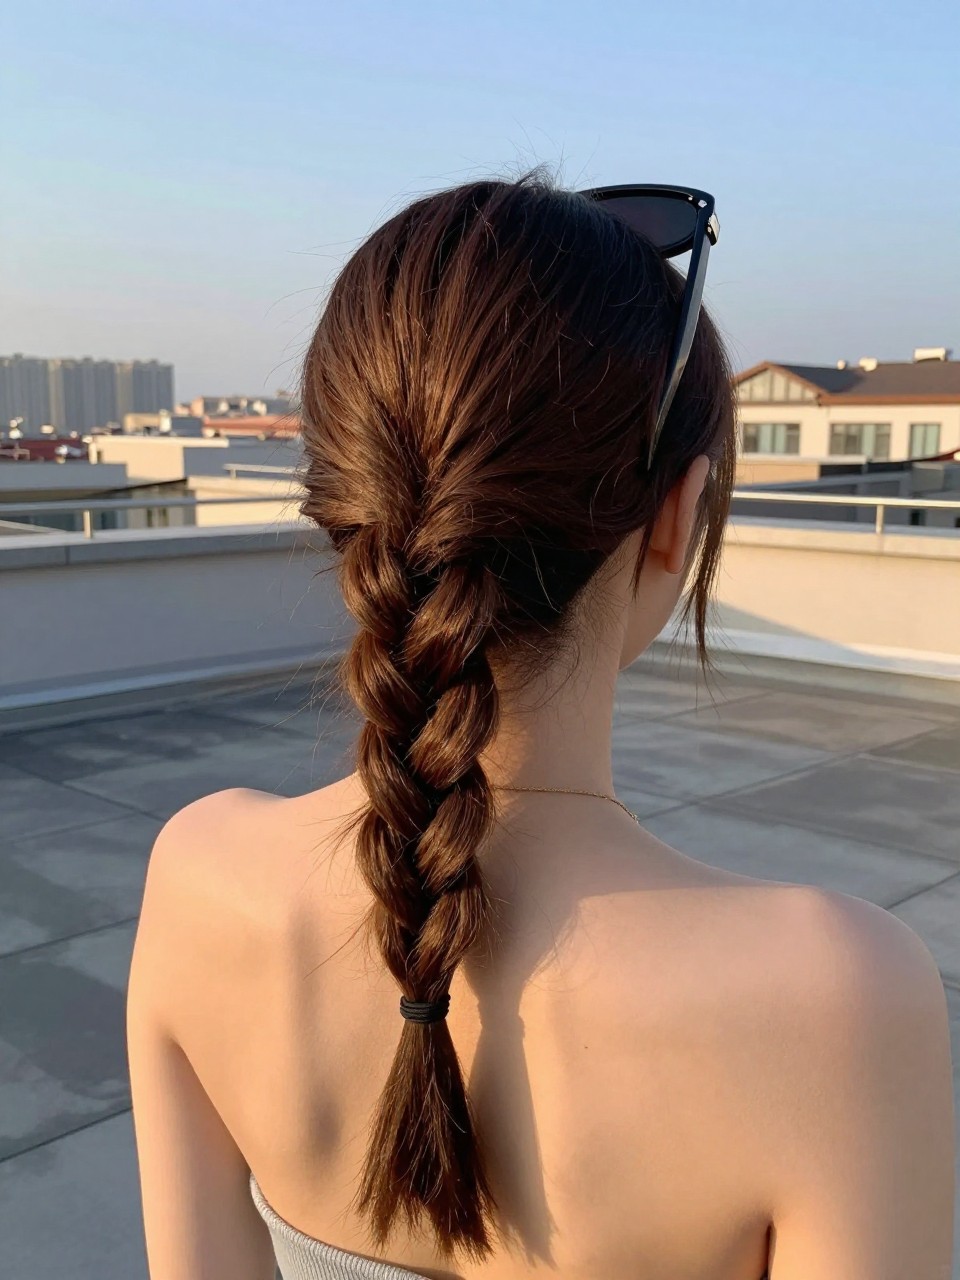
15. The Braided Pony Half-Up
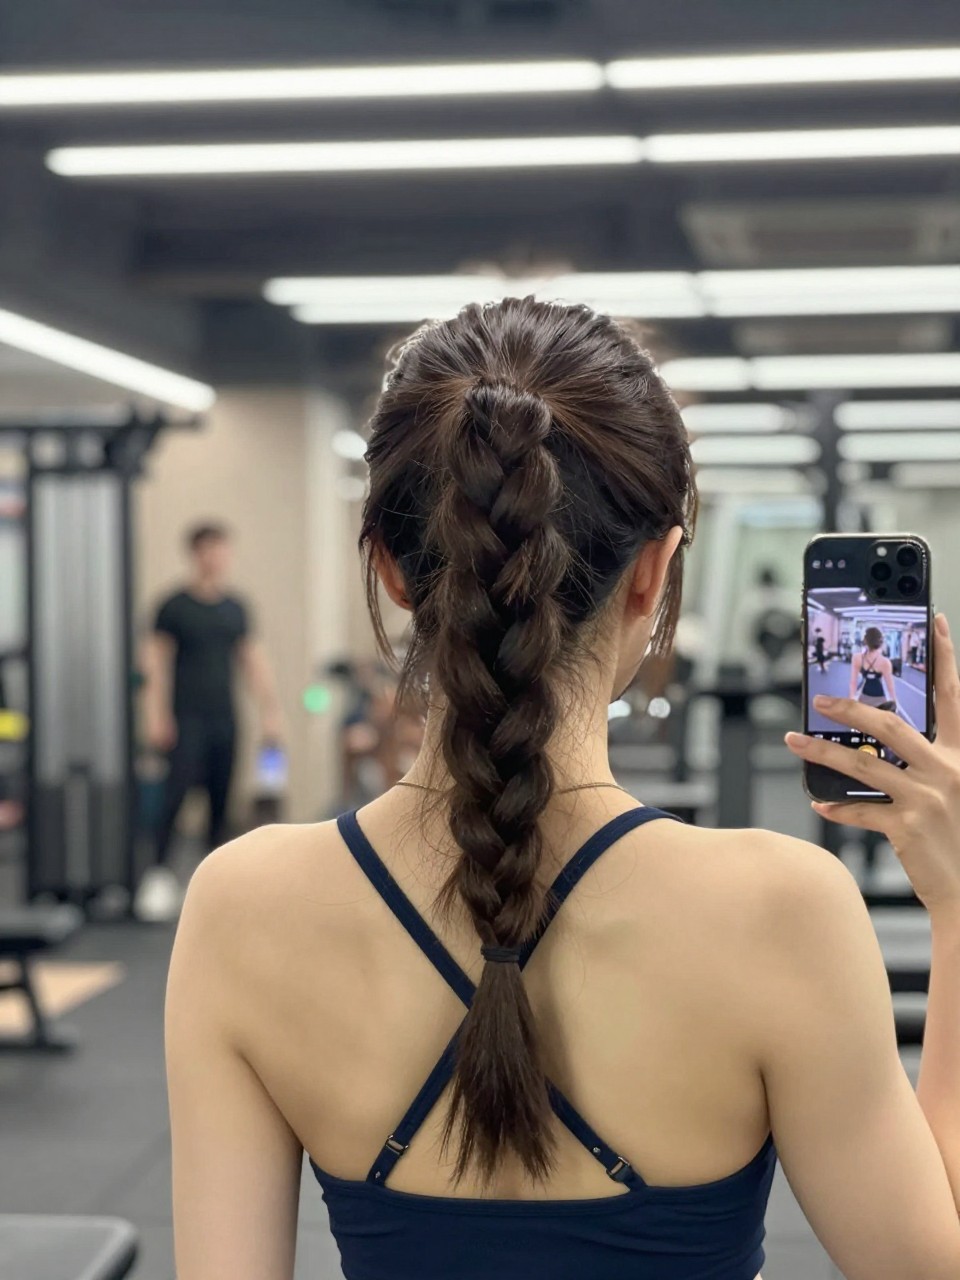
This gives you the structure of a braid with the volume of a half-pony. It’s perfect for active days when you want hair controlled but not totally up.
How to style it:
- Step 1: Take a 3-inch section from your crown and gather it into a small ponytail.
- Step 2: Braid the ponytail loosely and secure the end.
- Step 3: Wrap a small piece of hair around the elastic at the base.
- Step 4: Let the braid hang with your loose curls below.
16. The Twist and Braid Combo
Why choose one texture when you can have both? This style combines twists and braids for maximum interest.
How to style it:
- Step 1: Take a 2-inch section from each temple and twist it back separately.
- Step 2: Join the two twists at the back and secure temporarily.
- Step 3: Braid the combined twisted section to the end.
- Step 4: Secure and pancake both the twists and the braid for fullness.