


Table of Contents Show
If you have a round face and curly hair, you’ve probably heard a lot of conflicting advice about what you should and shouldn’t do. The truth is, round faces are beautiful, and curly hair adds amazing dimension and softness. The goal isn’t to hide your face shape—it’s to find styles that make you feel confident and highlight your best features.
Beauty For The Modern Woman

I’ve rounded up styles that add height, create elongation, and frame your face in ways that feel balanced. These aren’t restrictive rules, just ideas that tend to work really well with round face shapes.
1. High Volume Pineapple

The key to this style is all in the crown. Height at the top of your head creates the illusion of length, balancing the soft curves of a round face.
How to style it:
- Step 1: Flip your head upside down and gather all hair to the very top of your head.
- Step 2: Secure with a large scrunchie, positioning the ponytail at your crown, not your forehead.
- Step 3: Gently pull at the front and top sections to maximize volume.
- Step 4: Let the curls cascade down and spritz with flexible hold spray.
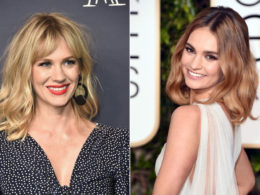
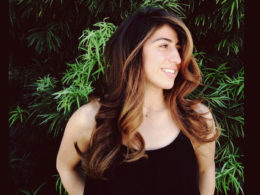
2. Deep Side Part With Swept Bangs

A deep side part breaks up the symmetry of a round face, while swept bangs add diagonal lines that create visual interest.
How to style it:
- Step 1: Use a comb to create a deep side part starting at your arch.
- Step 2: Take the front section from the heavier side and sweep it diagonally across your forehead.
- Step 3: Pin it gently above your ear or let it fall naturally.
- Step 4: Fluff the roots on top for added height and volume.
3. Half-Up With Volume at Crown

This style lifts hair away from the widest part of your face while leaving length to elongate. It’s simple but incredibly effective.
How to style it:
- Step 1: Take a 2-inch section from each temple and bring it to the back.
- Step 2: Secure at the crown, not the back of your head, to create height.
- Step 3: Gently tease the secured section at the roots for extra lift.
- Step 4: Leave the rest of your curls loose to frame your face vertically.
4. Long Layers With Face-Framing Pieces

The right cut makes all the difference. Long layers that start below the chin create vertical lines that lengthen the face.
How to style it:
- Step 1: Apply a volumizing mousse to damp hair, focusing on roots.
- Step 2: Diffuse upside down for maximum root lift.
- Step 3: Take the front sections and define them separately with a curling cream.
- Step 4: Let the face-framing pieces fall forward to create diagonal lines.
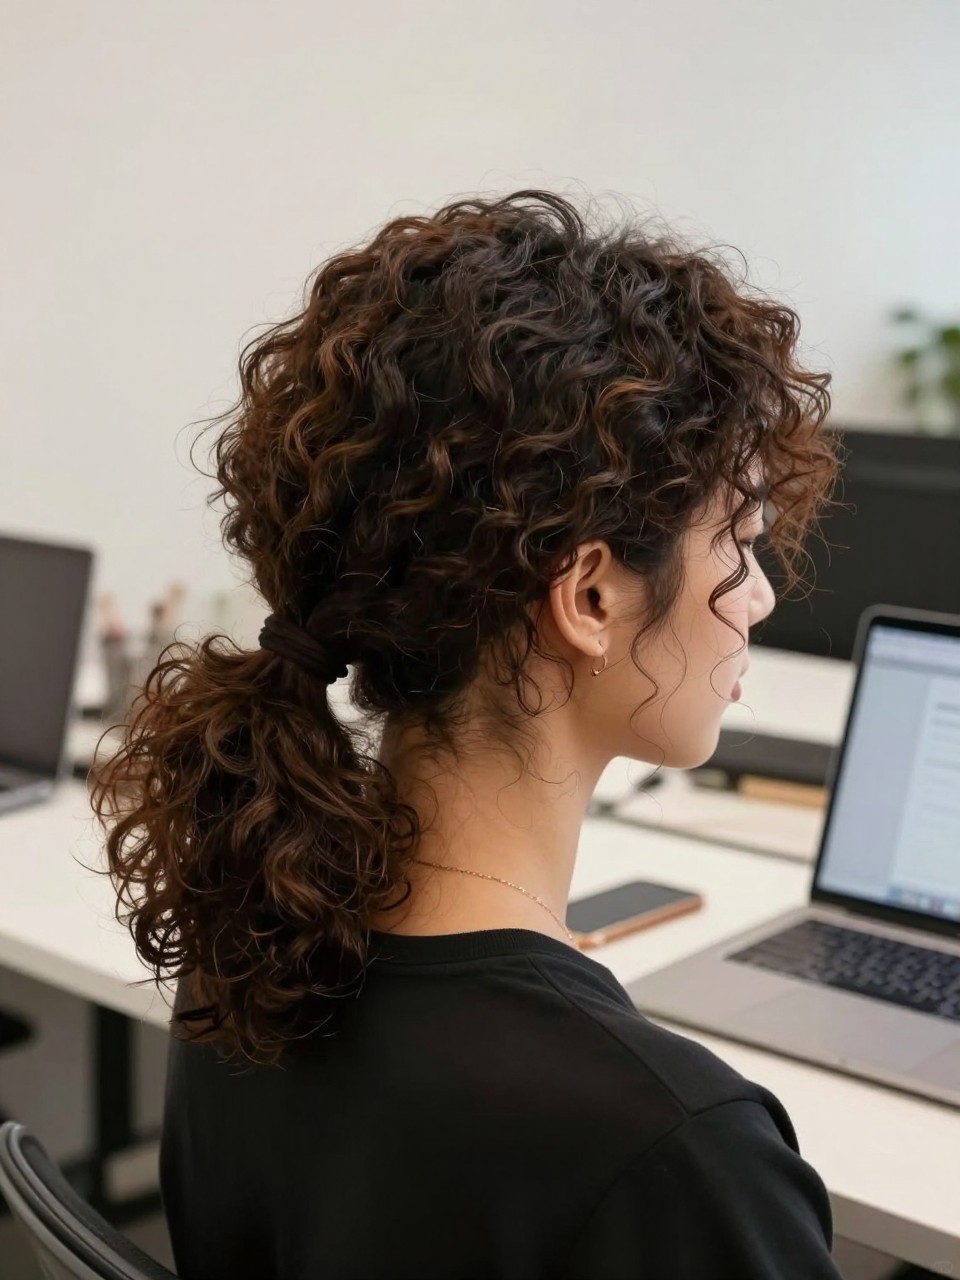
5. High Ponytail With Curly Bangs

A high ponytail adds immediate vertical lift. Leaving out curly bangs or front pieces softens the hairline and adds playfulness.
How to style it:
- Step 1: Gather all hair to your crown and secure tightly with an elastic.
- Step 2: Leave out a 1-inch section at the front for curly bangs.
- Step 3: Pull the ponytail up for maximum height and secure any loose pieces.
- Step 4: Define the front pieces by finger-coiling them and letting them frame your face.
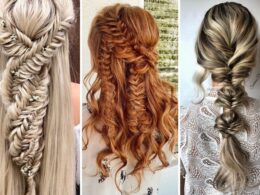
6. Asymmetrical Braid

Asymmetry is your friend. A braid draped over one shoulder breaks up the roundness and creates an interesting diagonal line.
How to style it:
- Step 1: Brush all your hair to one side.
- Step 2: Start a loose French or Dutch braid at your temple on the heavier side.
- Step 3: Braid down and over your shoulder, not down your back.
- Step 4: Pull the braid apart slightly for fullness and let wispies frame your face.
7. Top Knot With Face-Framing Tendrils

The top knot adds height, and leaving tendrils out softens the hairline and adds vertical lines around the face.
How to style it:
- Step 1: Gather hair to your crown and twist into a high bun.
- Step 2: Secure with pins or a scrunchie, leaving the ends loose if desired.
- Step 3: Pull out 1-inch sections around your face, focusing on temples and ears.
- Step 4: Curl the tendrils with your fingers or a small curling iron for definition.
8. Curly Shag With Bangs

The shag cut is made for round faces. Its layers create volume at the crown and movement around the cheeks, balancing proportions beautifully.
How to style it:
- Step 1: Apply a lightweight curl cream to damp hair, scrunching as you go.
- Step 2: Diffuse with your head upside down to encourage volume at the crown.
- Step 3: Use a small round brush or your fingers to style the bangs forward.
- Step 4: Separate curls gently and let the layers fall where they may.
9. Low Side Ponytail
A low ponytail swept to the side adds asymmetry and draws the eye diagonally across your face.
How to style it:
- Step 1: Brush all hair to one side, gathering at the nape on that side.
- Step 2: Secure with an elastic, positioning it low and to the side.
- Step 3: Loosen the crown gently for volume.
- Step 4: Wrap a small section around the elastic to hide it.
10. Voluminous Crown With Pinned Sides

This vintage-inspired style lifts the top while pinning the sides back, creating an elongating effect that’s elegant and polished.
How to style it:
- Step 1: Tease the crown section gently at the roots for volume.
- Step 2: Take a 1-inch section from each temple and pull them back.
- Step 3: Pin them at the back of your head, crossing the pins for security.
- Step 4: Smooth the top layer over the teased section and fluff.
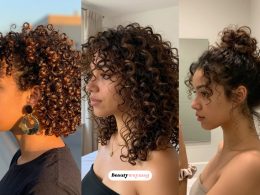
11. Middle Part With Defined Curls

A middle part can work beautifully for round faces when paired with volume at the roots. It creates symmetry and frames the face evenly.
How to style it:
- Step 1: Create a precise middle part using a comb.
- Step 2: Apply a defining cream to each section, finger-coiling for definition.
- Step 3: Diffuse with your head upright to maintain the part.
- Step 4: Gently lift roots at the crown with a pick for height.
12. Curly Mohawk (Faux Hawk)
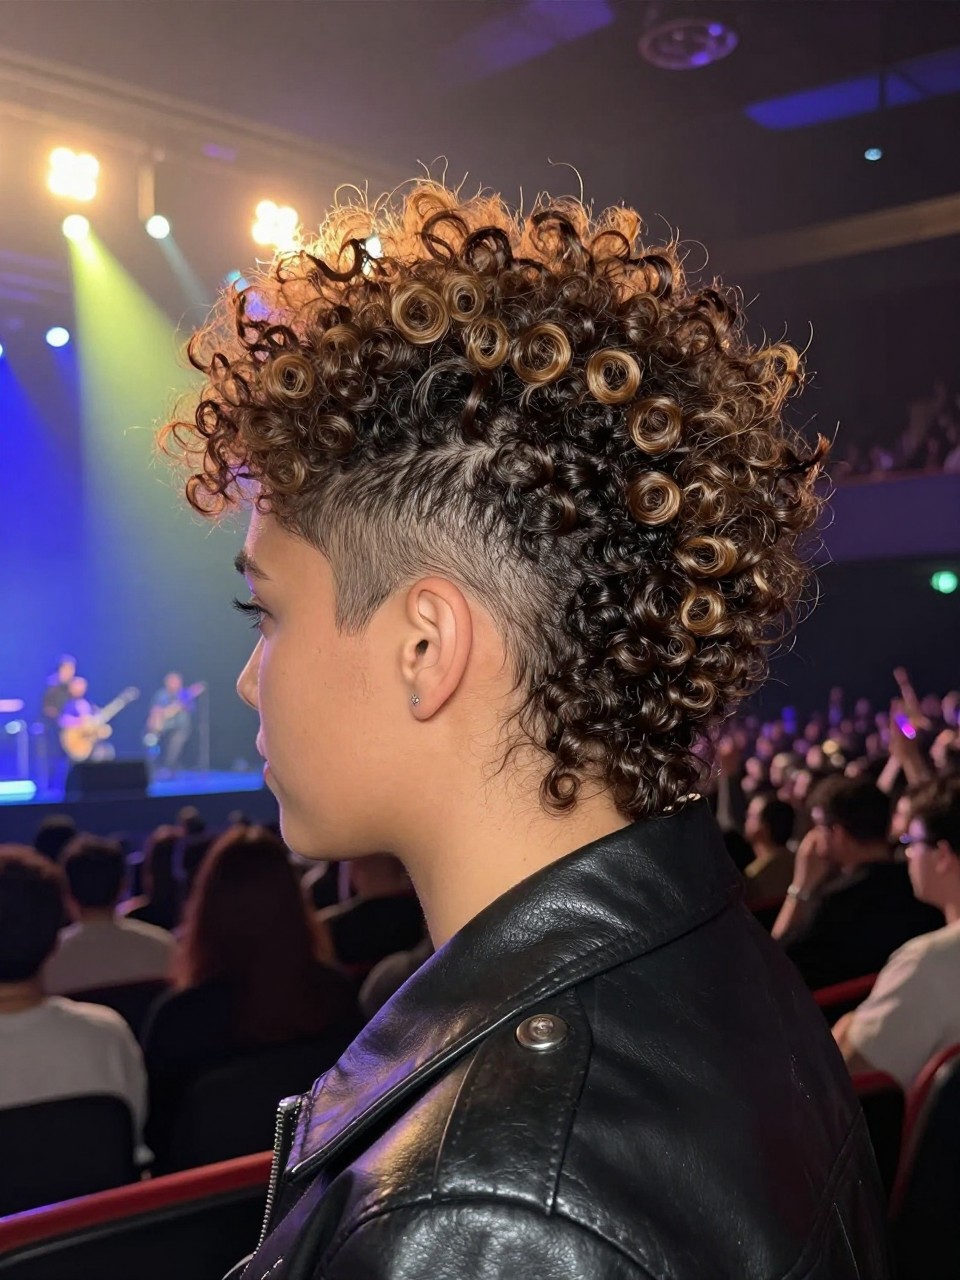
This edgy style creates a strong vertical line down the center of your head, instantly elongating your face shape.
How to style it:
- Step 1: Section off a 3-inch strip from your forehead to your nape.
- Step 2: Pin or braid the sides back tightly against your head.
- Step 3: Fluff the center section upward and outward for maximum volume.
- Step 4: Use a pick at the crown for extra height.
13. Sleek Top With Curly Length

Combining a smooth crown with curly lengths creates contrast and draws the eye upward, lengthening the face.
How to style it:
- Step 1: Apply gel to the front section from your hairline to your crown.
- Step 2: Smooth it straight back with a fine-tooth comb.
- Step 3: Let the rest of your hair remain curly and voluminous.
- Step 4: Secure the slicked section with a pin at the back if needed.
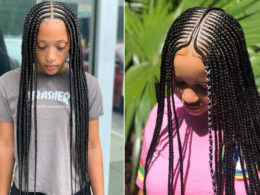
14. Braided Crown

A braided crown wraps around your head, adding width at the top rather than the sides, which helps balance a round face.
How to style it:
- Step 1: Create a middle part and Dutch braid one side from the hairline to behind the ear.
- Step 2: Secure and repeat on the other side.
- Step 3: Pin the ends of each braid across the back, tucking them under the opposite side.
- Step 4: Gently pancake the braids for a fuller look.
15. Side-Swept Curly Bangs

Full-on blunt bangs can shorten a round face, but side-swept curly bangs add diagonal lines and softness.
How to style it:
- Step 1: Take your front section and create a deep side part.
- Step 2: Define the bangs section with a small amount of curl cream.
- Step 3: Sweep them diagonally across your forehead.
- Step 4: Let them blend into the rest of your curls on the side.
16. High Bun With Loose Curls

A high bun adds height, and leaving some curls loose around the face creates vertical softness rather than horizontal width.
How to style it:
- Step 1: Gather the top and middle sections into a high bun.
- Step 2: Leave the bottom third of your hair loose and curly.
- Step 3: Pull out a few face-framing pieces from the bun.
- Step 4: Fluff the loose curls and the bun for volume.
17. Textured Pixie Cut
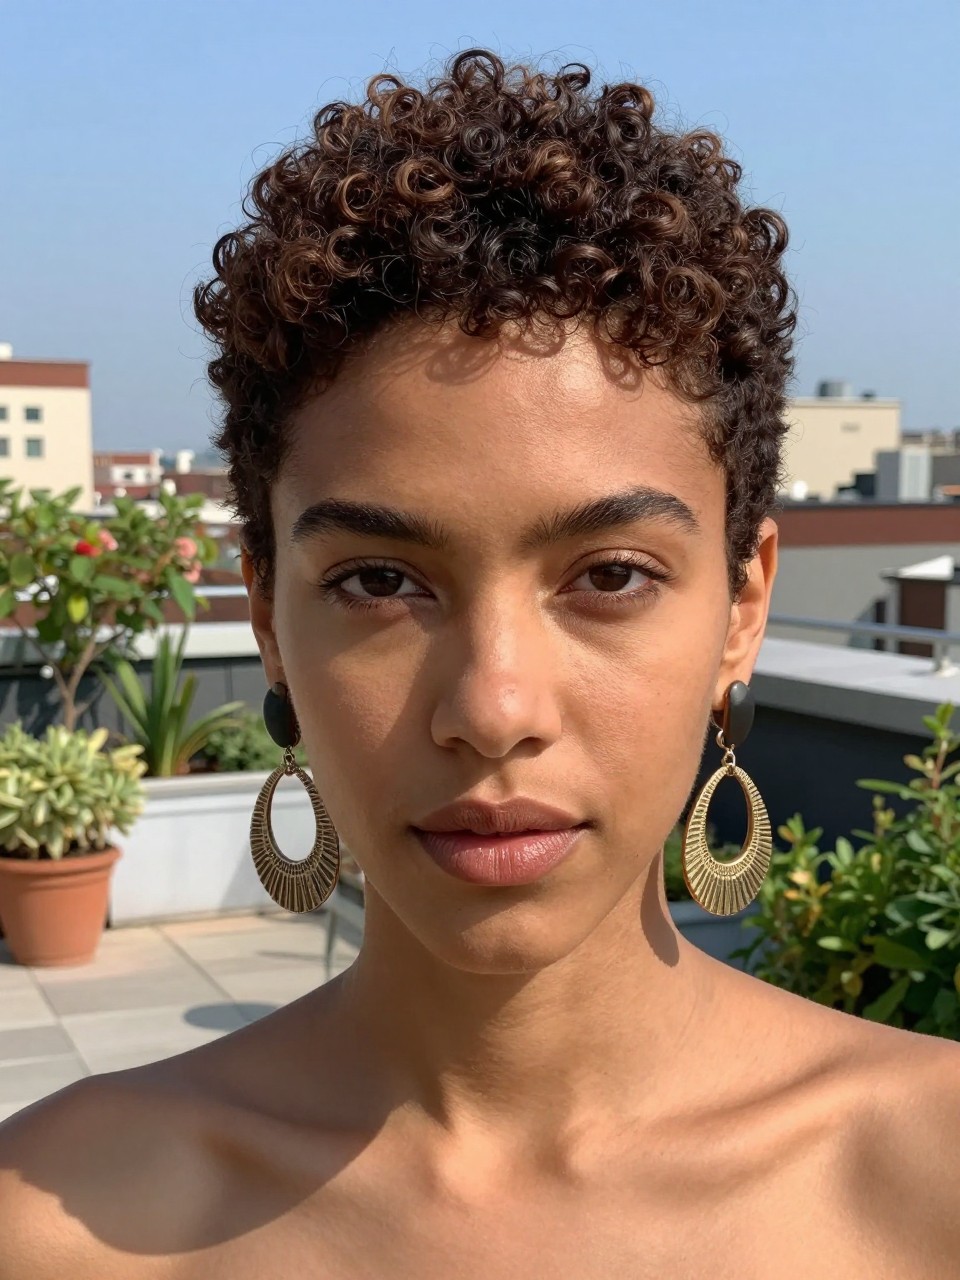
For those ready to go short, a curly pixie with volume on top and shorter sides is incredibly flattering for round faces.
How to style it:
- Step 1: Apply a curl-defining cream to damp hair.
- Step 2: Use your fingers to style the top upward and forward.
- Step 3: Let the sides fall naturally shorter against your face.
- Step 4: Finish with a texturizing spray for piece-y definition.